
In part 1 of this blog, we introduced you to Northwestern University’s Knight Lab: TimelineJS and discussed the application of both the SAMR model and the Triple E Framework to help you integrate TimelineJS into your lessons. Today’s post offers detailed instructions about how to use this timeline tool and shares many classroom use ideas by subject.
How to Use TimelineJS:
To start using TimelineJS, click the Make A Timeline button.
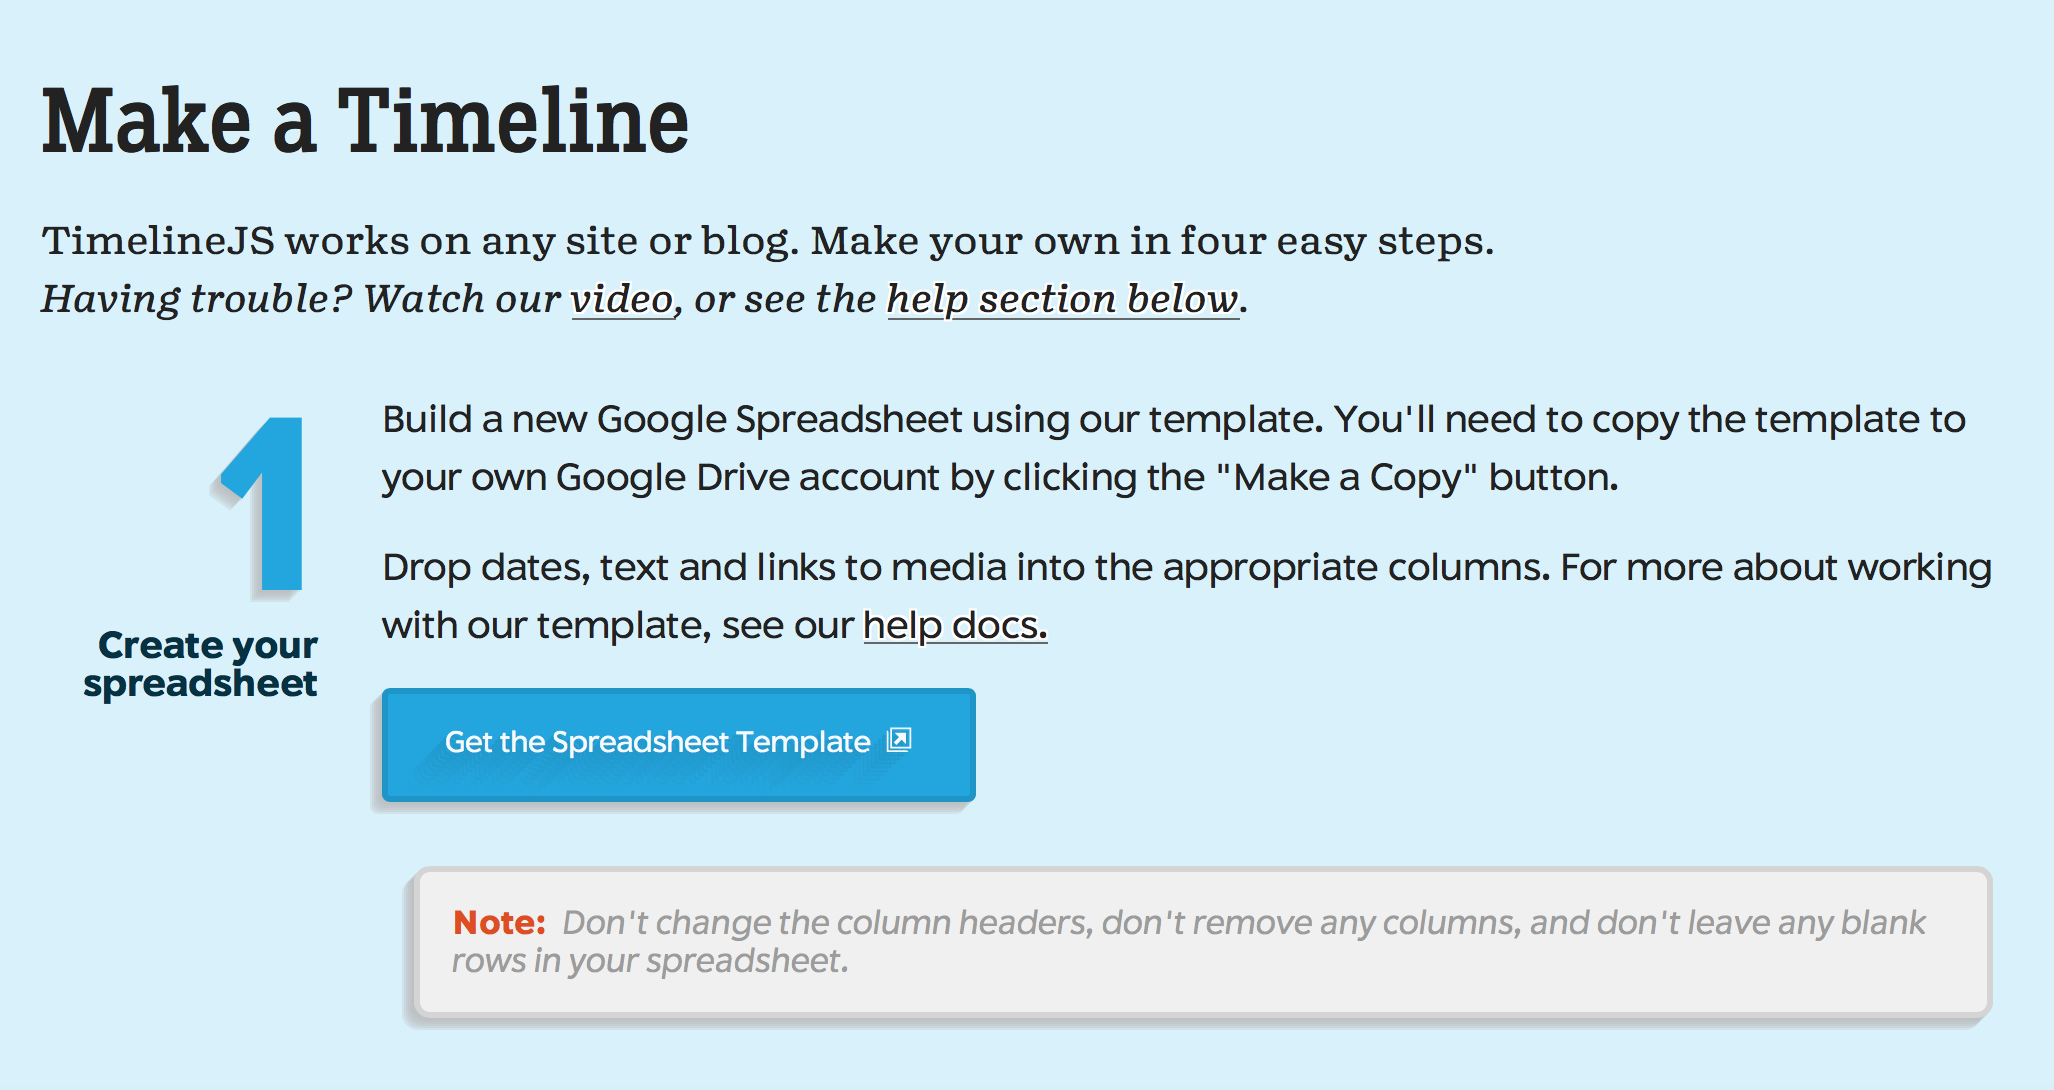
This will take you to a four-step guide to the timeline making process. Begin by clicking the Get the Spreadsheet Template button in Step 1.
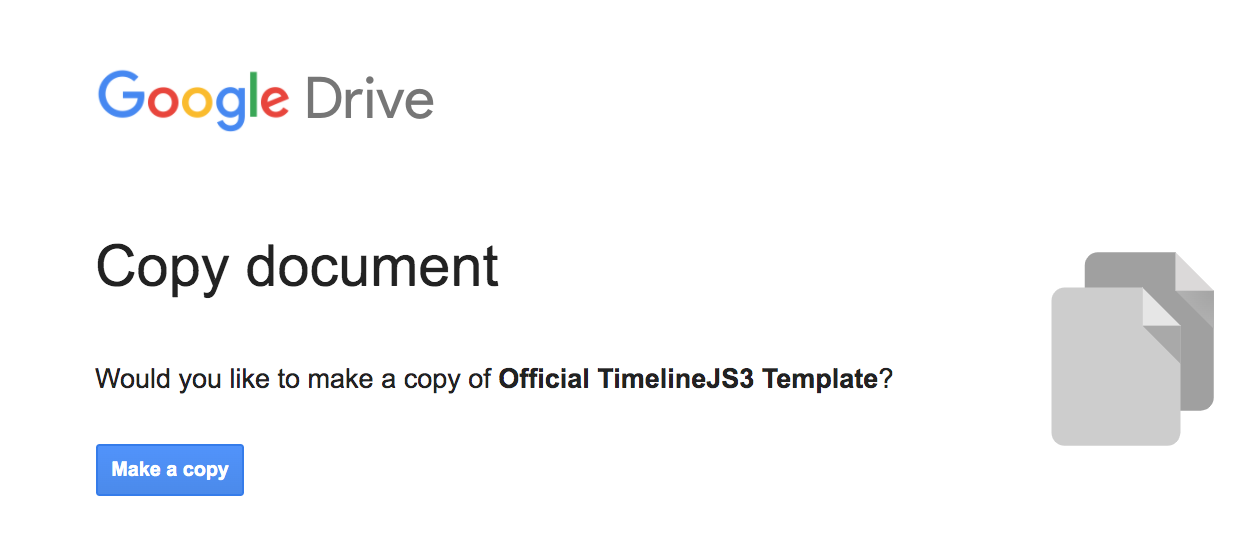
Be aware that when you click Get the Spreadsheet Template, you will be taken to a forced Google Sheet window that will ask you to Make a Copy (image below). Clicking the button will automatically save a copy of the template in your Google account.
Below is a screenshot of what your Google Sheet will look like when you open it. You can delete any information or media types that you don’t want to include in your timeline. We suggest changing the name of the file to something related to the subject of the timeline so you can find it easily in the future. Double click the title on the upper left-side (where it currently says Copy of Official TimelineJS3 Template) to change it.
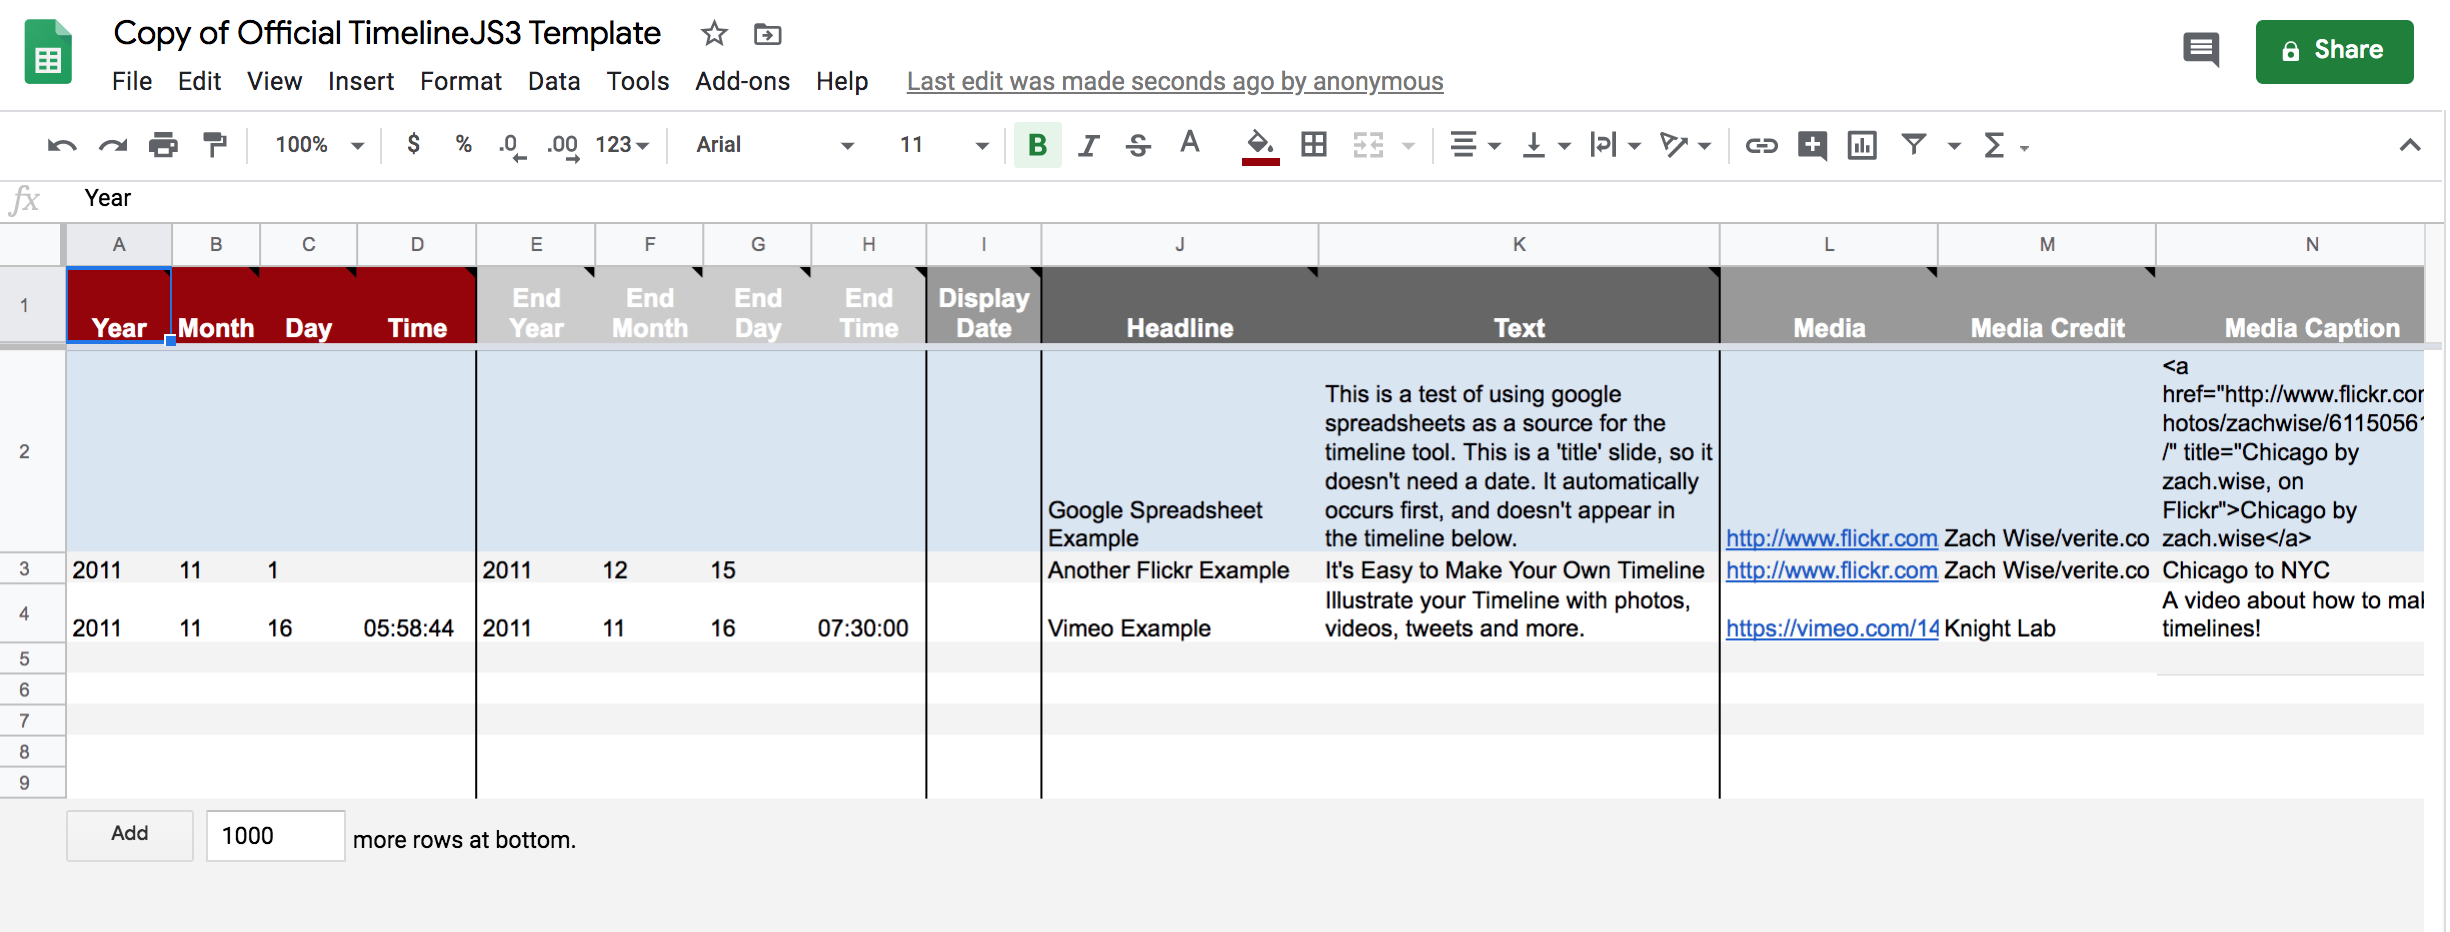
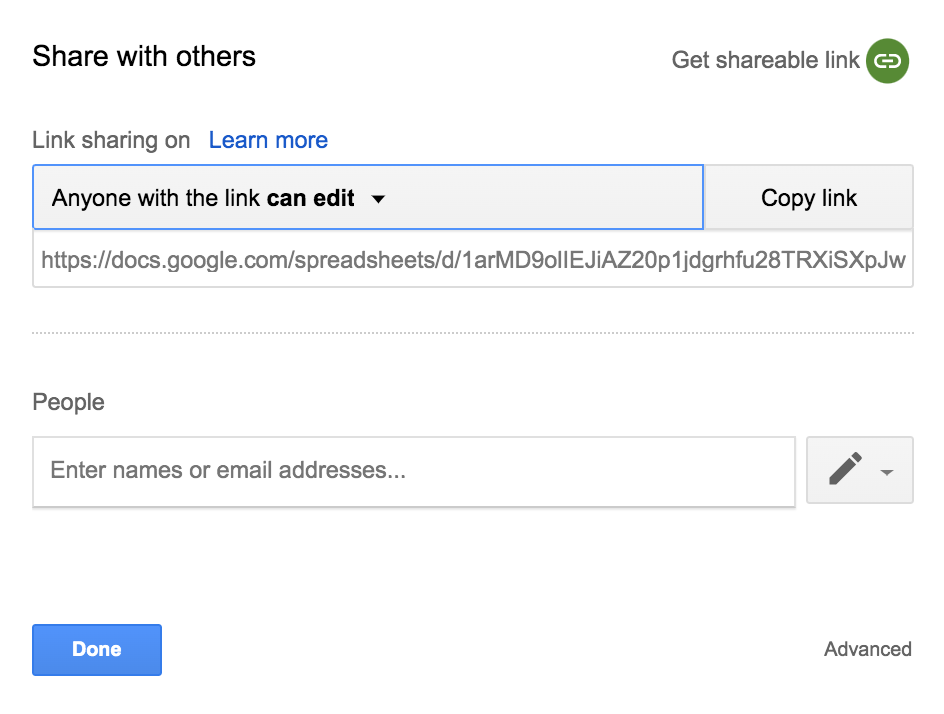
You may have noticed the Share button on the top right side of this sheet. To collaborate with others, click the Share button and then click Get Shareable Link. Make sure to check the link-sharing permissions in the fields shown below, then copy and paste the link in an email or onto another collaborative document to share it.
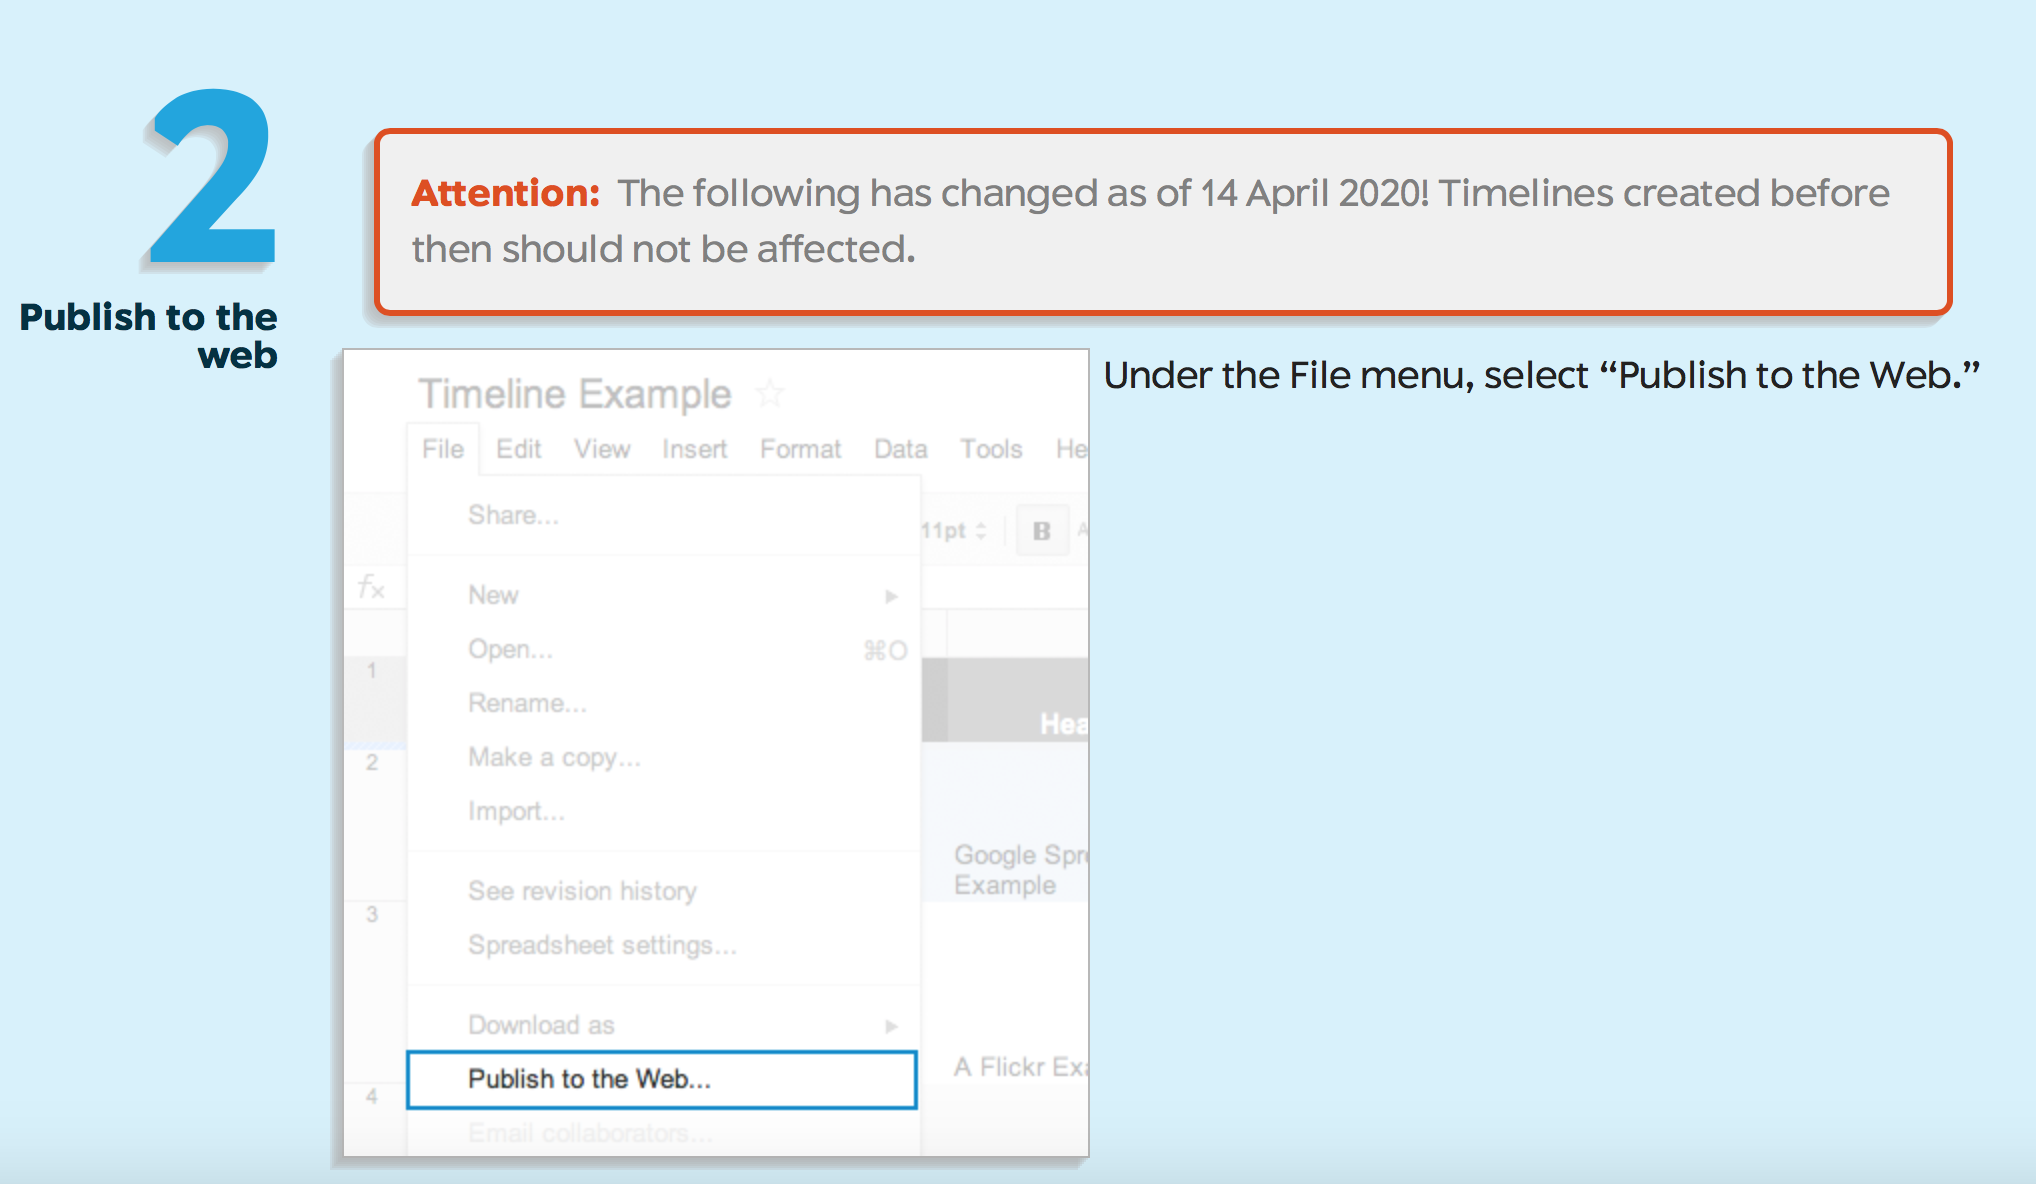
Add all of the information listed in the sheet (links, media captions, text, headlines, etc.). When you have finished adding your content, you are ready for Step 2. In the File menu, click to Publish to the web. Be sure you read the detailed instructions in this step to see what options you need to select.
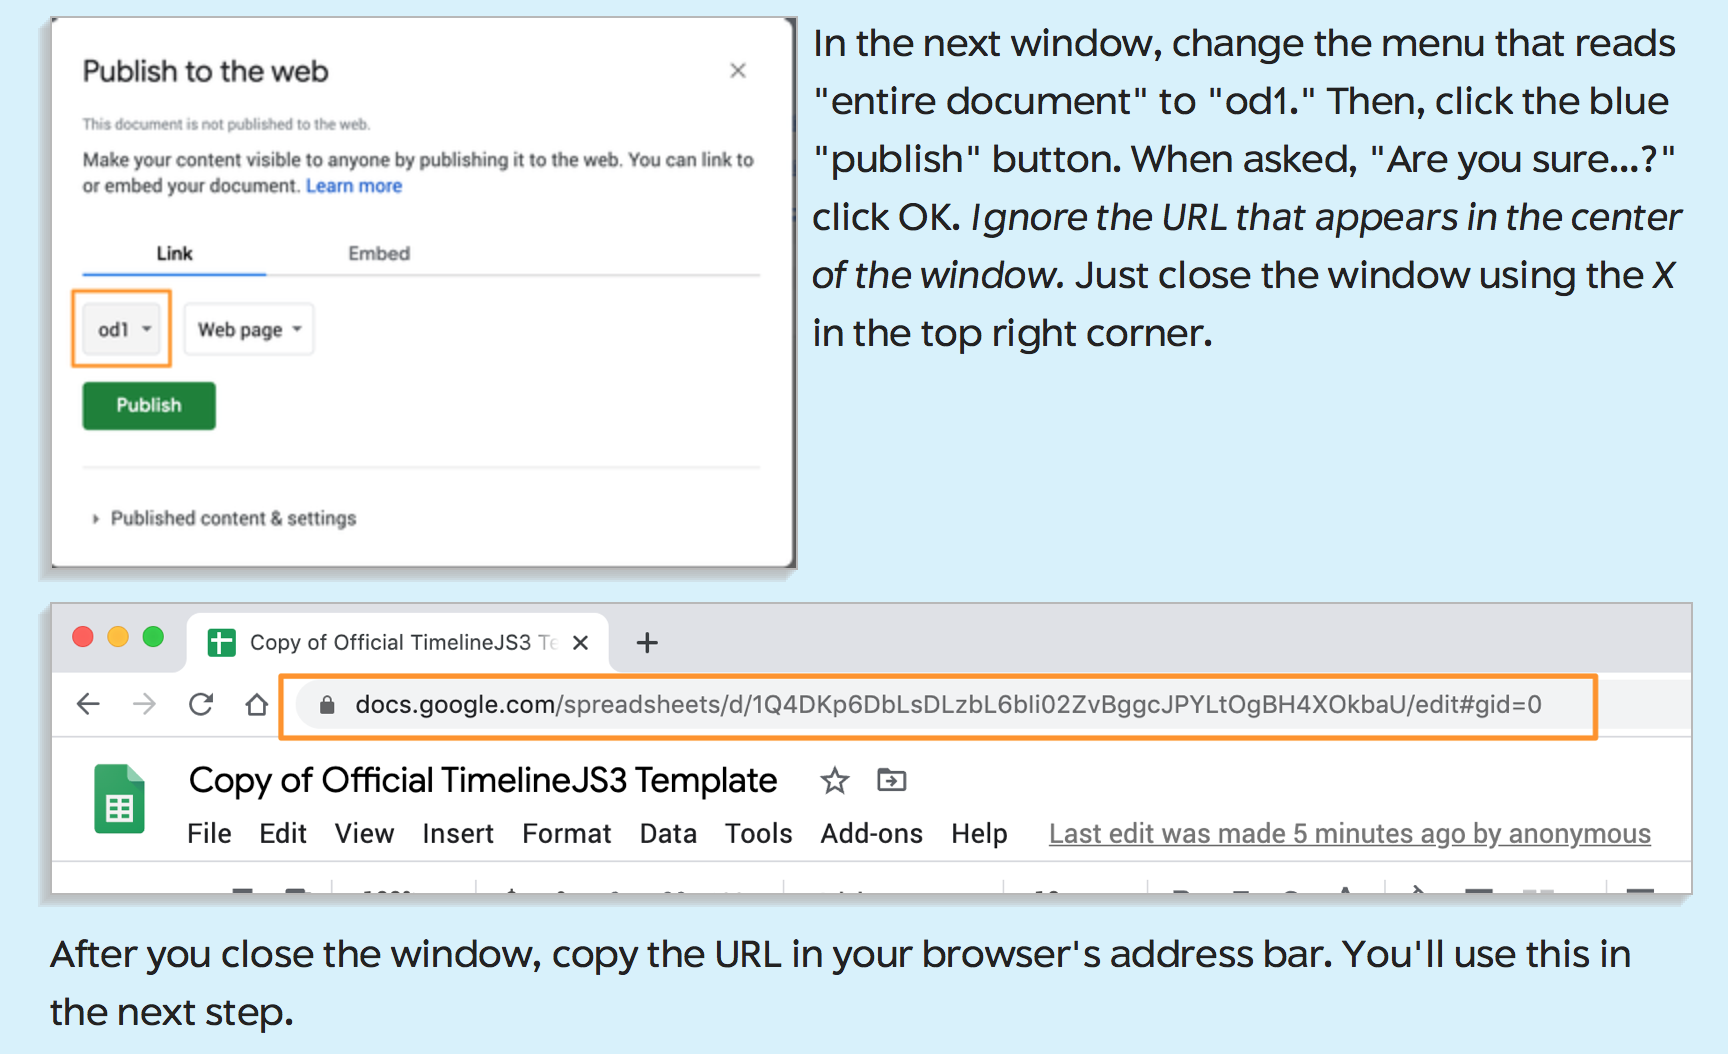
Now that you have published your Sheet, it’s time to move on to Step 3. Copy the spreadsheet URL into the box to generate your published timeline!

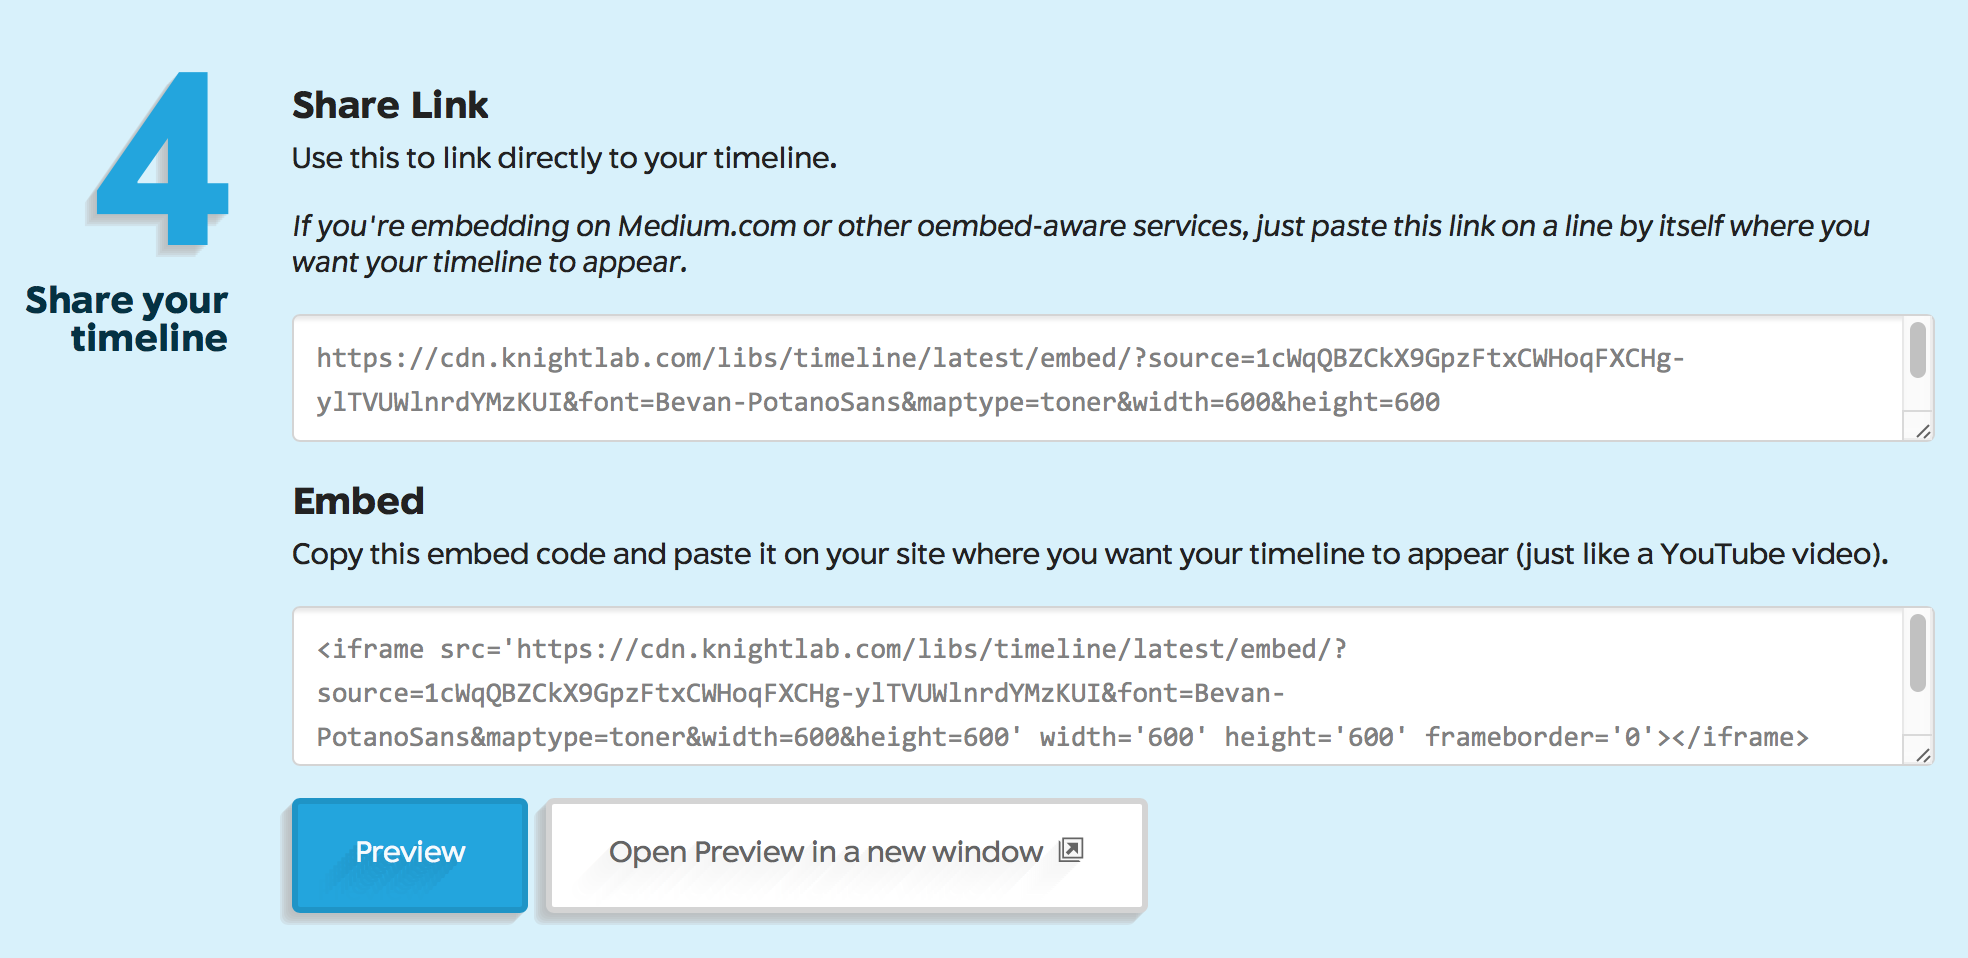
Step 4 allows you to share the link to your timeline with others by copying and pasting a URL or embedding the timeline on a website.
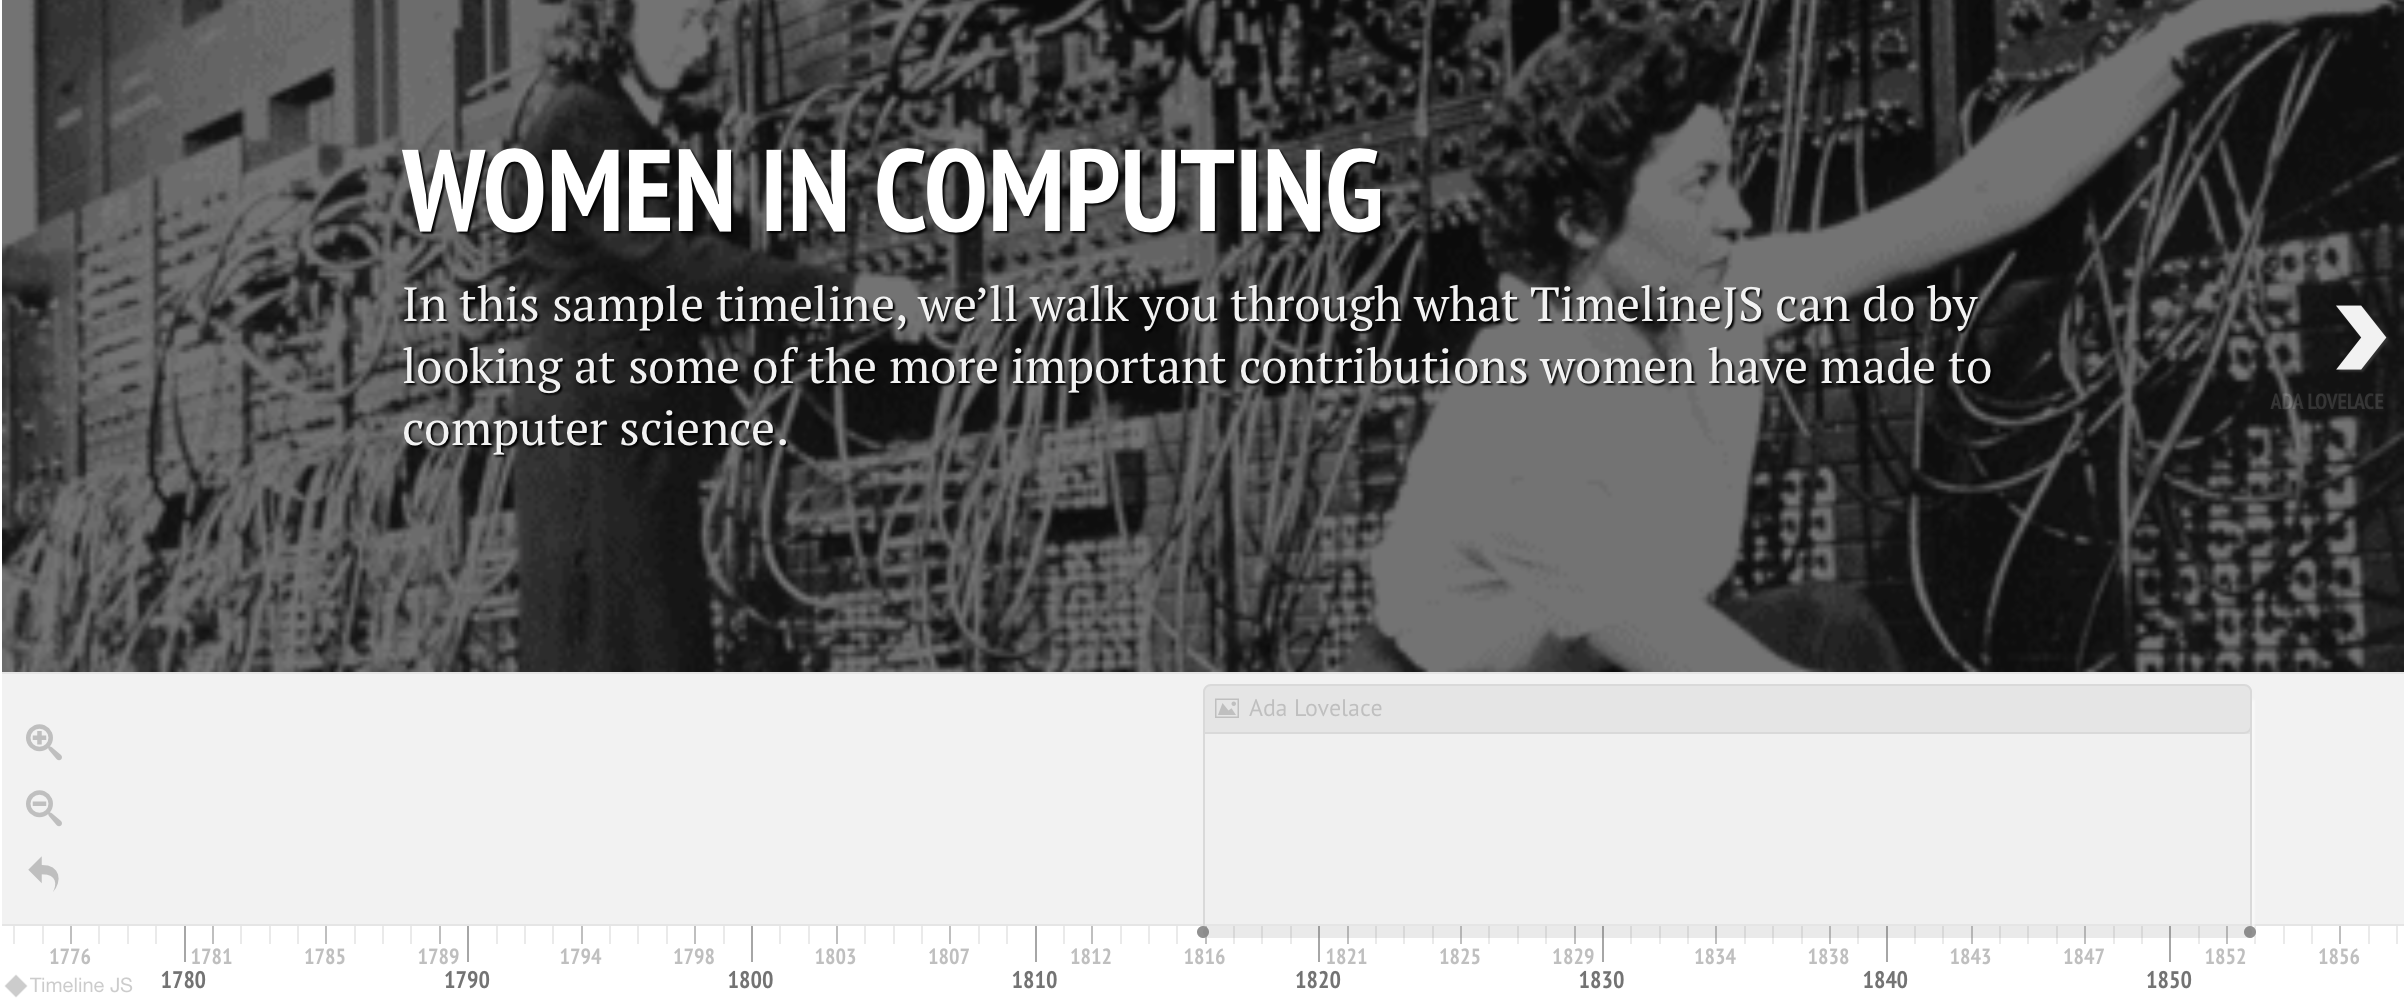
This image offers a sample of the title and opening image of a timeline.
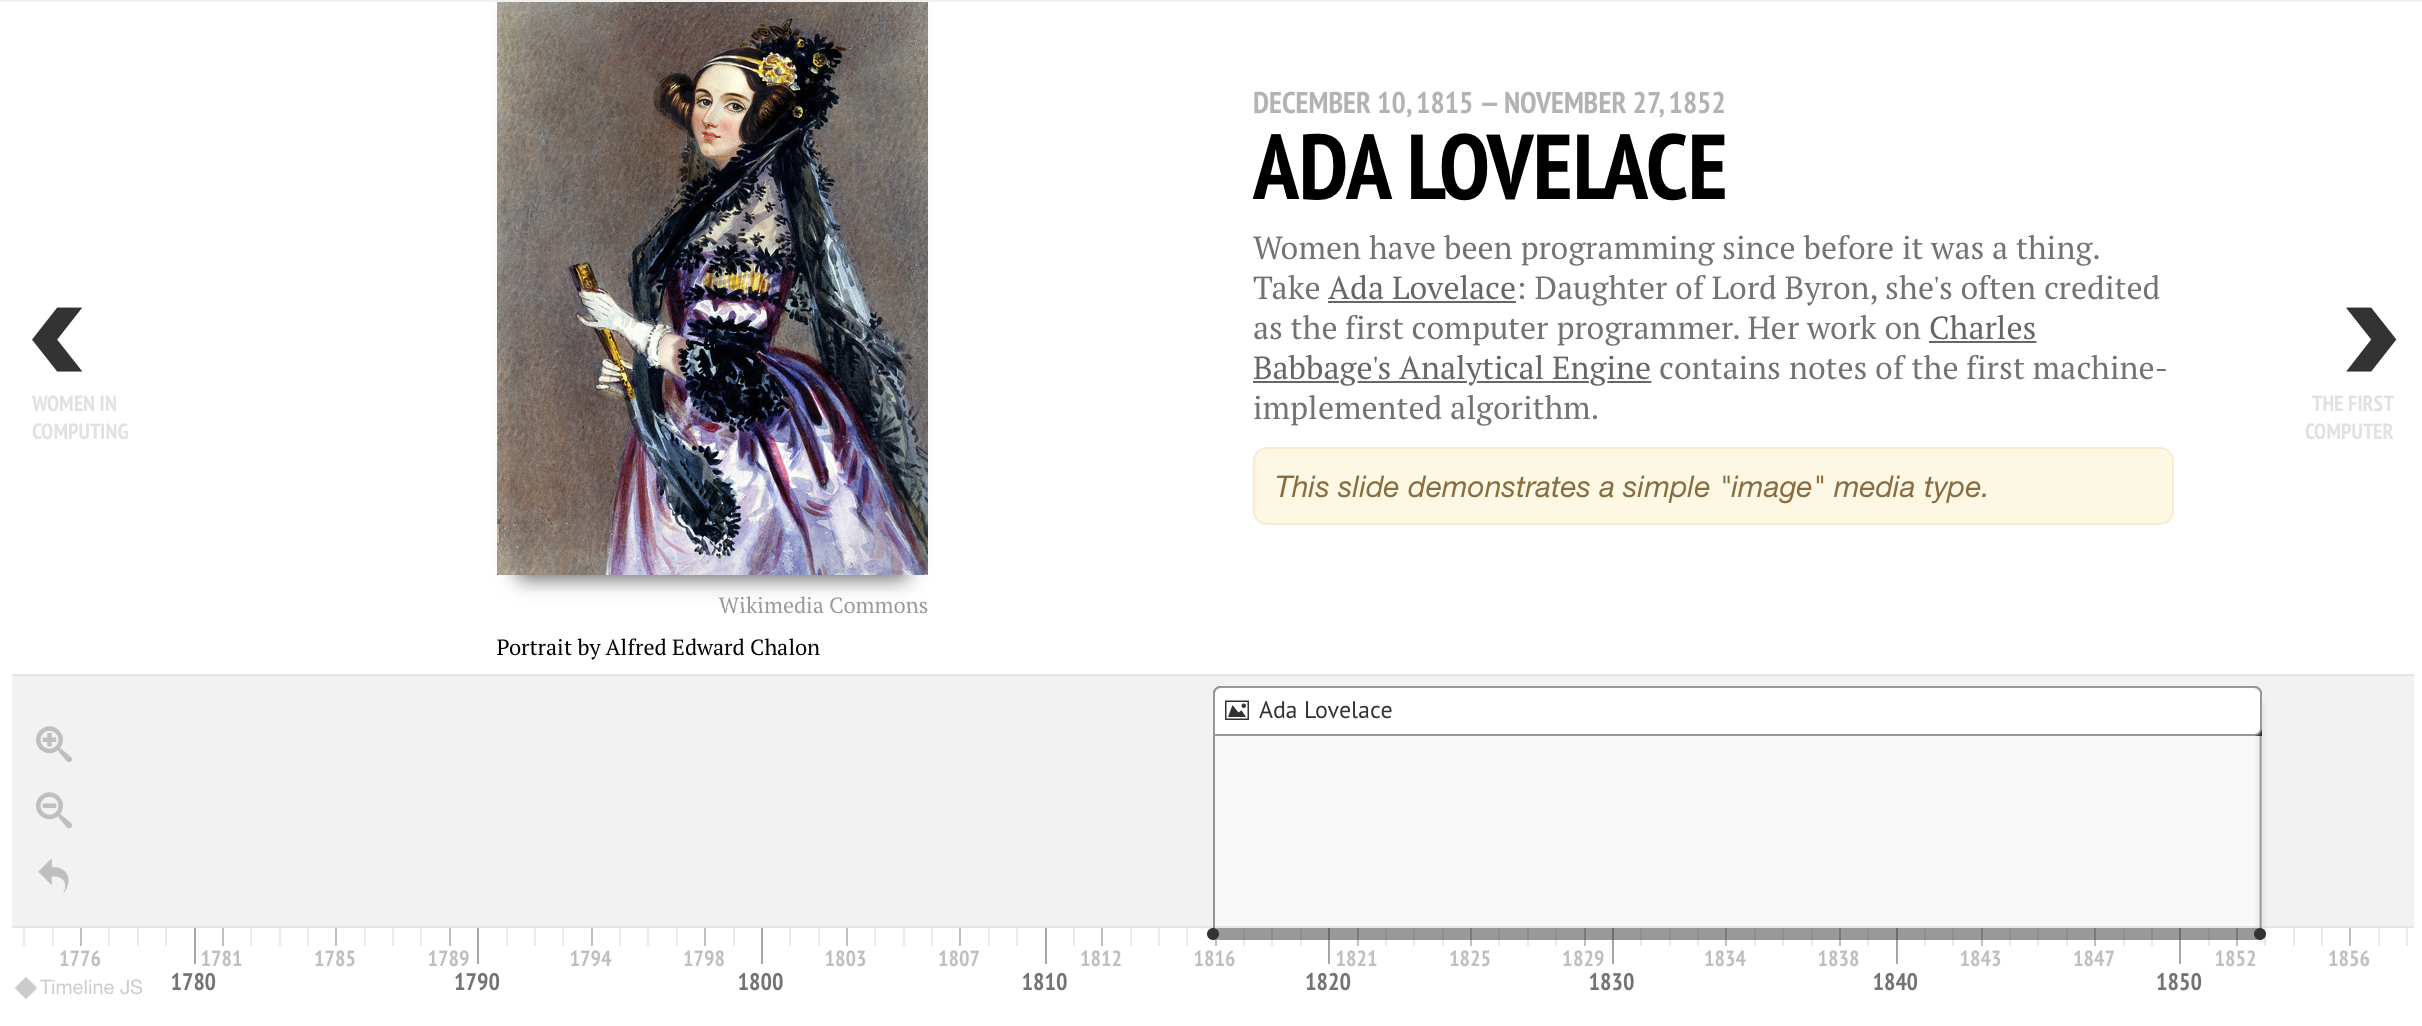
TimelineJS allows you to add images, link words directly to websites, and use arrows to navigate easily from one chronological event to the next. To add images and other items, simply put the link in the Google Sheet.
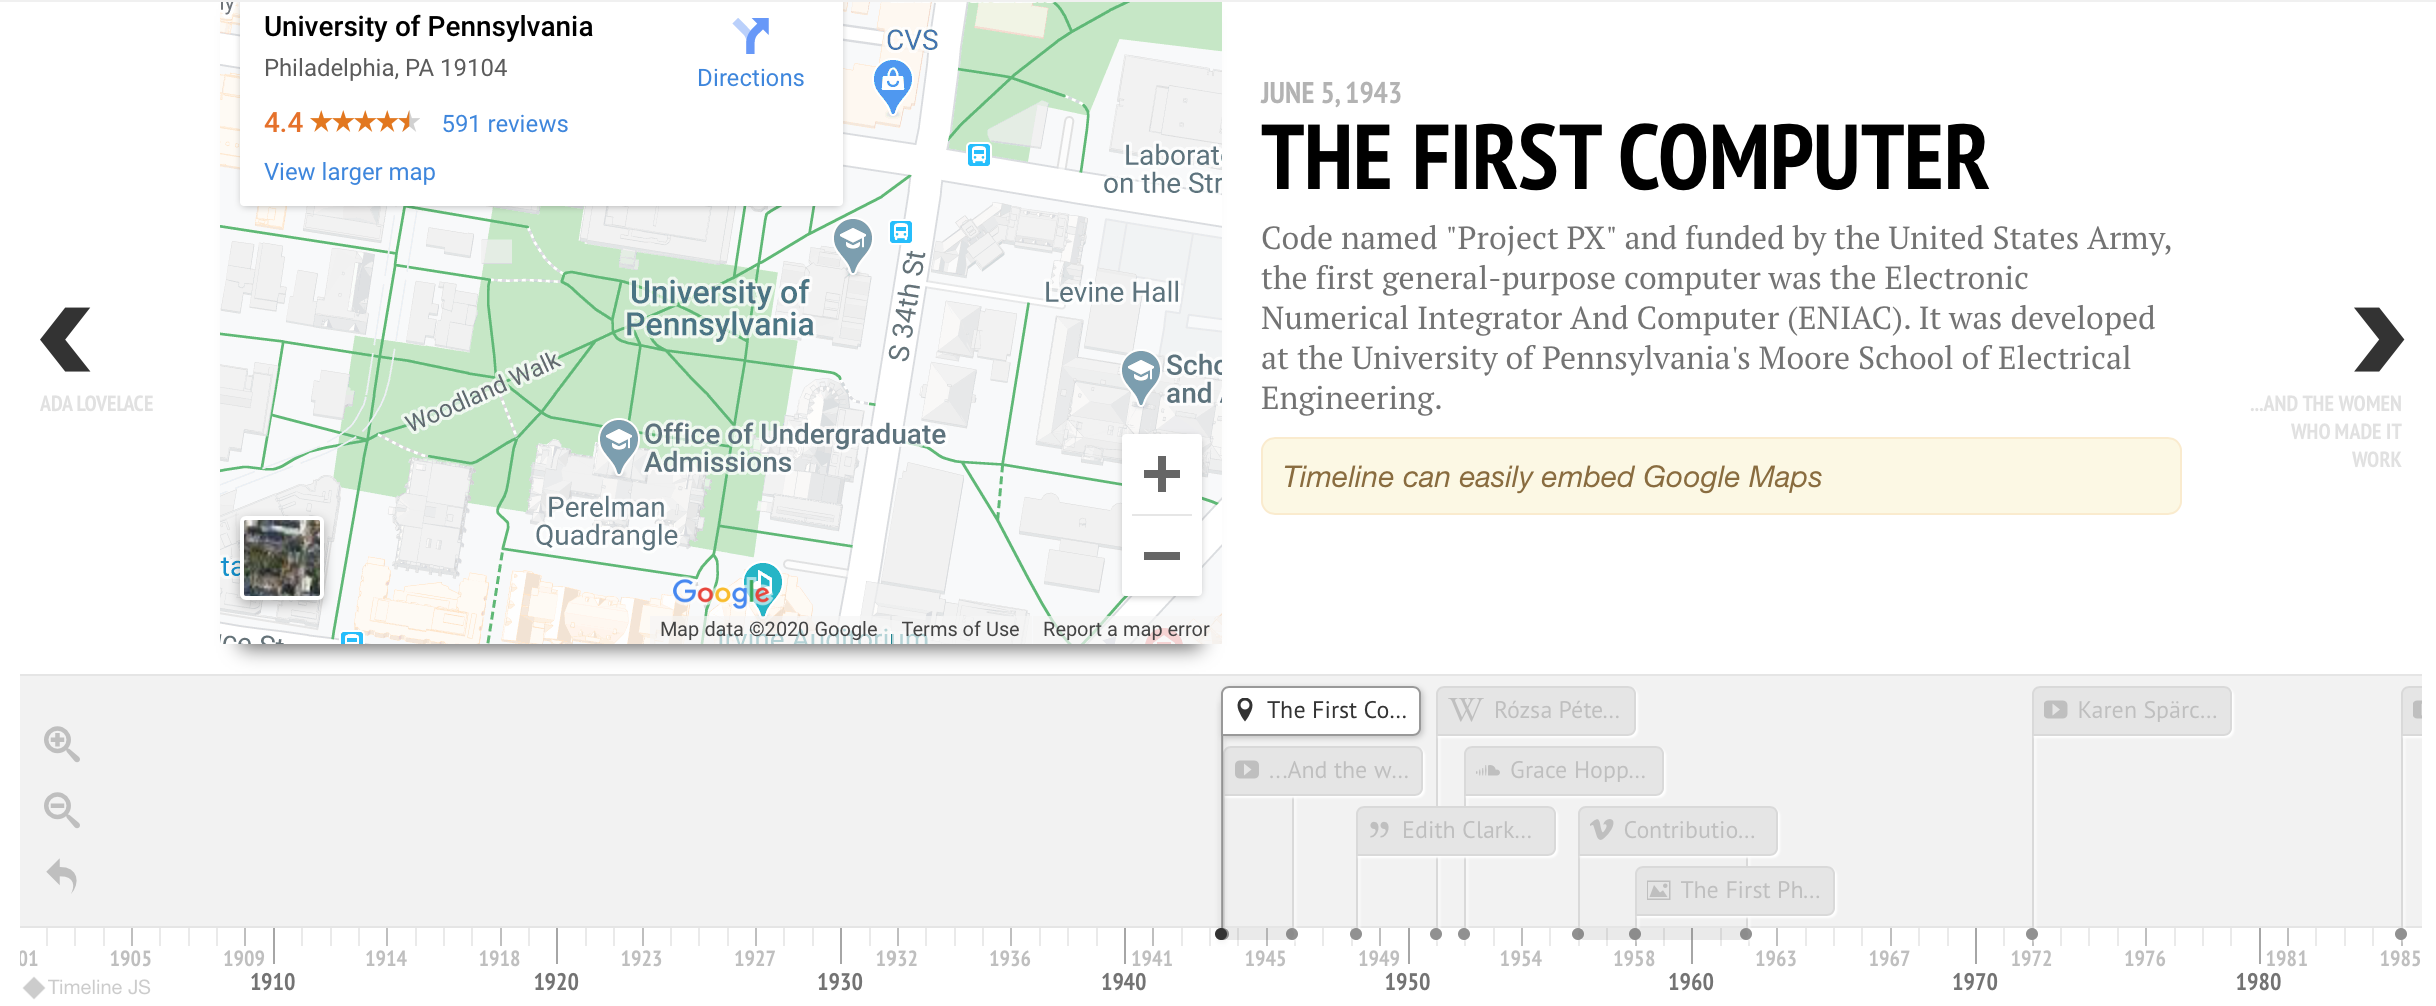
Adding maps is a great way for students to visualize the locations where the events shared on the timeline took place. Just add a link to the map on the Google Sheet and it will automatically be added to your timeline.
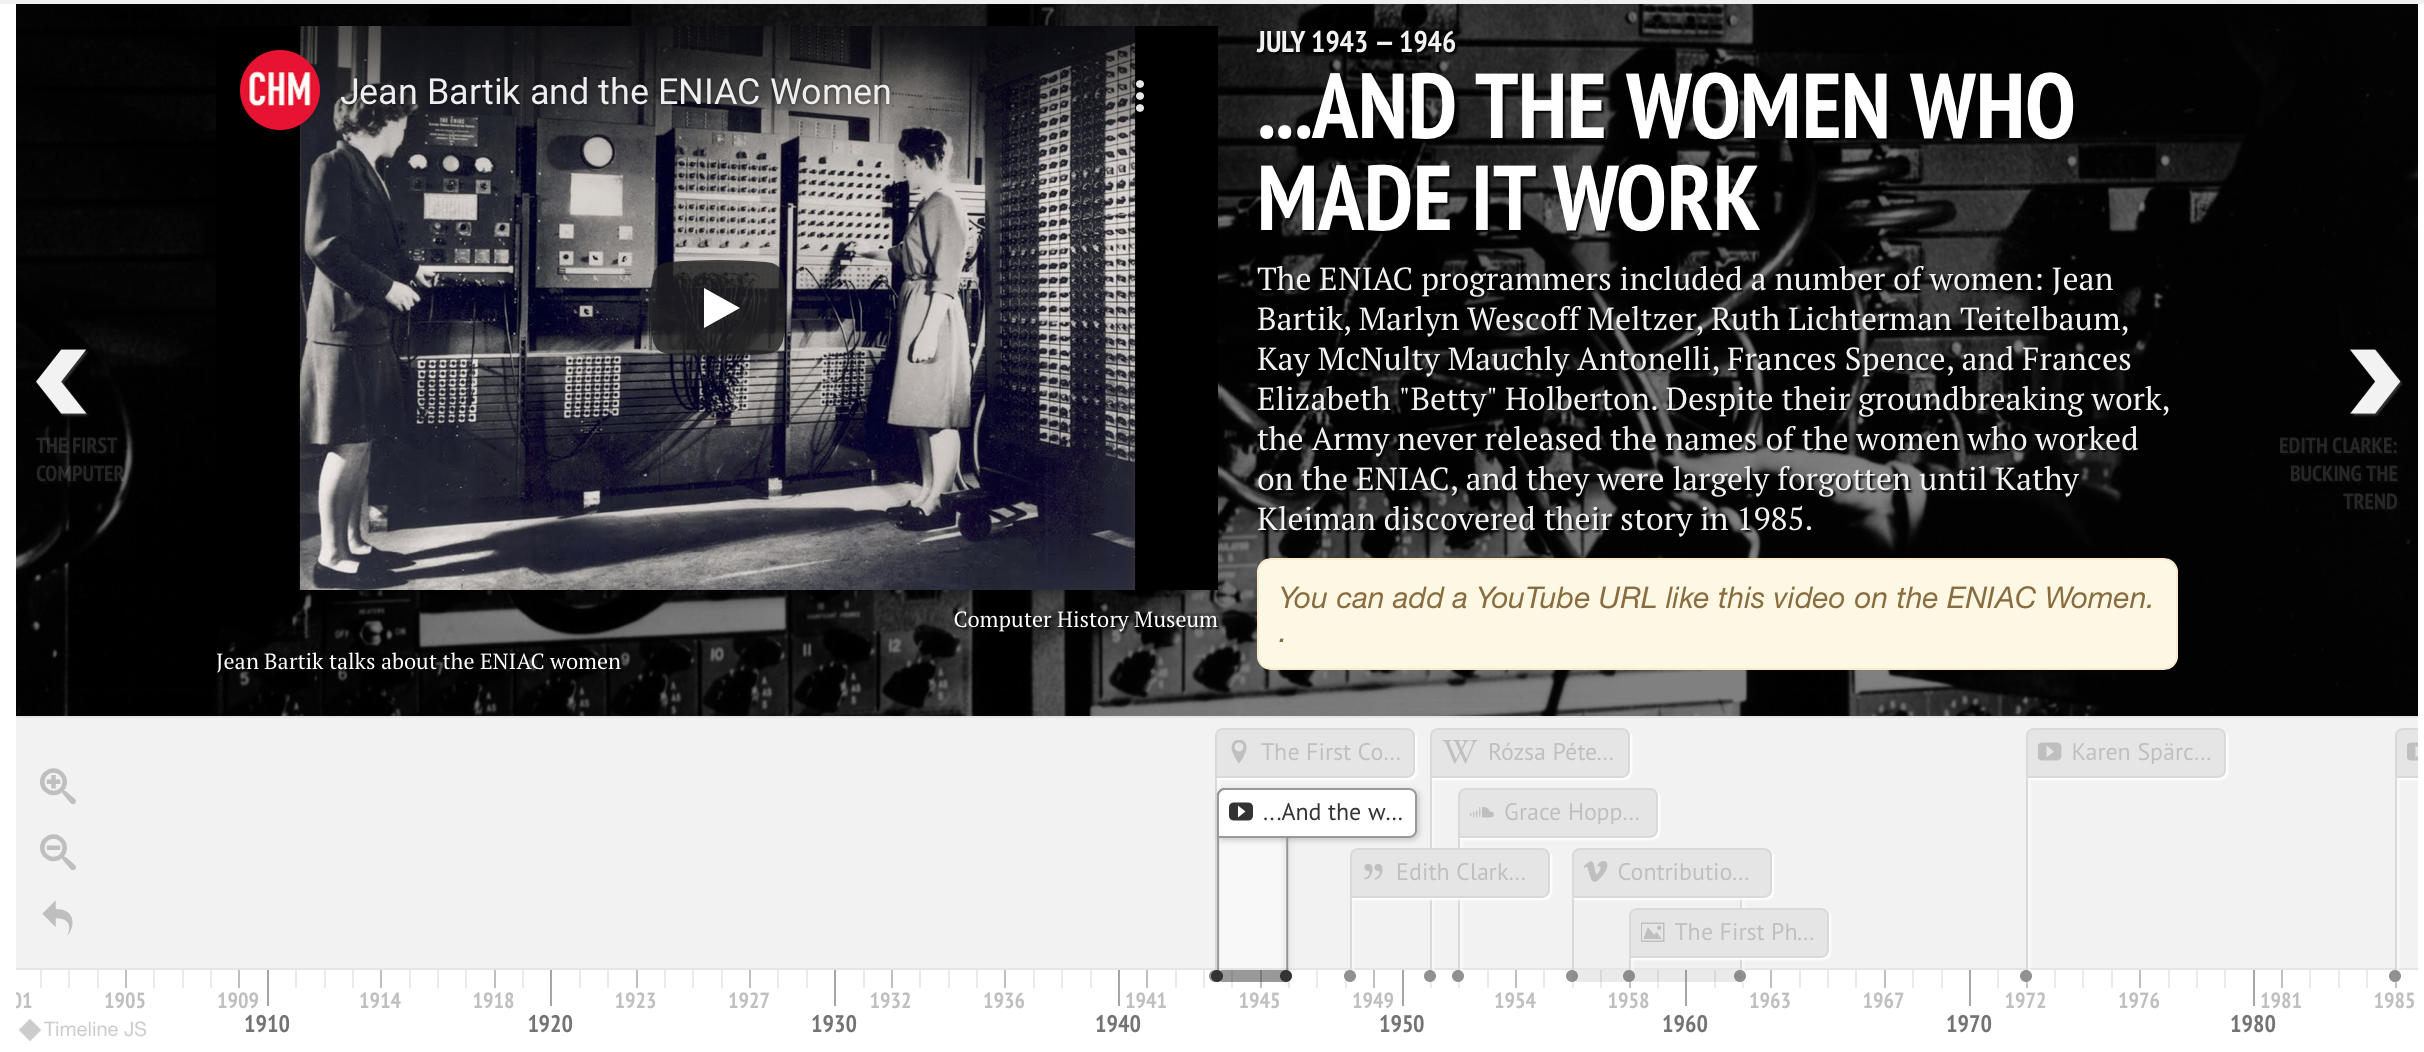
This final sample image shows you what video links look like within the timeline. Here again, you simply add the URL for the video to the Google Sheet.
 Classroom Use Ideas:
Timelines are a powerful learning tool. When you combine the ability to collaborate and add images, text, video clips, and maps, the likelihood of higher levels of understanding increases. Timelines and collaboration can be useful in nearly every subject area. Below, we’ve included ideas for using timelines to teach several subject areas or to meet your professional needs. You can complete these assignments yourself and share with your students or assign these timeline activities to be created independently or with a partner. You know your students’ ability levels and are the best judge of the most successful way to incorporate the use of timelines in your lesson, but here are some ideas to get you started.
Create a timeline in any class or subject relating to the current unit you are teaching. You (or your students) can add information to the timeline each day to use as a study guide. You could also have students create their own timelines to use as the final assessment to demonstrate understanding. You could create timelines that are content-specific, we have listed ideas below.
Create a timeline about…
Social Studies:
- The creation of the US Constitution.
- Any war or specific battles of a war.
- A president or another famous person from history.
Science:
- The steps in the Scientific Method or the Engineering Design Process.
- The steps (including images and video clips) from a class science experiment or lab.
- The weekly weather to serve as a weather journal.
- Advancements in various areas of science (e.g. medicine, genetics) or the development of technologies (e.g. robotics, A.I.).
- The lifecycle of a butterfly.
- The stages of human lifespans (infancy, toddler, childhood, etc.).
Math:
- The current unit, including your class notes to share and collaborate with other students. You could copy and paste the information into a shared Google Sheet.
- The steps to solve a difficult word problem.
Language Arts:
- The main events in a story (including maps of the locations), rather than a traditional book report.
- A famous author, highlighting where they’re from, key points in their lives, and when certain books were published.
- The evolution of a character from a story.
- To serve as a writing guide when working on a creative story.
- As a guide and culminating project when reading through a nonfiction book.
Creative Arts and World Languages:
- An artist’s (e.g. musician, painter, dancer, sculptor) career.
- Popular music from a certain time, era, or location in the world.
- A famous person from a country that speaks the world language that you are teaching.
Use timelines in your professional life to…
- Share data with faculty members, such as changes in population demographics.
- Share the school-year plans for special events, field trips, testing dates, and other dates to remember.
Additional Video Tutorials and Articles:
- TeachersFirst Review of TimelineJS
- Video: Creating Timelines using TimelineJS and Google Sheets
- Video: TimelineJS Tutorial
Have you used TimelineJS in your classroom or for professional learning? Share your activities in the comments below!
One thought on “Tech Tool of the Month: TimelineJS Part 2”