
In Part 1 of this blog, we introduced you to Microsoft Designer and discussed applying the SAMR Model and the Triple E Framework to using it in your instruction. Today’s post offers detailed instructions for using this tool and shares classroom implementation ideas.
Microsoft Designer:
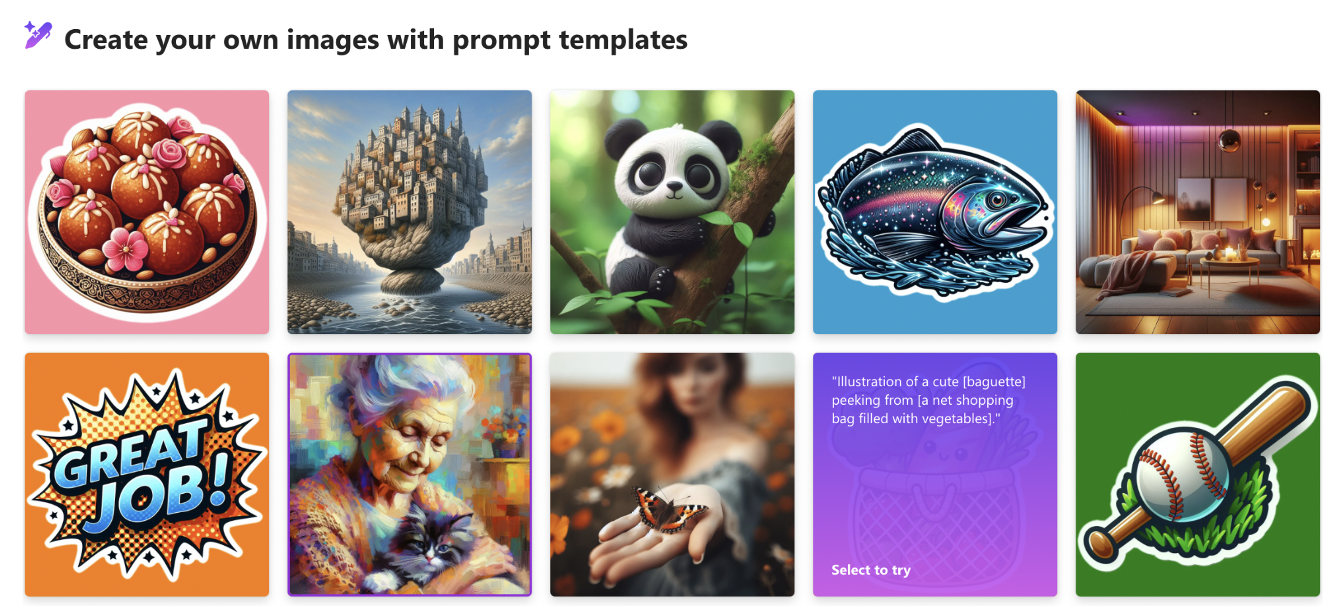
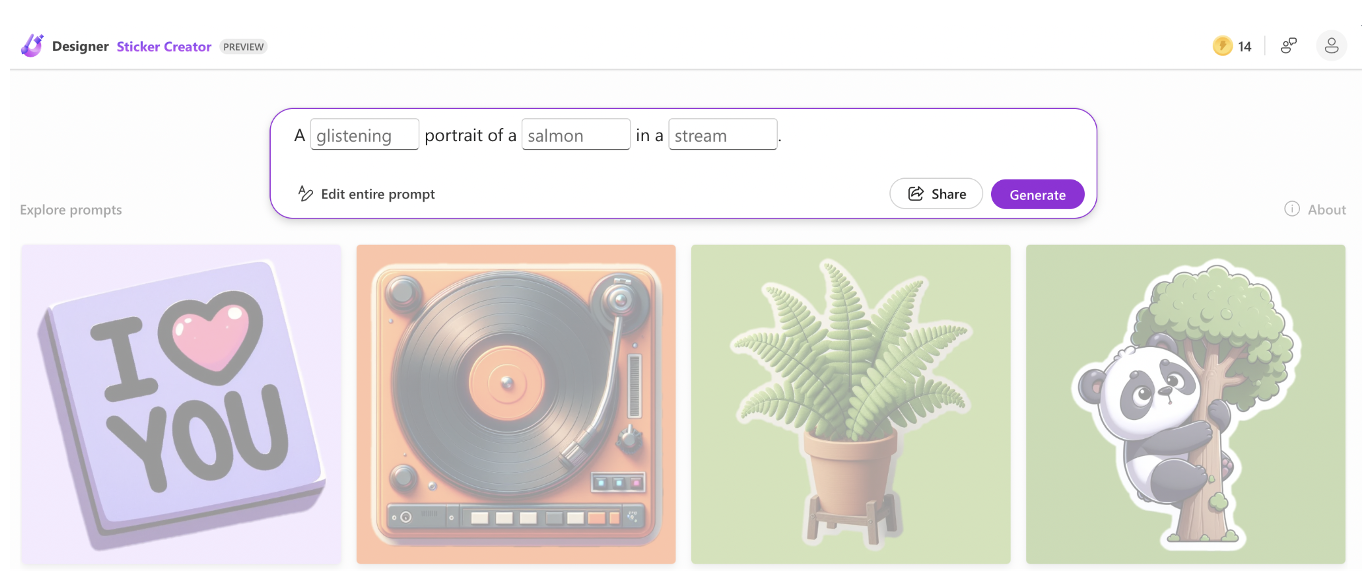
After navigating to Microsoft Designer and logging in to your Microsoft account, you can use the text box at the top to type in your prompt, or scroll down to view the many prompt templates available.
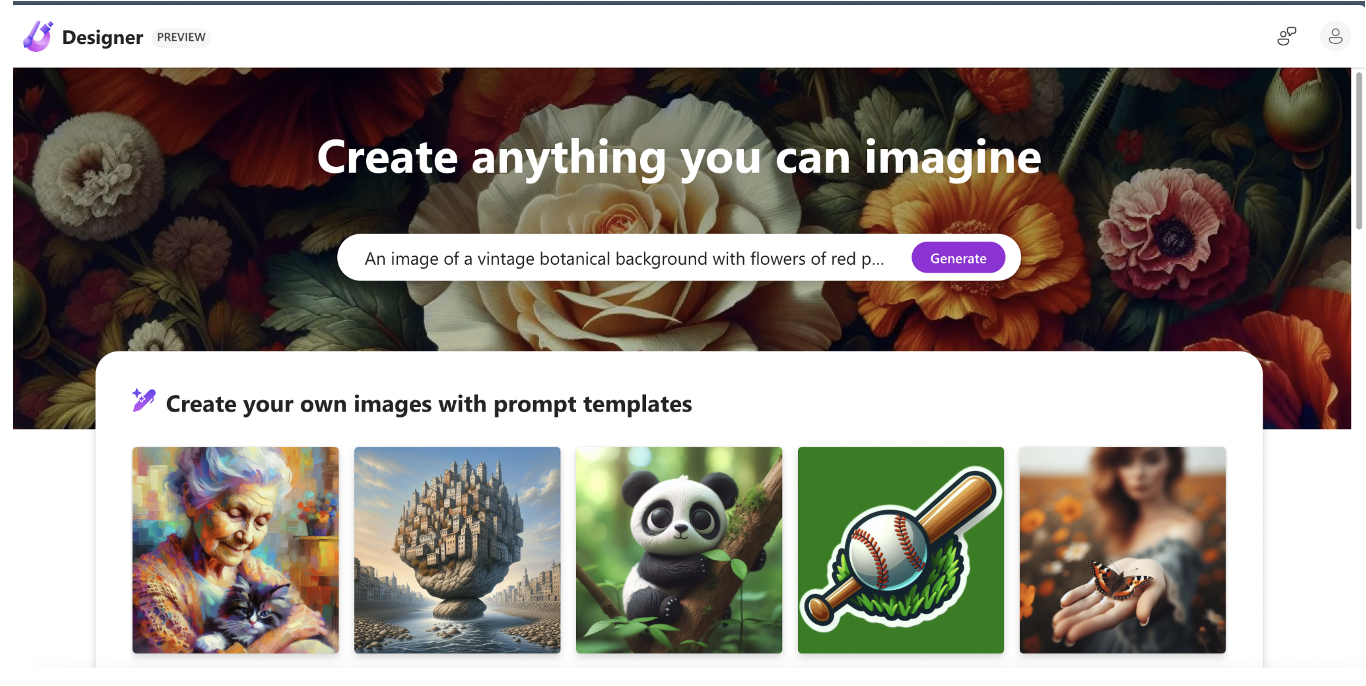
Hover over the images in the prompt templates section to see the text that was used to generate it. Here is an example:
If you scroll down a bit further, you will find more AI-powered options, including Generative erase and Remove background.
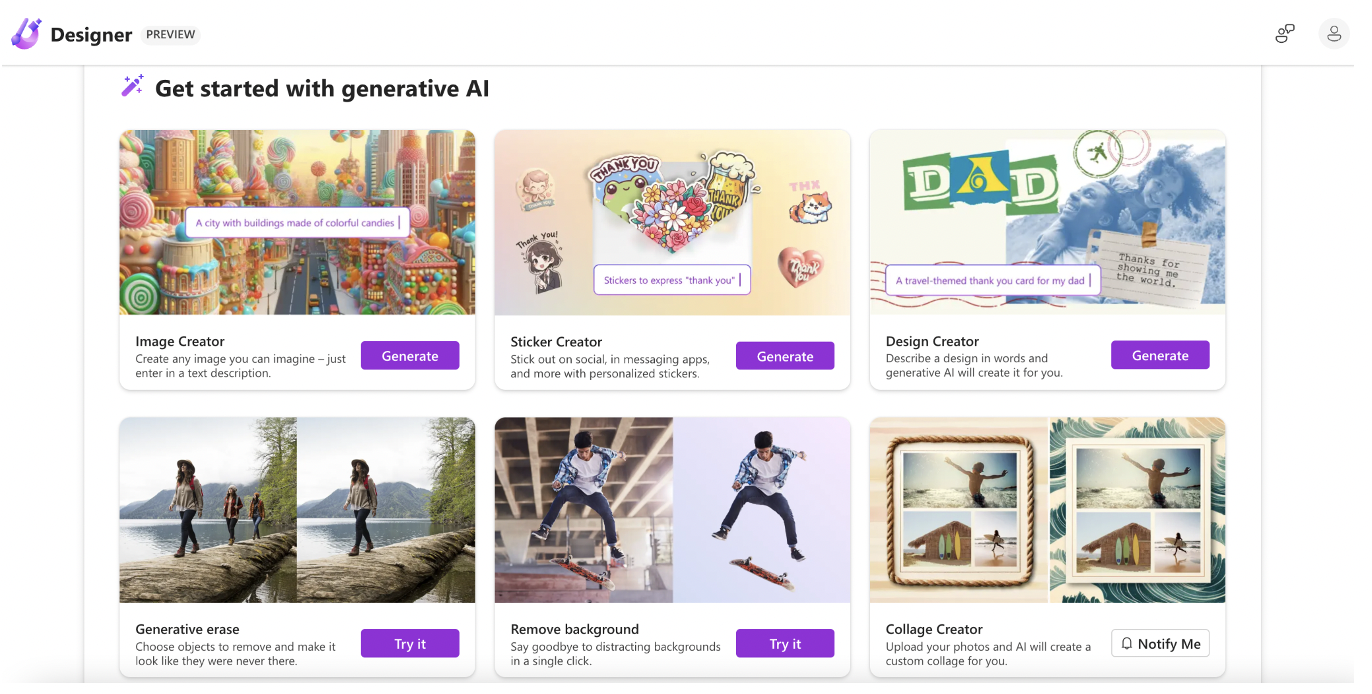
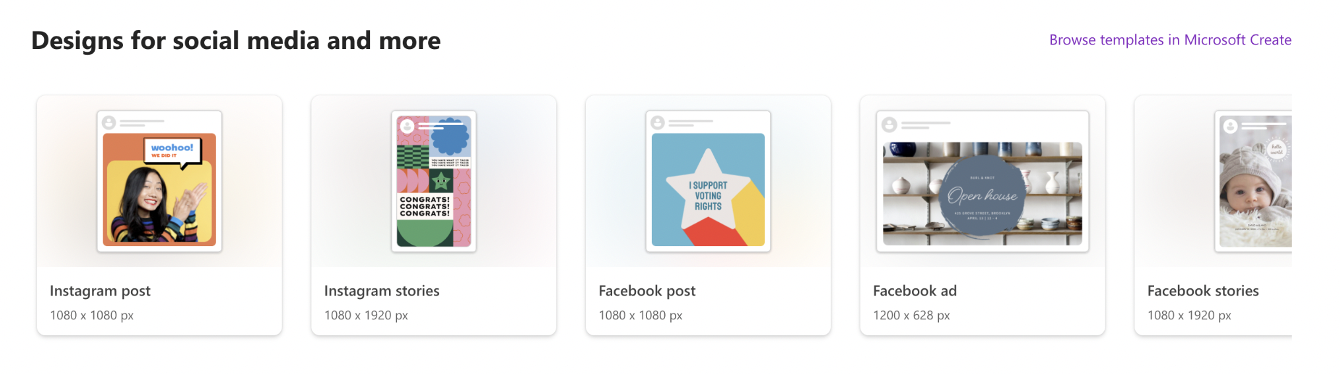
The templates designed specifically for social media posts are at the bottom of the page. Here, you can click to create an image or design sized for an Instagram post, Instagram story, Facebook post, Facebook ad, and Facebook story.
Let’s take a closer look at one of the prompt templates. Click the one you want to use, and you’ll see a box with blanks you can fill in with the components you want for your image.
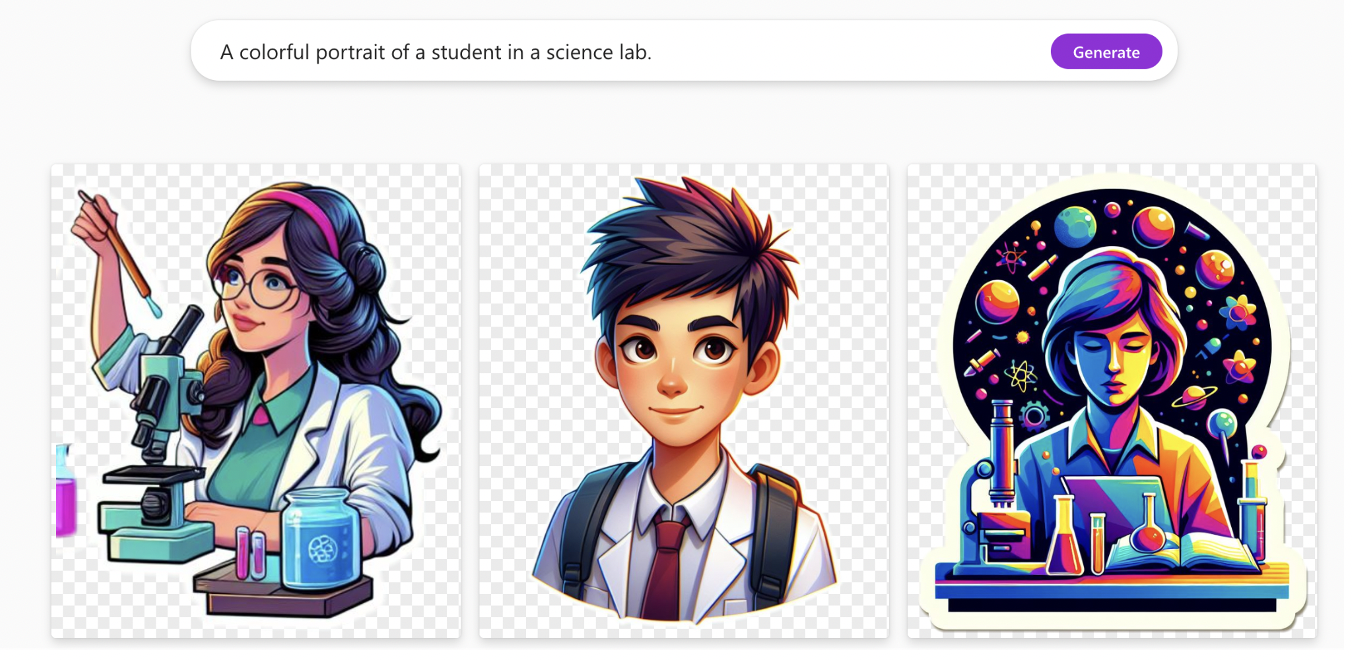
Now, rather than a glistening portrait of a salmon in a stream like the template suggests, it will show what you enter. Using our example from part one of this post of creating an image related to the result of a science lab, we could enter “a colorful portrait of a student in a science lab” as our prompt. Here are the results:
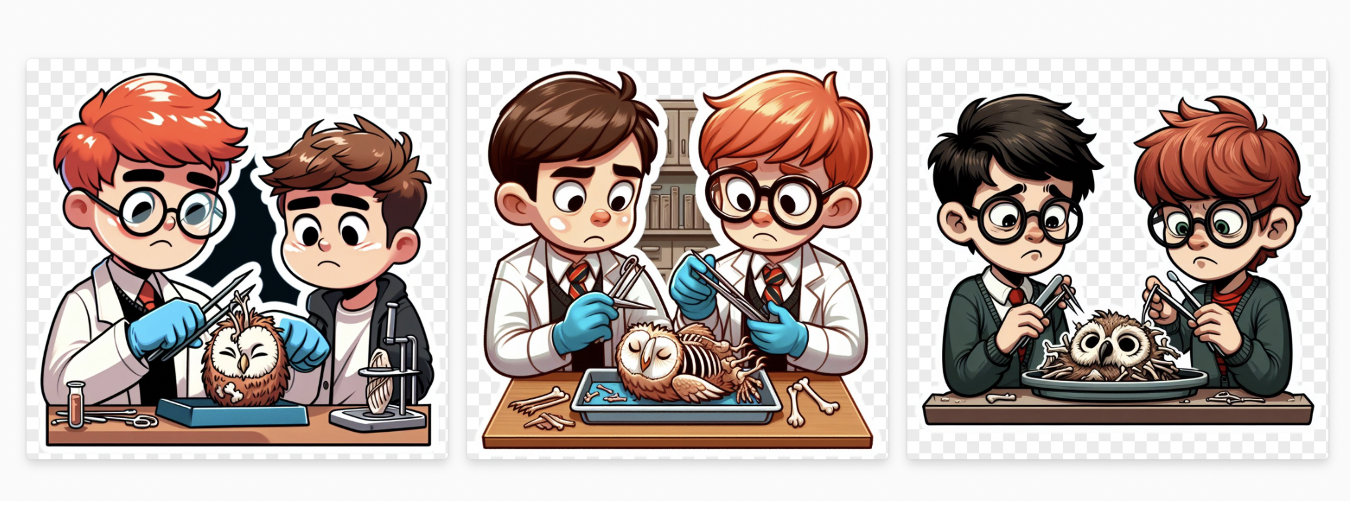
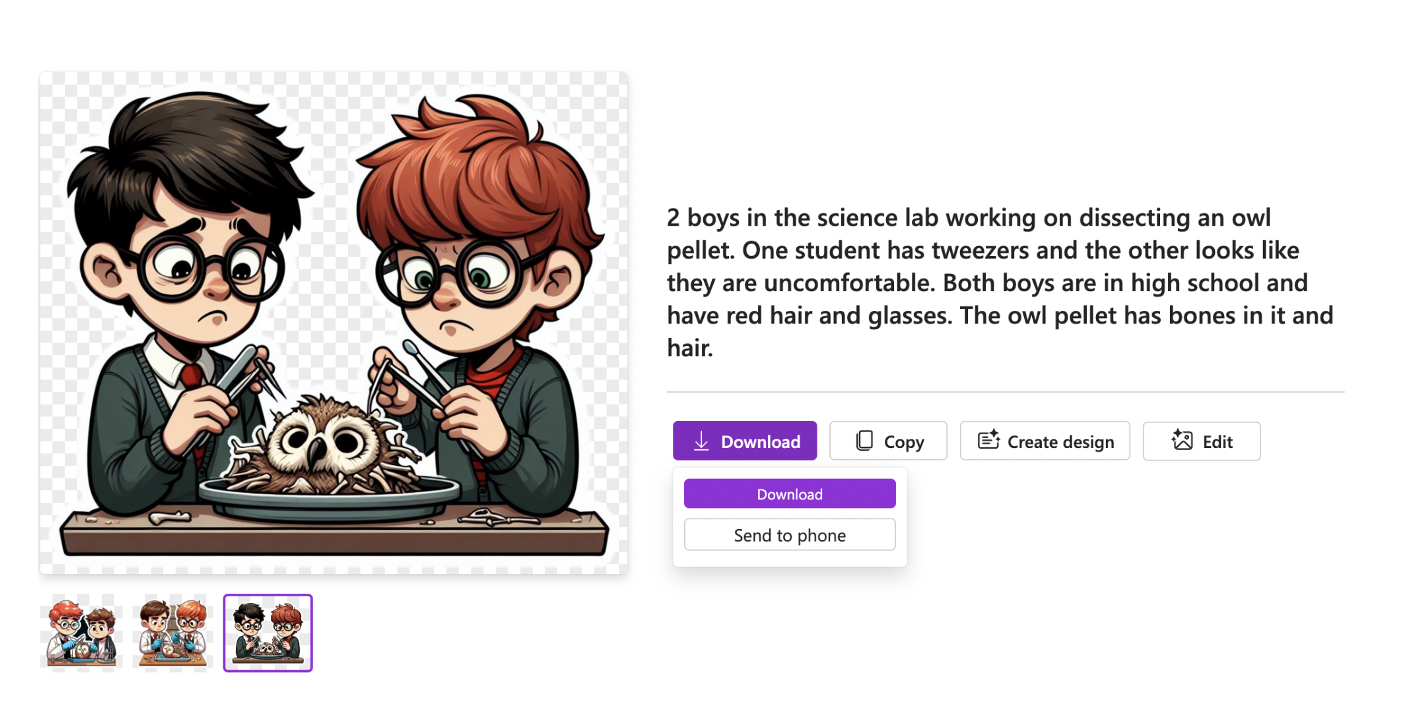
If you are dissatisfied with the results, click on the white box to reopen the prompt. From here, you can click Edit the Entire Prompt so you can make it even more specific. For this example, we entered: “two boys in the science lab are working on dissecting an owl pellet. One student has tweezers, and the other looks uncomfortable. Both boys are in high school and have red hair and glasses. The owl pellet has bones and hair in it.” The new images Designer generated are below. As you can see, there is more detail—but some of the pictures differ from what was requested in the prompt. This is an excellent time to help students understand the importance of detail and descriptive language.
While this tool does provide design templates for stickers, images, social media, and more, it’s important to note that they all work the same. You can choose to use a template or start from scratch by clicking Generate in the white box at the top. So if you don’t see a template image that you could use as a starting place to create what you are trying to generate, just create your own!

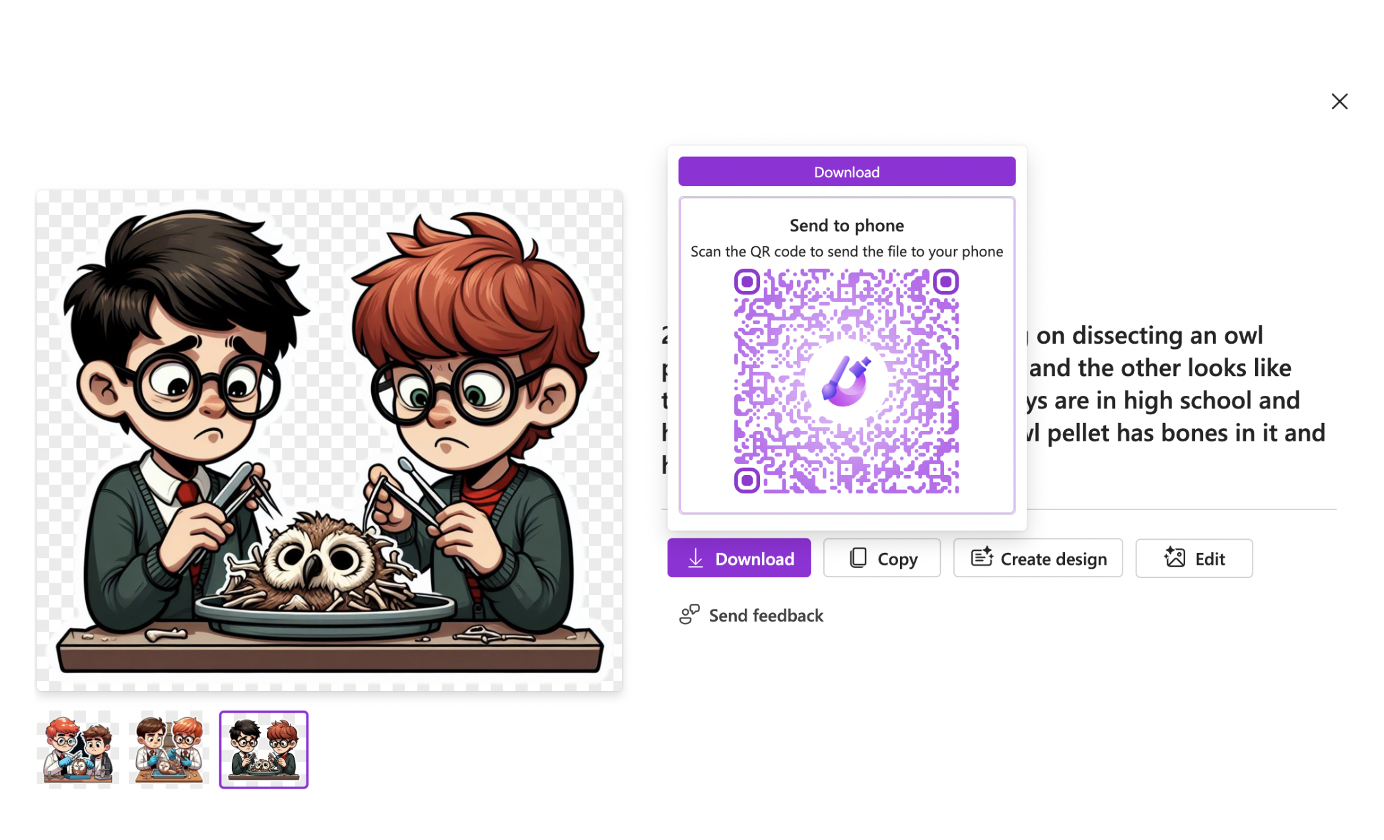
Once you have created the image, it’s time to download and save it. Click on the image that you would like to use, and you will be given several options: Download, Copy, Create Design, or Edit. You can download the image to your machine or copy and paste it.
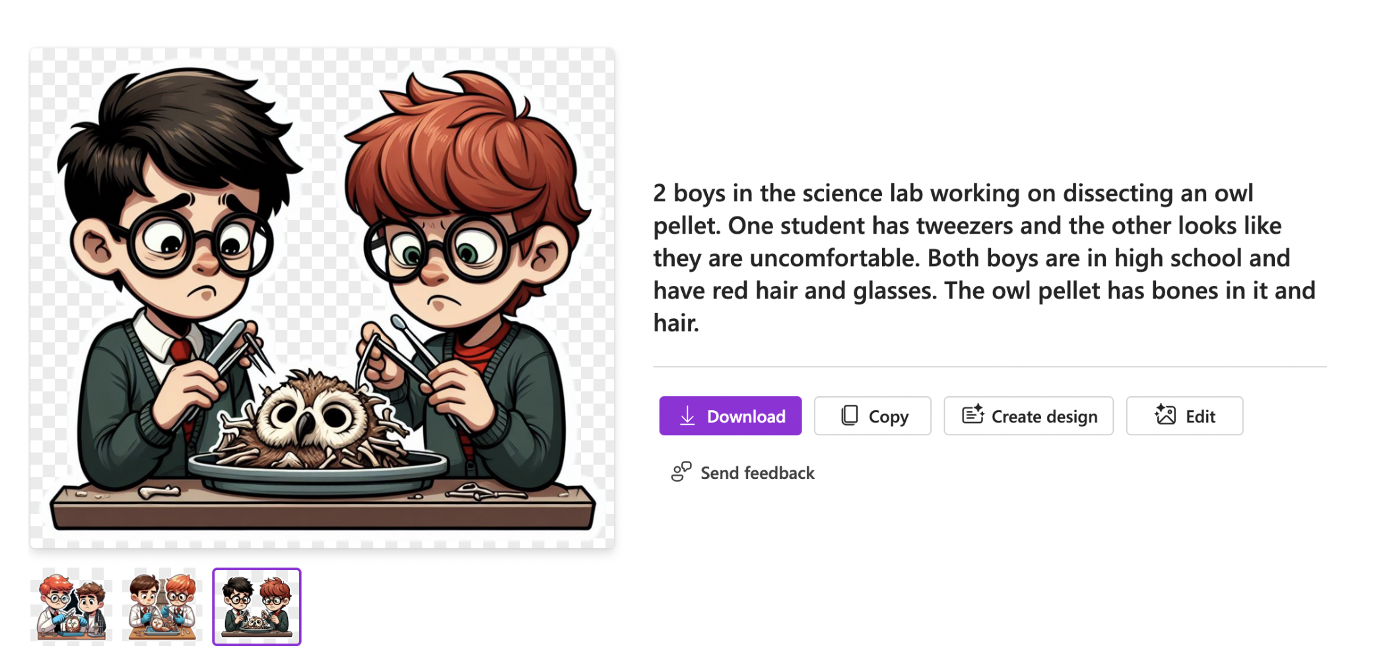
Another neat feature is that when you click Download, you can click Send to Phone to generate a QR code (shown in the second image below) that will make the image accessible on your phone!
Classroom Implementation Ideas:
Microsoft Designer leverages AI capabilities to effortlessly generate professional-quality visuals from text prompts. Beyond image creation, Designer empowers you to seamlessly remove backgrounds or specific elements from existing images.
You can include Microsoft Designer in your lessons in all subject areas and for many project options. This tool is an excellent way for students to practice descriptive language skills by creating prompts. Below are several suggestions for how students can use Microsoft Designer for projects in school.
- Create visually appealing title slides or cover pages for presentations or reports.
- Generate engaging social media posts or digital flyers to promote school activities.
- Produce creative book reports by blending text descriptions with AI-generated imagery. Add the images to digital stories as illustrations.
- Design custom motivational posters or inspirational quote graphics.
- Create illustrations that capture scenes from a book they have read.
- Produce custom images for creative writing stories or poetry assignments.
- Create visual representations of the results of a science experiment.
- Generate images for multimedia presentations, videos, or other “show what you know” projects.
- Produce visual presentations instead of written assignments on topics in any subject. For example, in French class, share what you know about the Eiffel Tower by creating the perfect prompt and adding this image to your project.
- Develop storyboards or scene visualizations for video projects or skits.
- Turn poetry lines or short stories into AI-illustrated scenes or visuals.
- Generate visual interpretations of poems, speeches, or lyrics.
- Produce imagery to enhance research projects or reports.
- Use one of the templates to visualize historical events, figures, or periods.
- Illustrate scientific concepts like cells, energy flow, and ecosystems.
- Create images for comic book projects.
- Produce visuals for cultural celebrations or heritage projects.
- Create graphics for a campaign related to a social or environmental cause.
Additional Video Tutorials and Review:
- TeachersFirst Review: Microsoft Designer
- Video: “Microsoft Designer Tutorial for Beginners 2024”
- Video: “Grow Essential AI Skills with Microsoft Designer Templates”
Have you used Microsoft Designer? Share your activities in the comments below!