In Part 1 of this blog, we introduced you to Nearpod and discussed the application of both the SAMR Model and the Triple E Framework to help you integrate Nearpod into your instruction. Today’s post offers detailed instructions for how to use this tool and shares classroom use ideas by subject.
Nearpod:
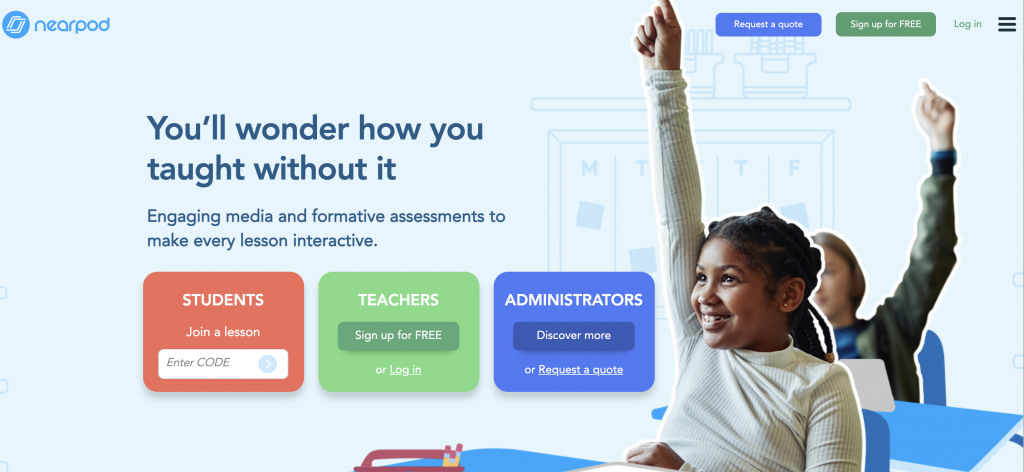
If Nearpod is new to you, get ready to be amazed. This tool is powerful and highly engaging. When you arrive at the site, click Join for Free.
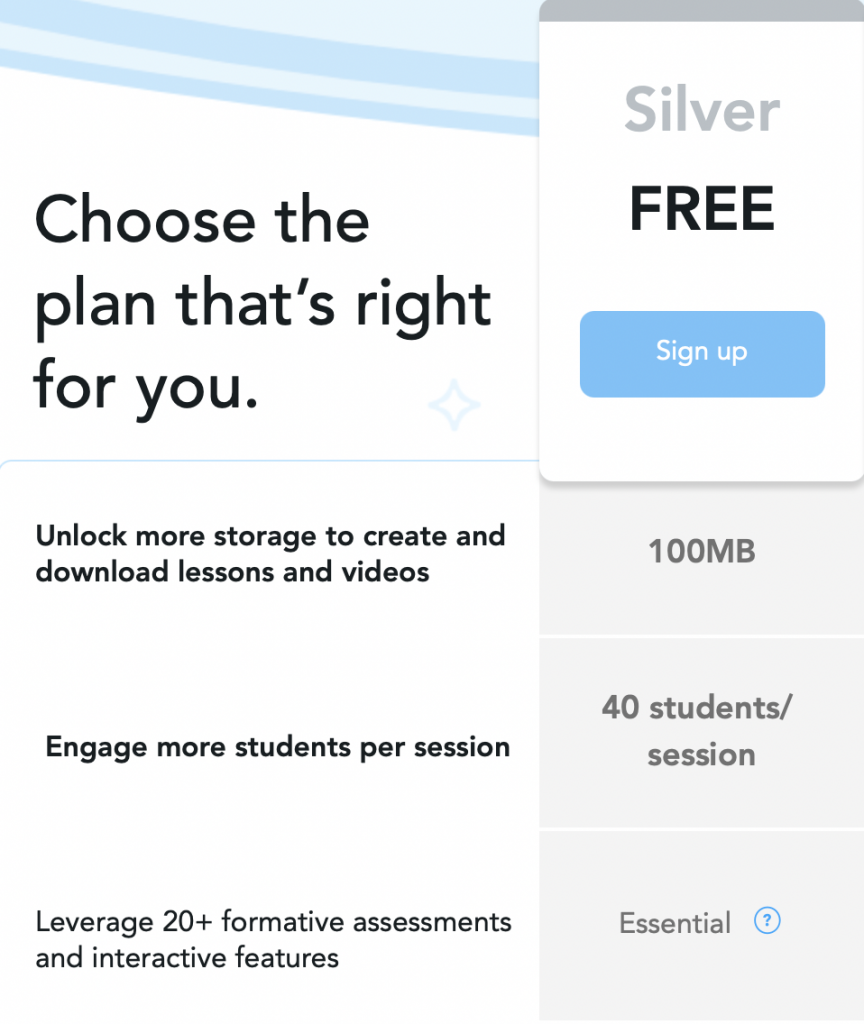
If you are wondering what is included in the free account, here are the highlights.
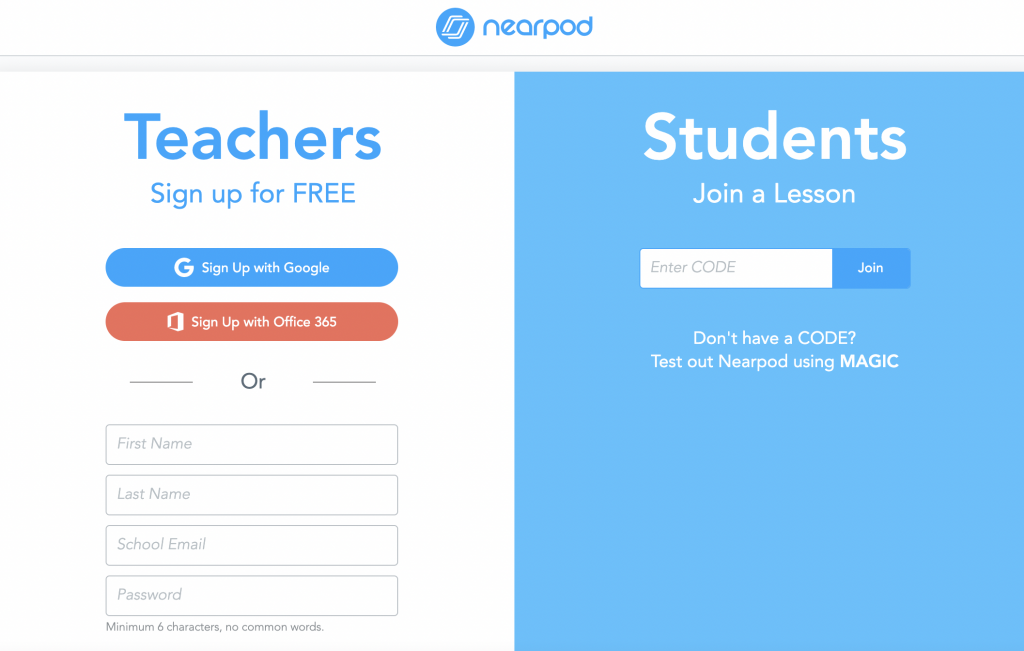
Once you click Sign up for Free, you will be directed to log in using your Google or Office 365 account. You can also sign up using your email.
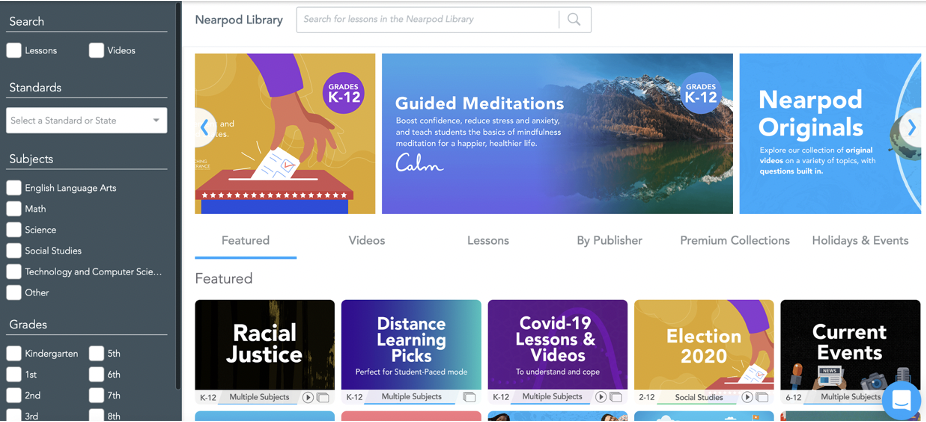
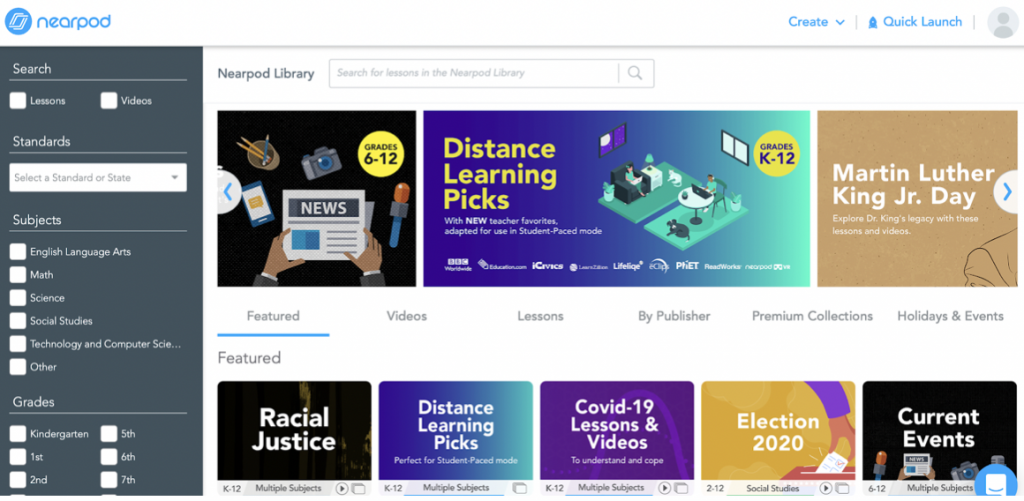
A great place to begin your exploration of this tool is at the Nearpod Library. Here you will find thousands of lessons and videos all ready to go. You can search by standards, grade, subject, or state. You can also search for only lessons, only videos, or both.
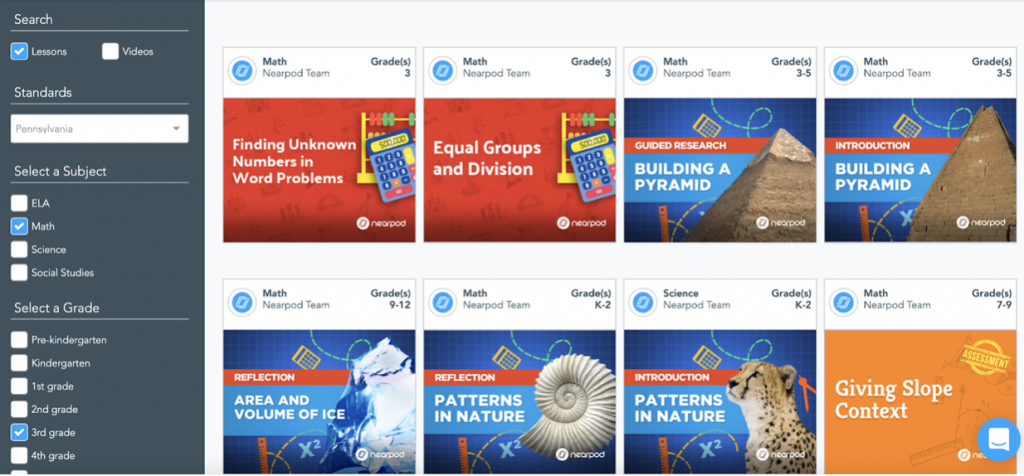
Here is an example of a search of lessons for math in grade 3 with Pennsylvania standards (which are Common Core). All of these lessons are editable to be used as you wish.
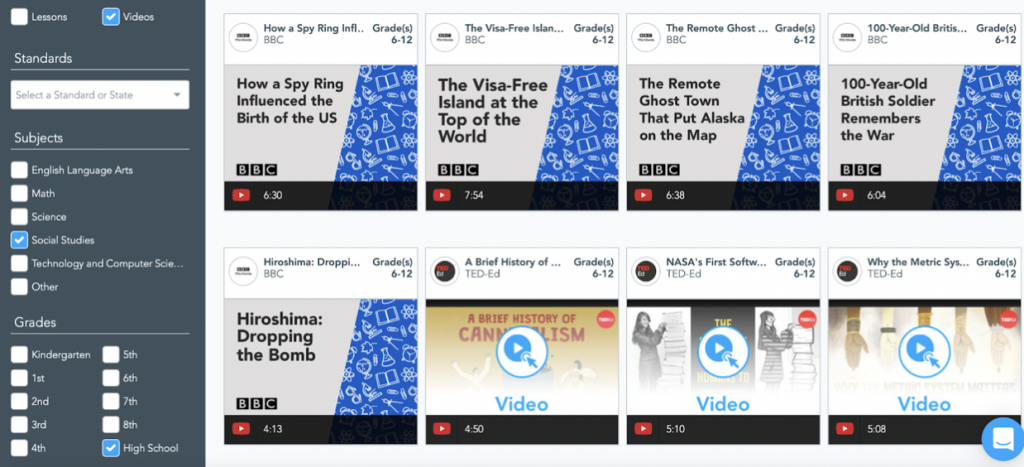
This example shows a search for videos for high school social studies. Notice the videos come from a variety of sources. Some are created by Nearpod, while others are created by the BBC, TED-Ed, and many other companies.
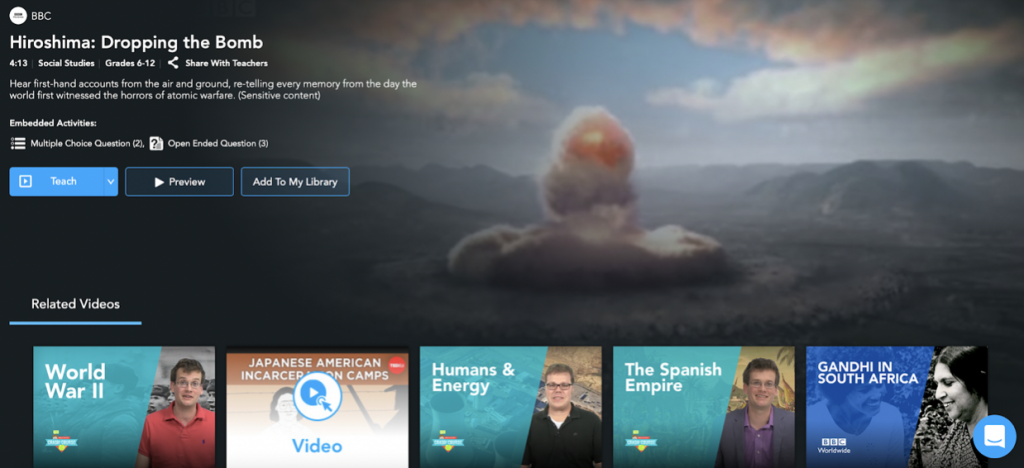
If you click to view a video or lesson, this is what you will see. The image below shows an example of a video. You can see the types of embedded activities (this one has multiple choice questions and open-ended questions) and can add the video to your library, click Teach to use it immediately, or preview the contents. Notice the small chat feature in the bottom right side. This is a great way to contact Nearpod with additional questions.
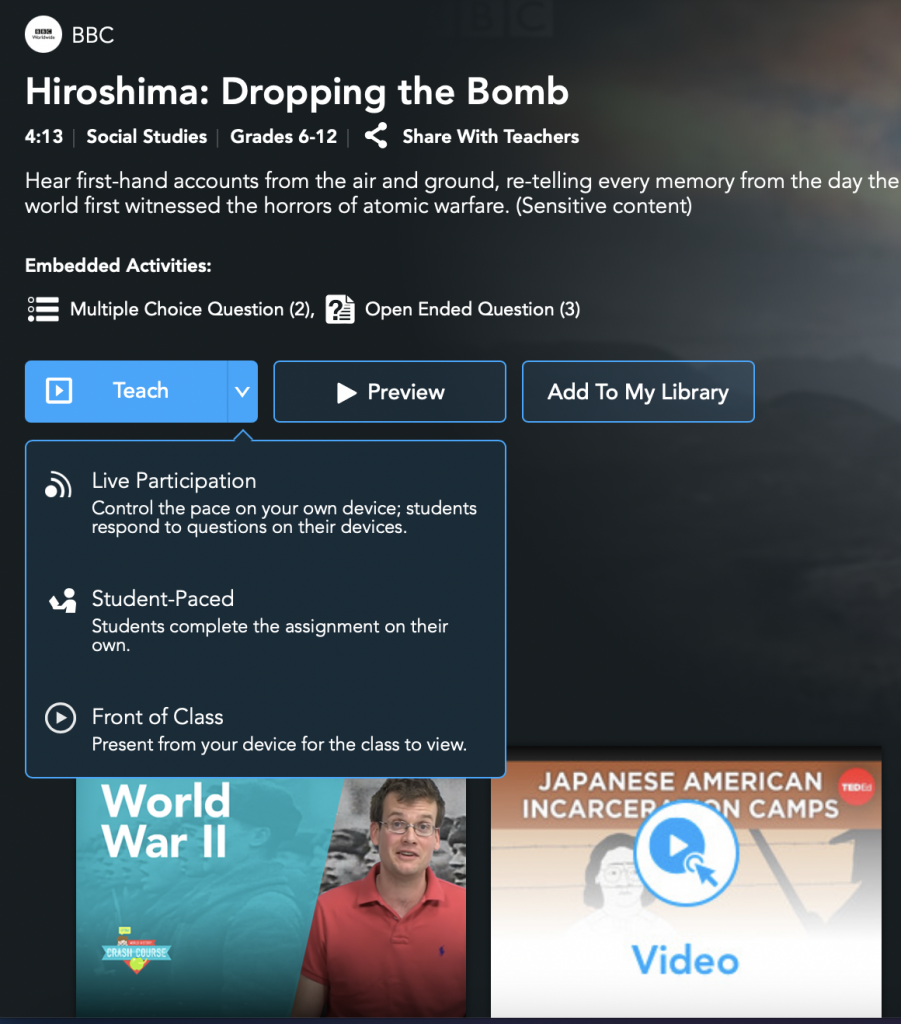
When you click the Teach button, you have three options. Live Participation allows the teacher to control the pace on their device while students respond to questions on their own devices. This means that teachers decide when to advance the slides/activities. Another option is to use Student-Paced, which allows students to work whenever needed and at their own speed. Front of Class allows teachers to present from their device for the class to view (rather than students seeing the presentation on their own devices).
If you don’t want to use an already-created Nearpod lesson or video, you can click the Create button on the upper right side and create your own.
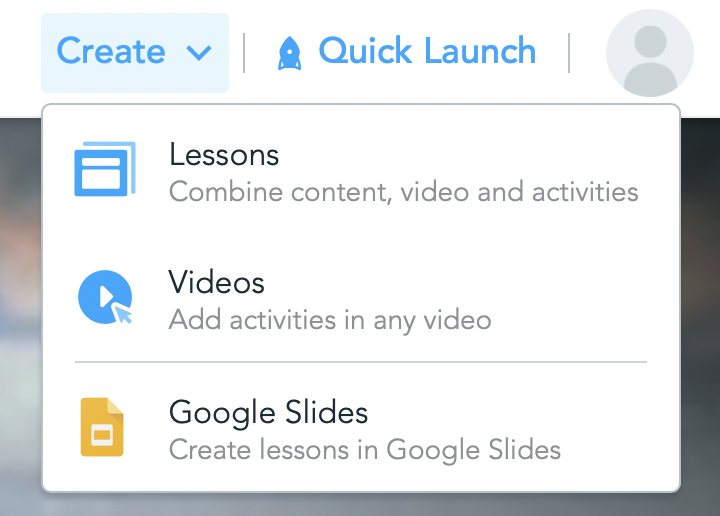
Once you click Create, you have the option to create lessons, videos, or lessons that use Google Slides. Click whichever you would like to create.
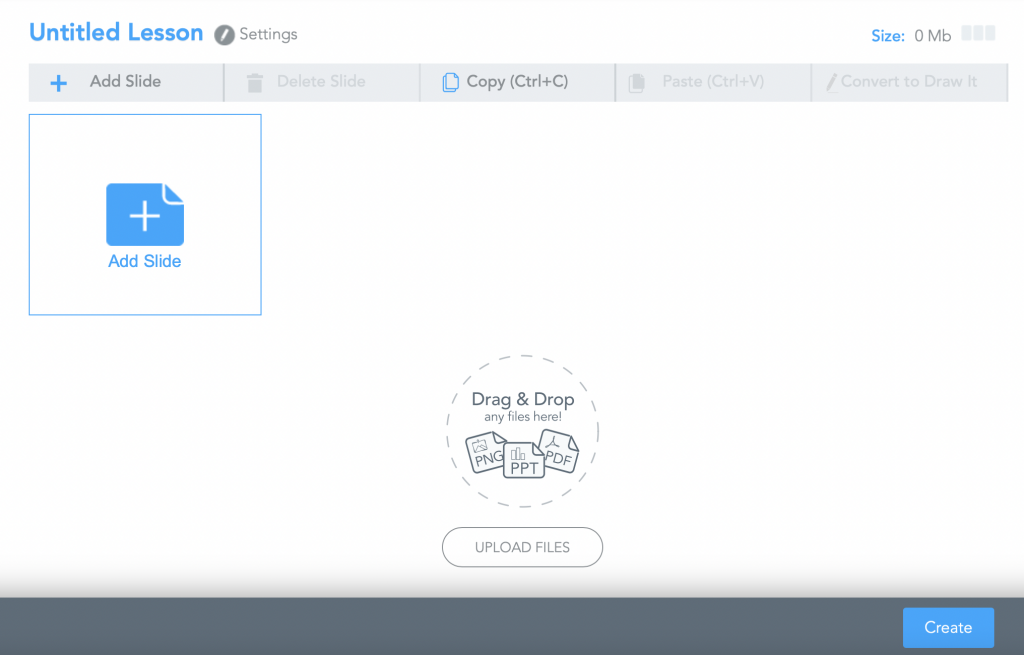
You will be taken to a blank page where you can add your content, update the title, drag and drop files, and create.
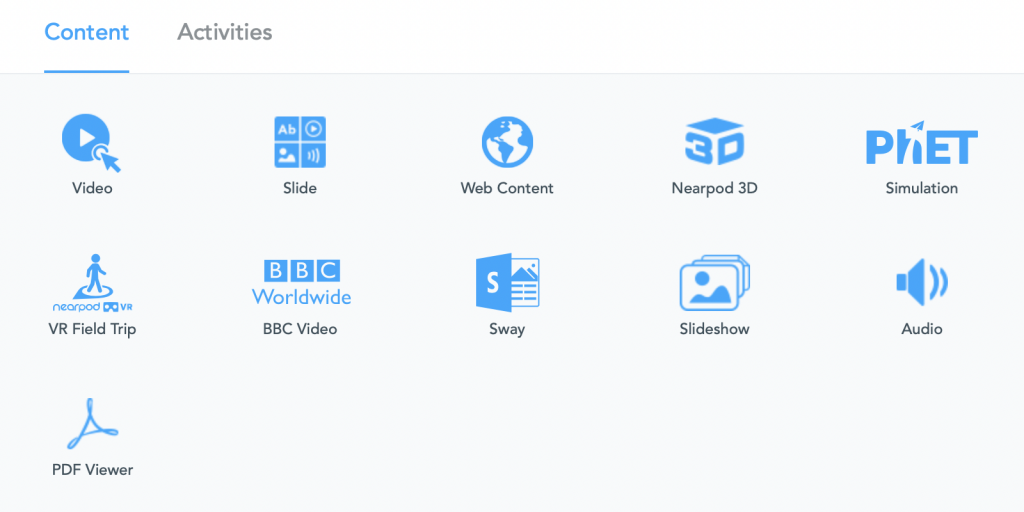
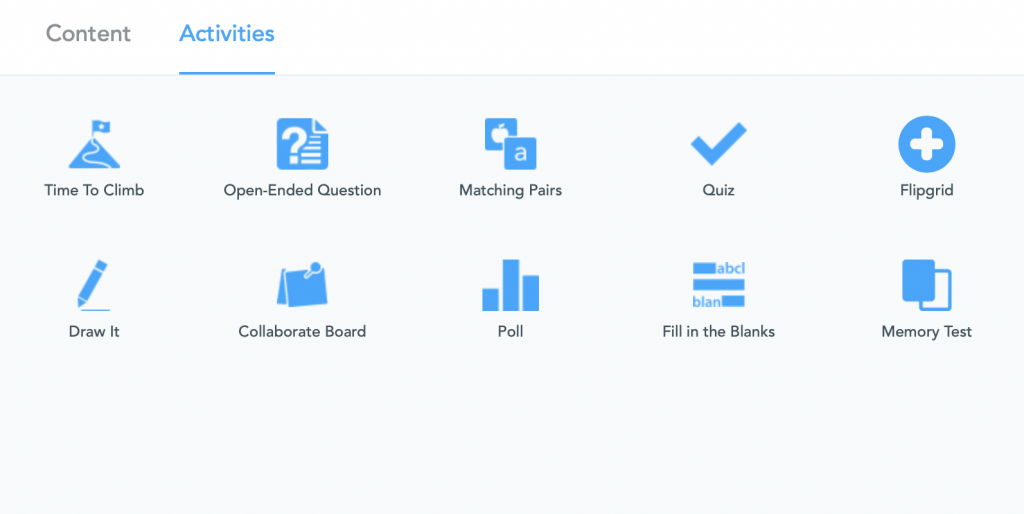
When you add content, you have many options. For example, you can add video, web content, VR field trips, audio, and much more (see image below).
There are also many activities to choose from, including matching pairs, quizzes, adding a Flipgrid, using a collaborative board, Draw It, and many others.
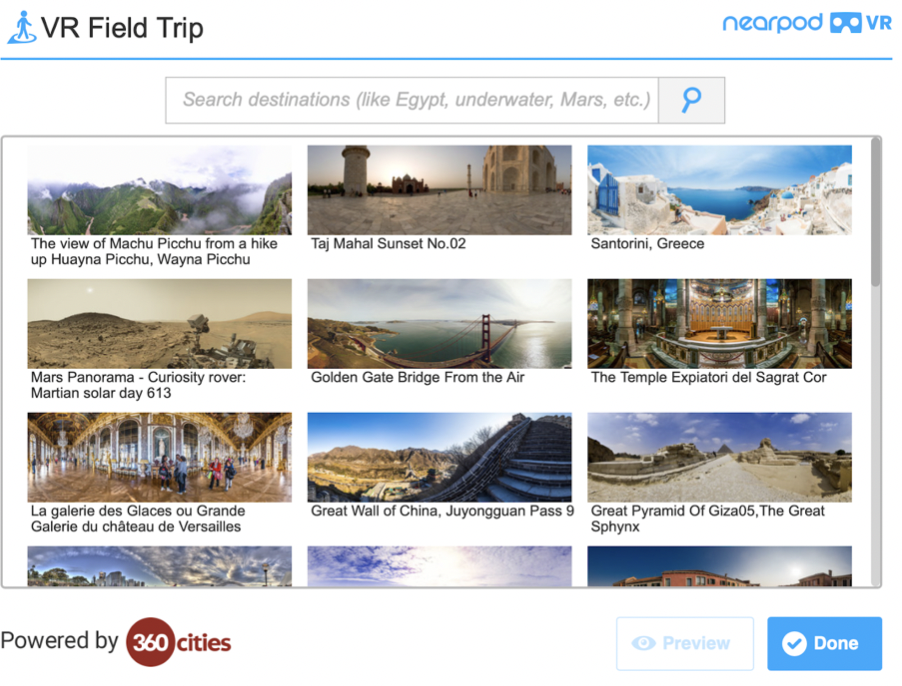
If you would like to add a VR field trip, Nearpod has many ready-to-go options for you to use. Type what you’re hoping to find in the search box. Click on the video preview image to add, and then click Done.
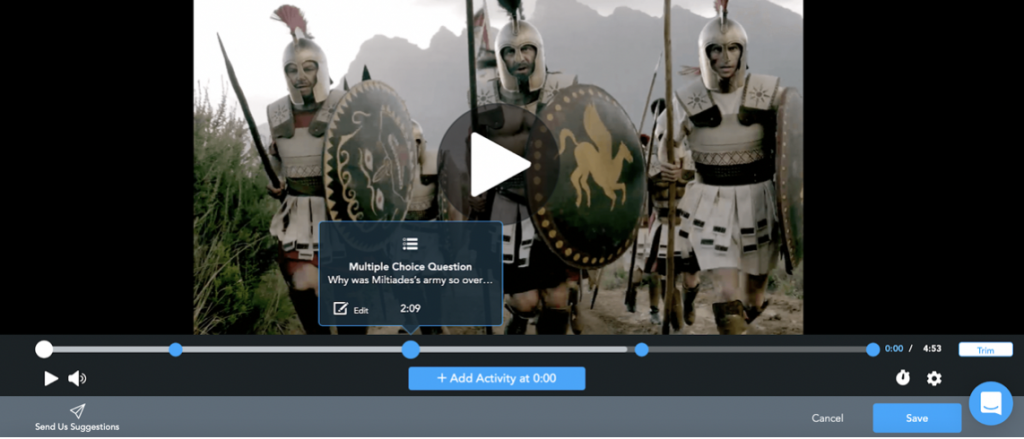
After you add the video, notice the stops (indicated by blue circles) on the video stream. Each stop lists the activity shared at that break. For example, this one is a multiple-choice question. These activities may be edited.
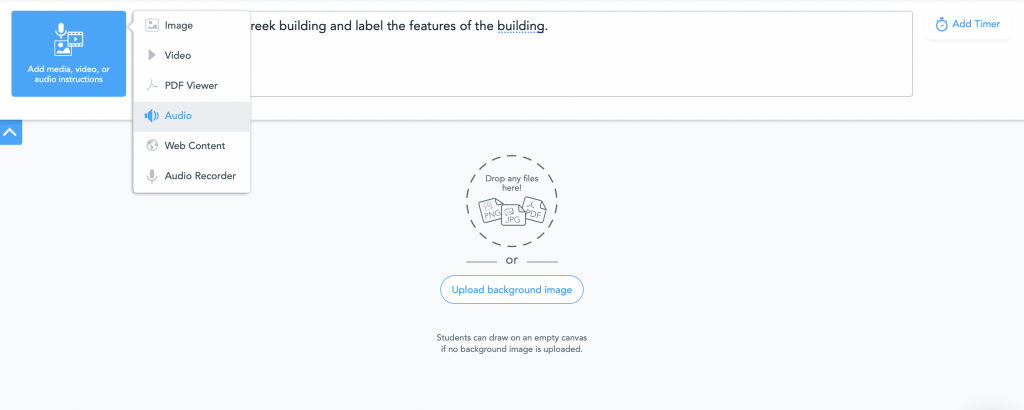
This is the view when you click to create a Draw It activity. You can type in exactly what you want students to draw, or you can add an image, video, your own voice instructions, and more.
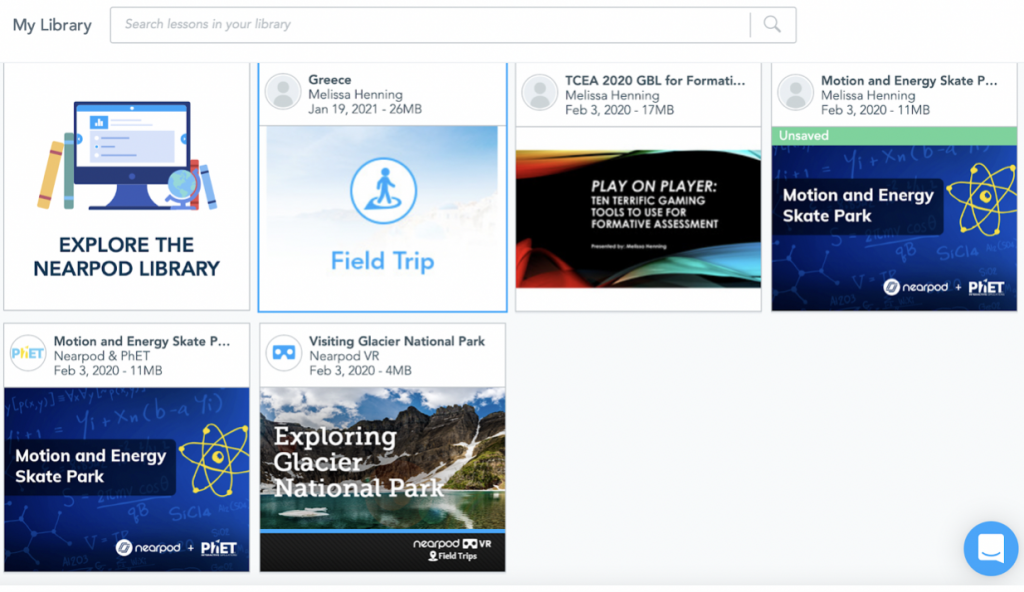
All of your creations will be shared in your library. Each lesson or presentation shows how many MB of storage space it is taking up. If you are finished with a presentation and want to delete it, you do have that option.
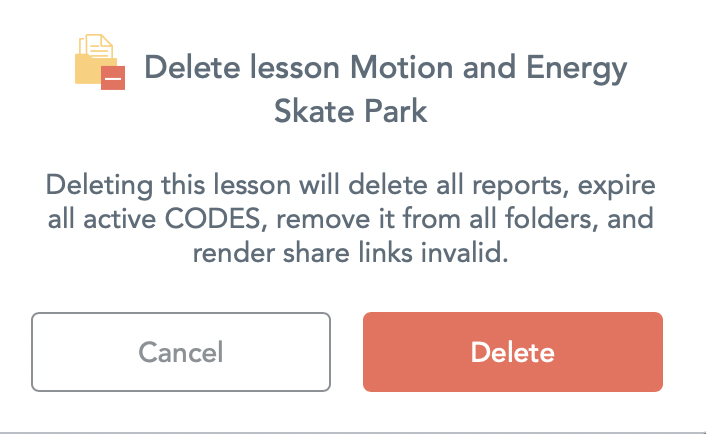
When you click Delete, you will get this warning message. Be aware: if you delete a lesson, you also delete all reports, folders, codes, and lesson materials associated with that lesson. So always take a second to think before you delete.
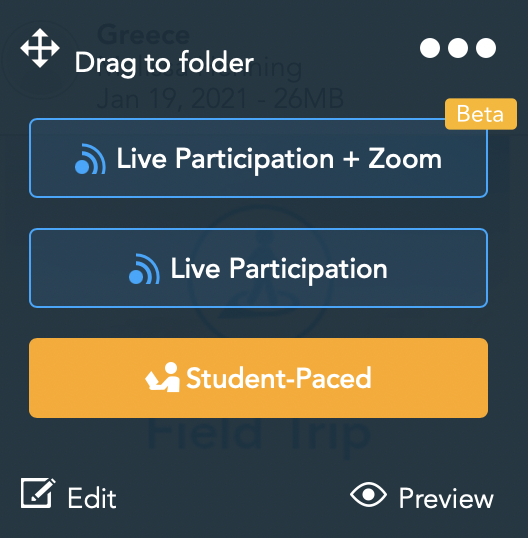
You can click on a lesson and decide how you wish to present the material with these options: Live Participation + Zoom, Live Participation, or Student-Paced.
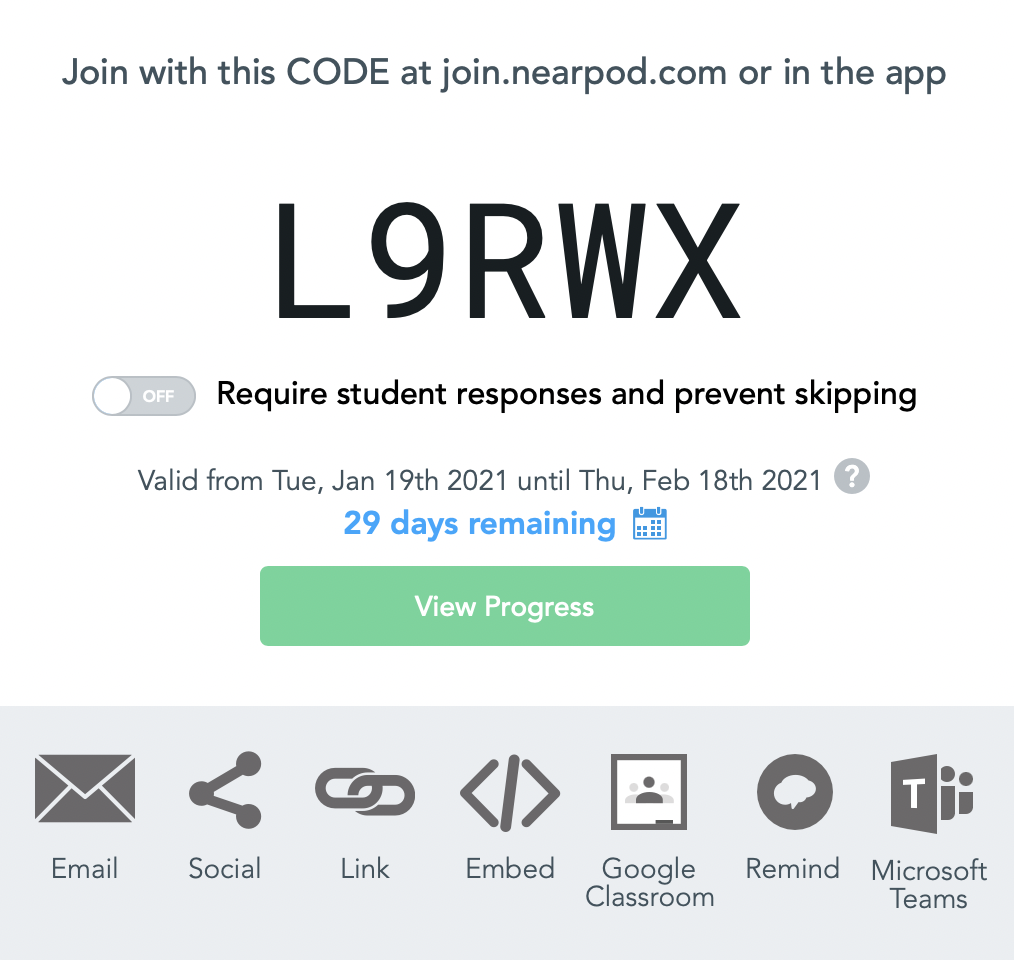
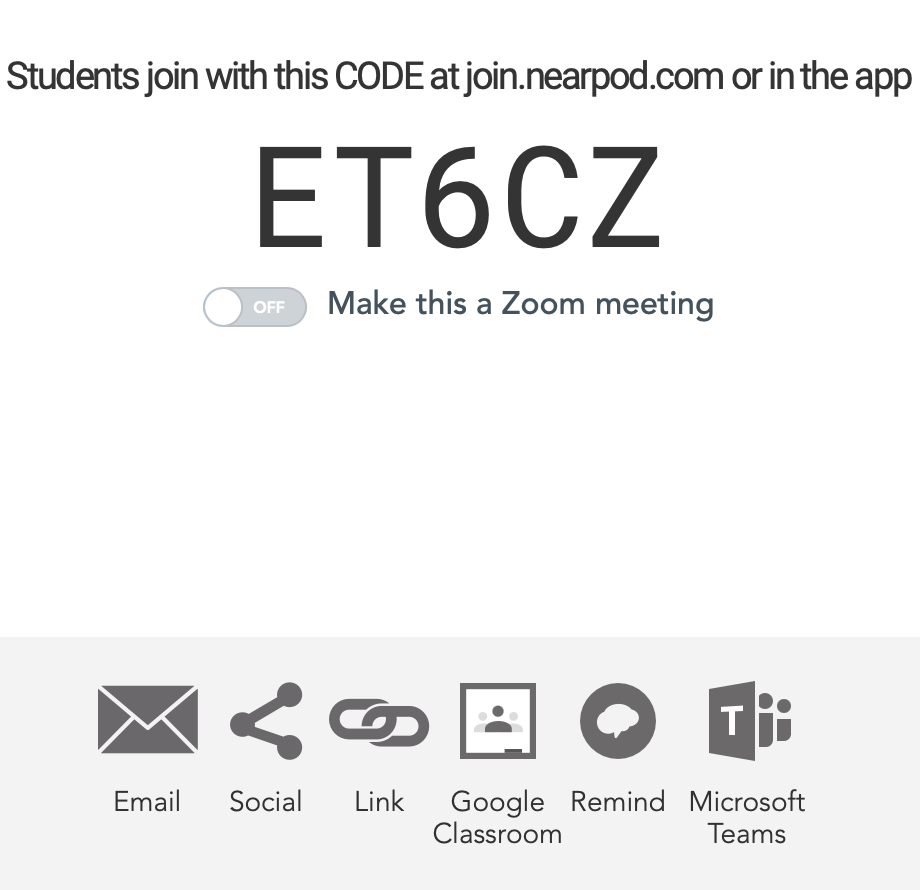
If students are doing the Student-Paced option, students get a code to join. You can click to require student responses to prevent them from skipping any material. You can also set a time limit (the default is 30 days). You can share your lesson using any of the ways shown on the image below, including email, a link, Google Classroom, and Microsoft Teams.
If you are doing a Live Participation lesson, you also get a code for students to join. There are also several ways to share the link in addition to just sharing the code.
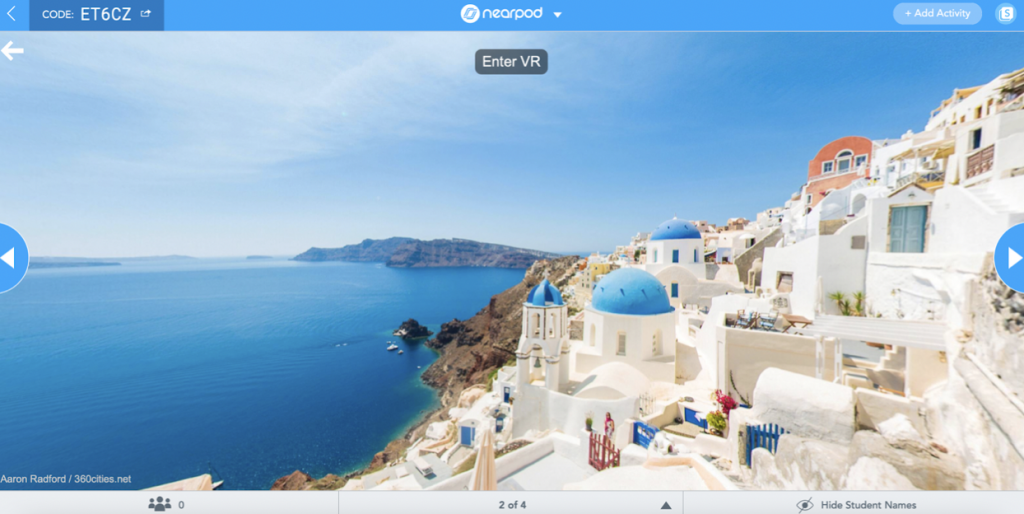
Once you are ready to go, your lessons will show the code in the upper left side. Here you can see the VR activity within a lesson. As you move through lessons, click the arrows on the side to move forward.
If you are still looking for more information about how to use Nearpod, visit the Teacher Resources. In this section of the site, you will find free webinars, tutorial videos, a blog with numerous posts, and other useful information.
Classroom Use Ideas:
Nearpod offers educators an engaging option for blended learning. Teachers can get creative and modify the lessons/videos to match the class content, or they can create their own original lessons or videos. Nearpod also allows teachers to formatively assess students throughout the entire lesson or video. Rather than assigning a traditional test, have your students demonstrate their knowledge using a lesson on Nearpod. This versatile tool can be useful in nearly every subject area and for countless topics. Below, we’ve included ideas for using Nearpod to teach several subject areas—but the only limitation is your imagination!
Create a Nearpod video about…
Social Studies:
- Current elections or the inauguration.
- A country or state.
- Ancient civilizations.
- European explorers.
- The Electoral College.
- How bills are passed through congress.
- A battle from the Civil War (such as Gettysburg).
- The Roaring 20s.
- The Great Depression.
- The Spanish flu pandemic.
- Medieval castles.
- Virtual tours of famous landmarks (or cities) around the world.
- How canals work.
- A famous person from history (such as the first man to walk on the moon).
- The importance of the Nile River to Egypt.
Science:
- The science (and physics) of sports.
- Punnett squares.
- The human body (or systems of the body).
- Sexual reproduction.
- Evolution.
- Genetics.
- The steps in the scientific method or the engineering design process.
- The steps (including images and video clips) from a class science experiment or lab.
- The phases of the moon.
- Weather phenomena.
- Insects and other bugs.
- The food chain.
- Ecosystems.
- Biomes of the world.
Math:
- The X-axis.
- Graphing inequalities.
- Shapes in geometry.
- The steps to solve a difficult word problem.
- The order of operations (PEMDAS).
- Adding improper fractions.
- Multiplying decimals.
- Solving algebraic equations.
- The difference between the mean, mode, and median.
- Adding money.
- Defining what a function is in Algebra.
- Telling time.
Language Arts:
- Identifying dangling participles.
- Beginning letter sounds.
- Basic reading and word families.
- A book being read in class.
- Reading comprehension.
- Identifying the main idea of a passage.
- The difference between mood and tone of a story.
- The author’s purpose.
- The main events in a story.
- A famous author, highlighting where they’re from, key points in their lives, and other details.
- The evolution of a character from a story.
- A process writing guide.
- The definitions and differences between pathos, logos, and ethos.
- Various forms of poetry.
World Languages:
- Regular verbs in Spanish, French, or German.
- The structure of a sentence (for any world language).
- New vocabulary related to the family, animals, food, or other topics currently being taught in world language classes.
- Locations where world languages are spoken.
- Famous landmarks and cities from the locations around the world where the languages are spoken.
- How to conjugate verbs.
- Personal pronouns in the world languages.
Creative Arts:
- Learning a new dance.
- Different techniques in art.
- How to draw.
- Stories about famous artists.
- A genre of music, such as blues.
- How to play certain instruments, such as the keyboard.
- How to keep the beat and rhythm.
Additional Video Tutorials and Articles:
- TeachersFirst Review of Nearpod
- Nearpod Blog
- Video: How to Teach Remotely with Nearpod
- Video: How I am Using Nearpod to Teach Every Lesson
- Video: Nearpod Tutorial: How to Use Nearpod 2020
Have you used Nearpod in your classroom or for professional learning? Share your activities in the comments below!


One thought on “Tech Tool of the Month: Nearpod – Part 2”