
 In part 1 of this blog, you were introduced to Adobe Spark Video. This amazing and free tool allows you to create beautiful and brilliant videos in a few minutes. There are prompts to follow as you begin to create and add slides, text, videos, photos, music, and more. You have options for the font, theme, and many other components of the story. Create however many slides you wish to include and click play! When finished, you can publish and share it on social media or save it to your device. Part 1 of this blog also discussed the application of both the SAMR model and the TRIPLE E Framework as you integrate Adobe Spark Video into your instruction. Today’s post offers detailed instructions about how to use Adobe Spark Video and also shares many classroom use ideas.
How to Use Adobe Spark Video:
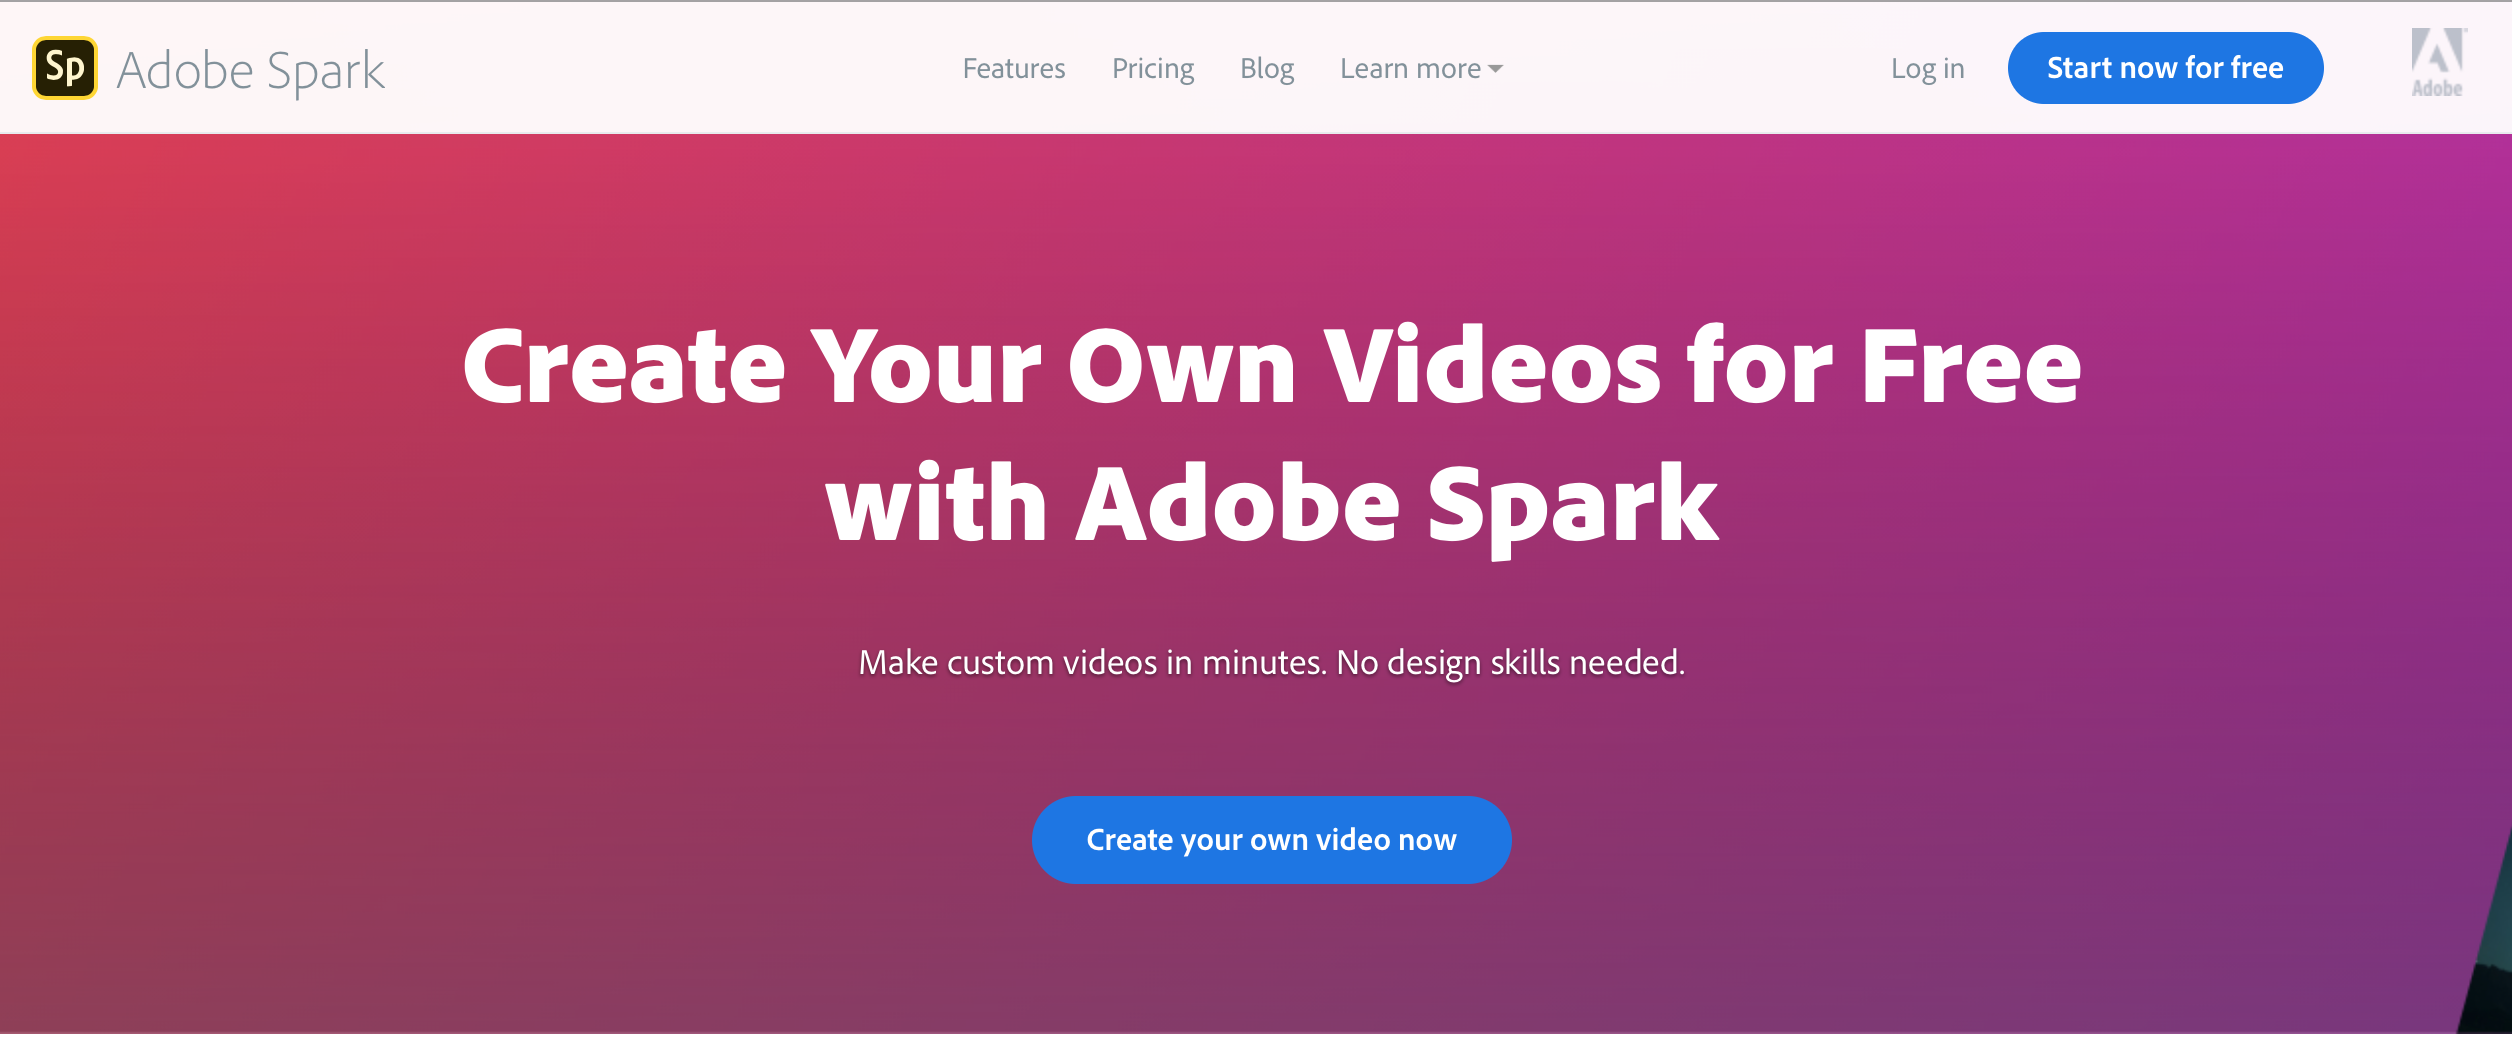
When you arrive at the site, click to Create your own videos now.
The next page will ask you to log-in using your email or your school log-in. Be sure to use the school log-in and check out these FREE features for educators!

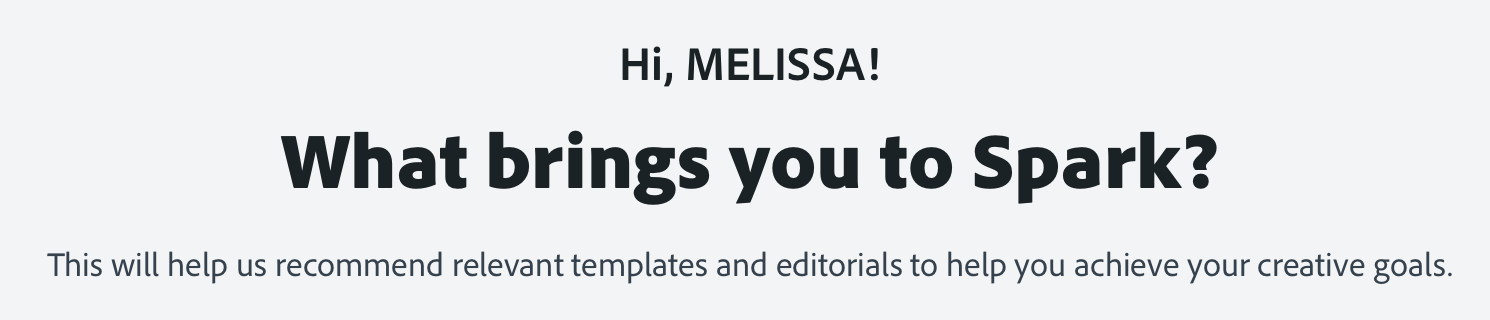
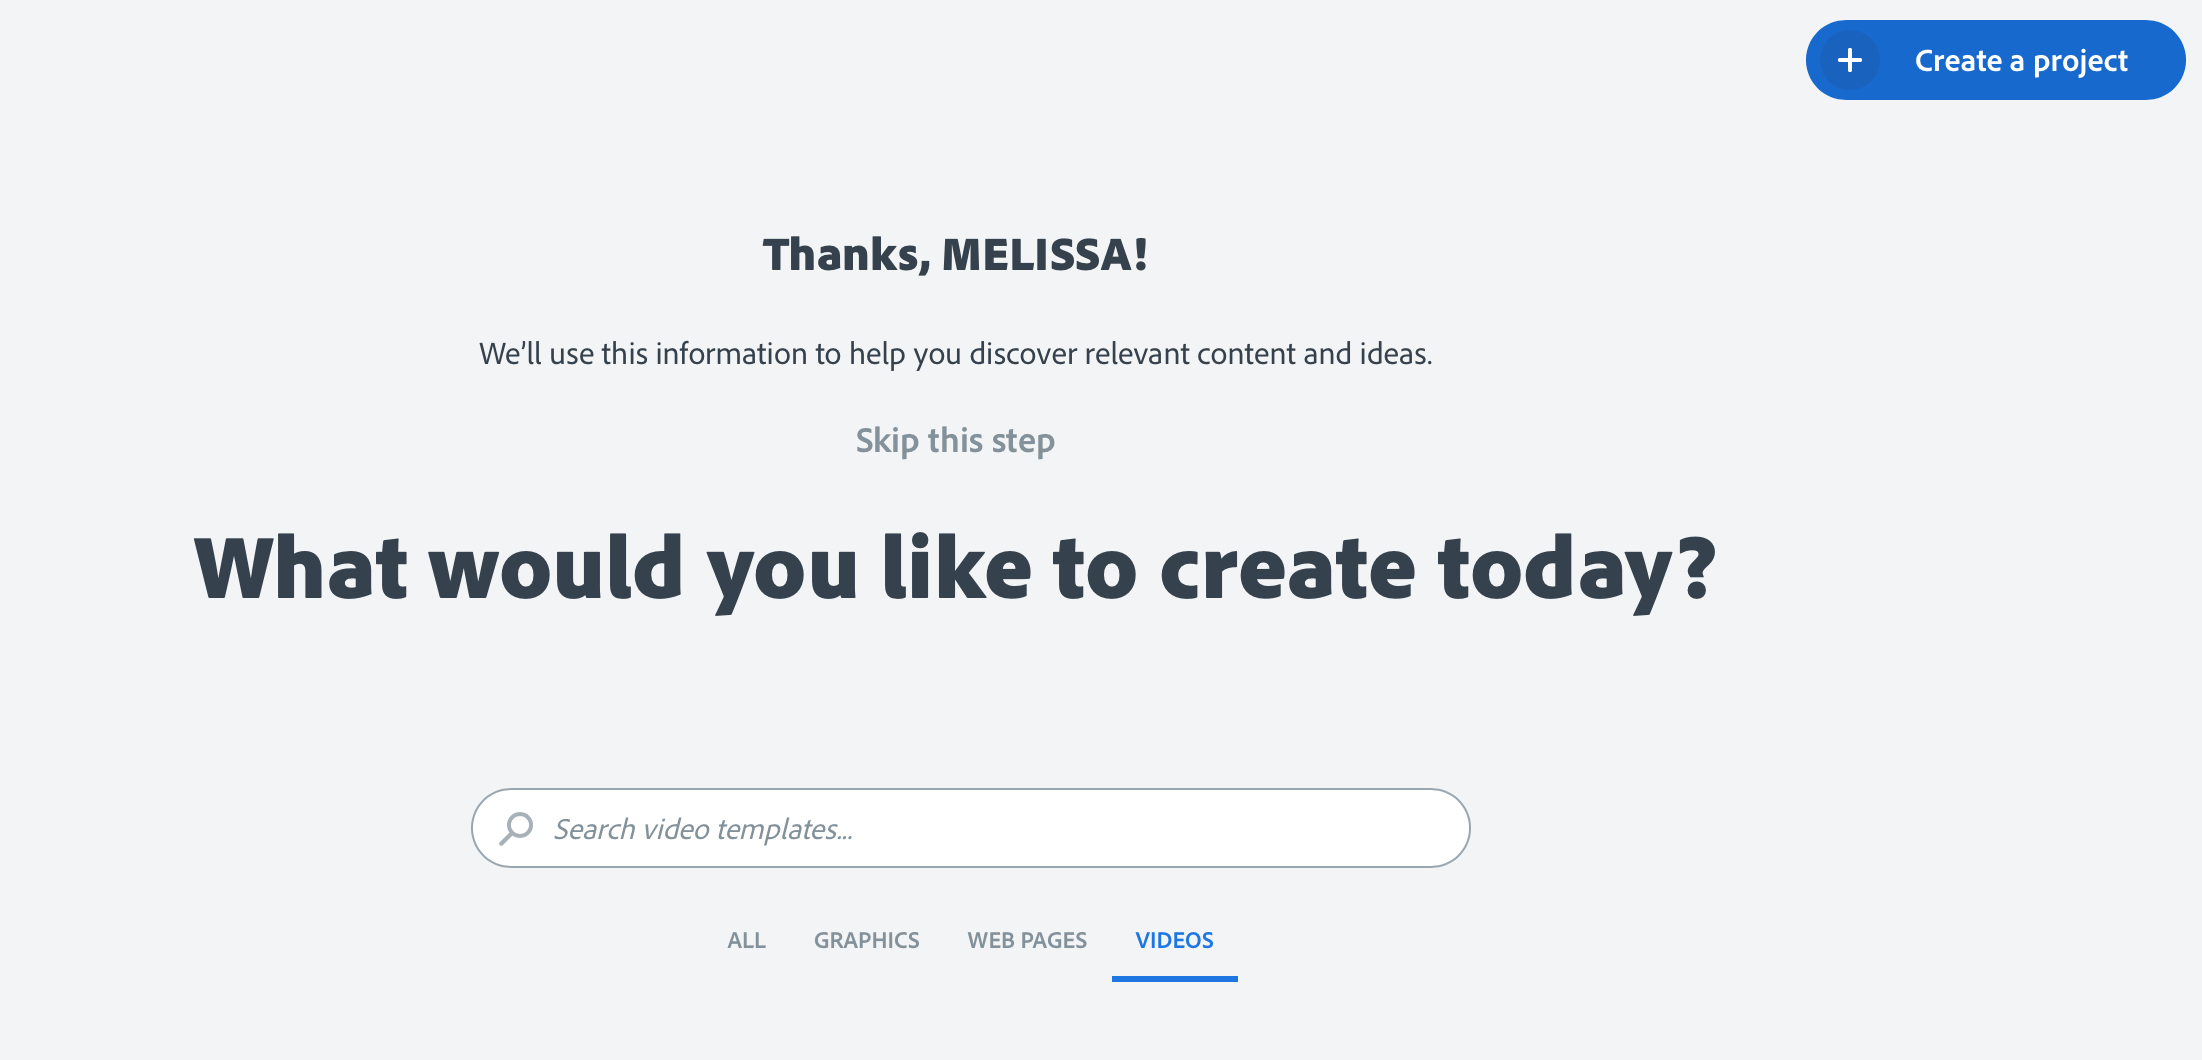
Once you log in, you will be prompted to explain why you are visiting Spark. This information is to help you begin your project and helps the site to know what templates to share with you.
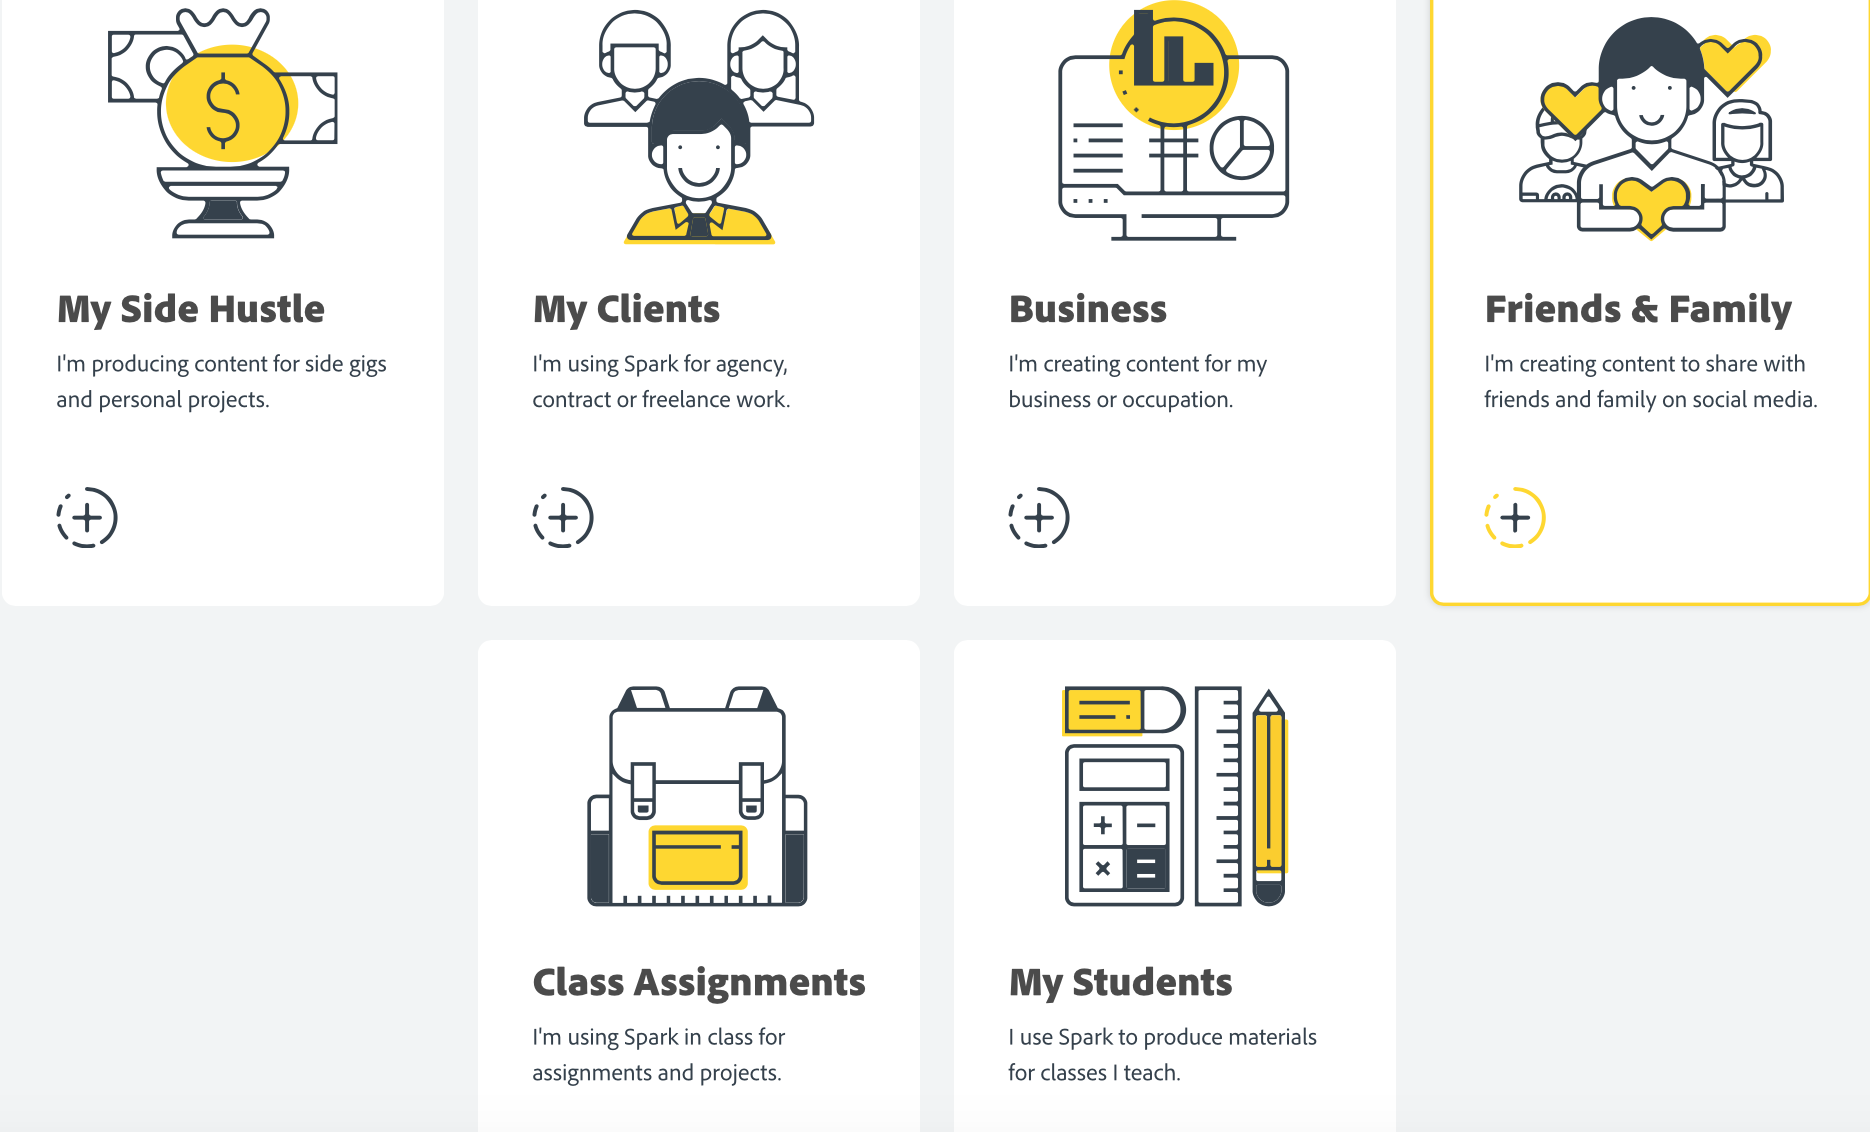
You will be asked what kind of project you want to create, be sure to click video!
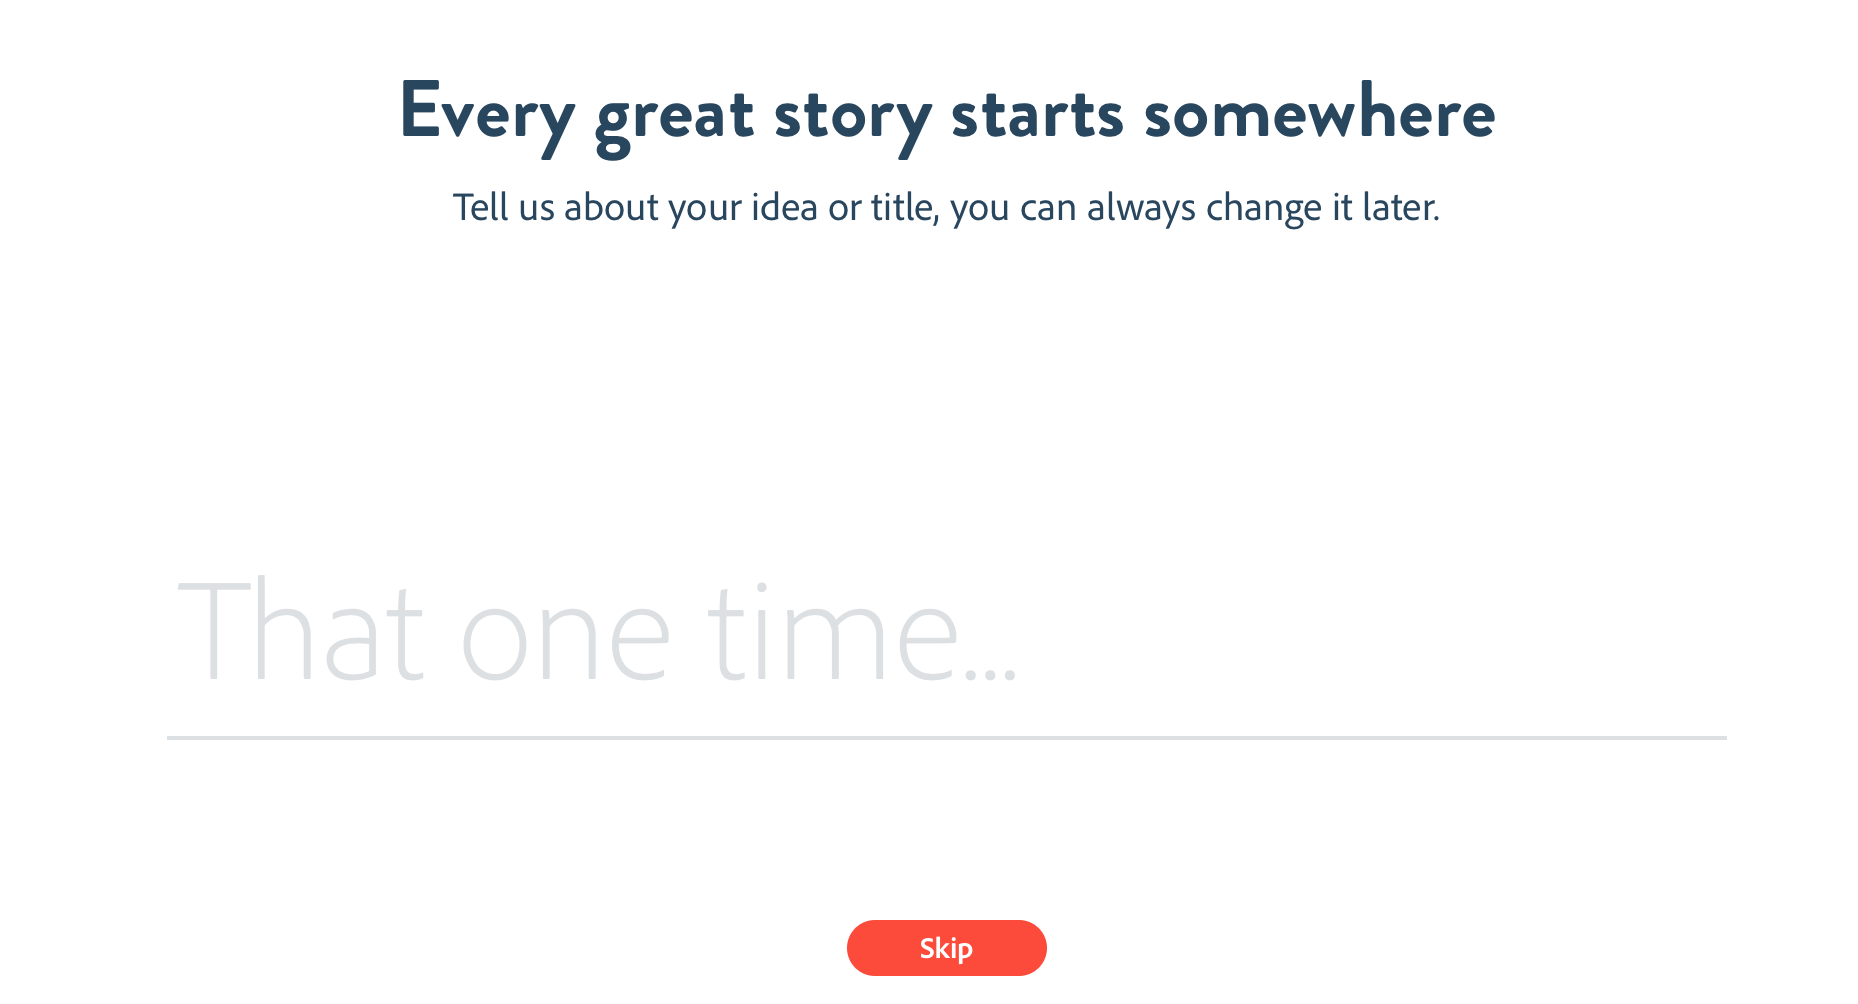
The next prompt that they share is an excellent tool for you to share with your students. A successful digital story/video begins with a great story! Use this area for students to start their great story as they talk about an idea or start with a title.
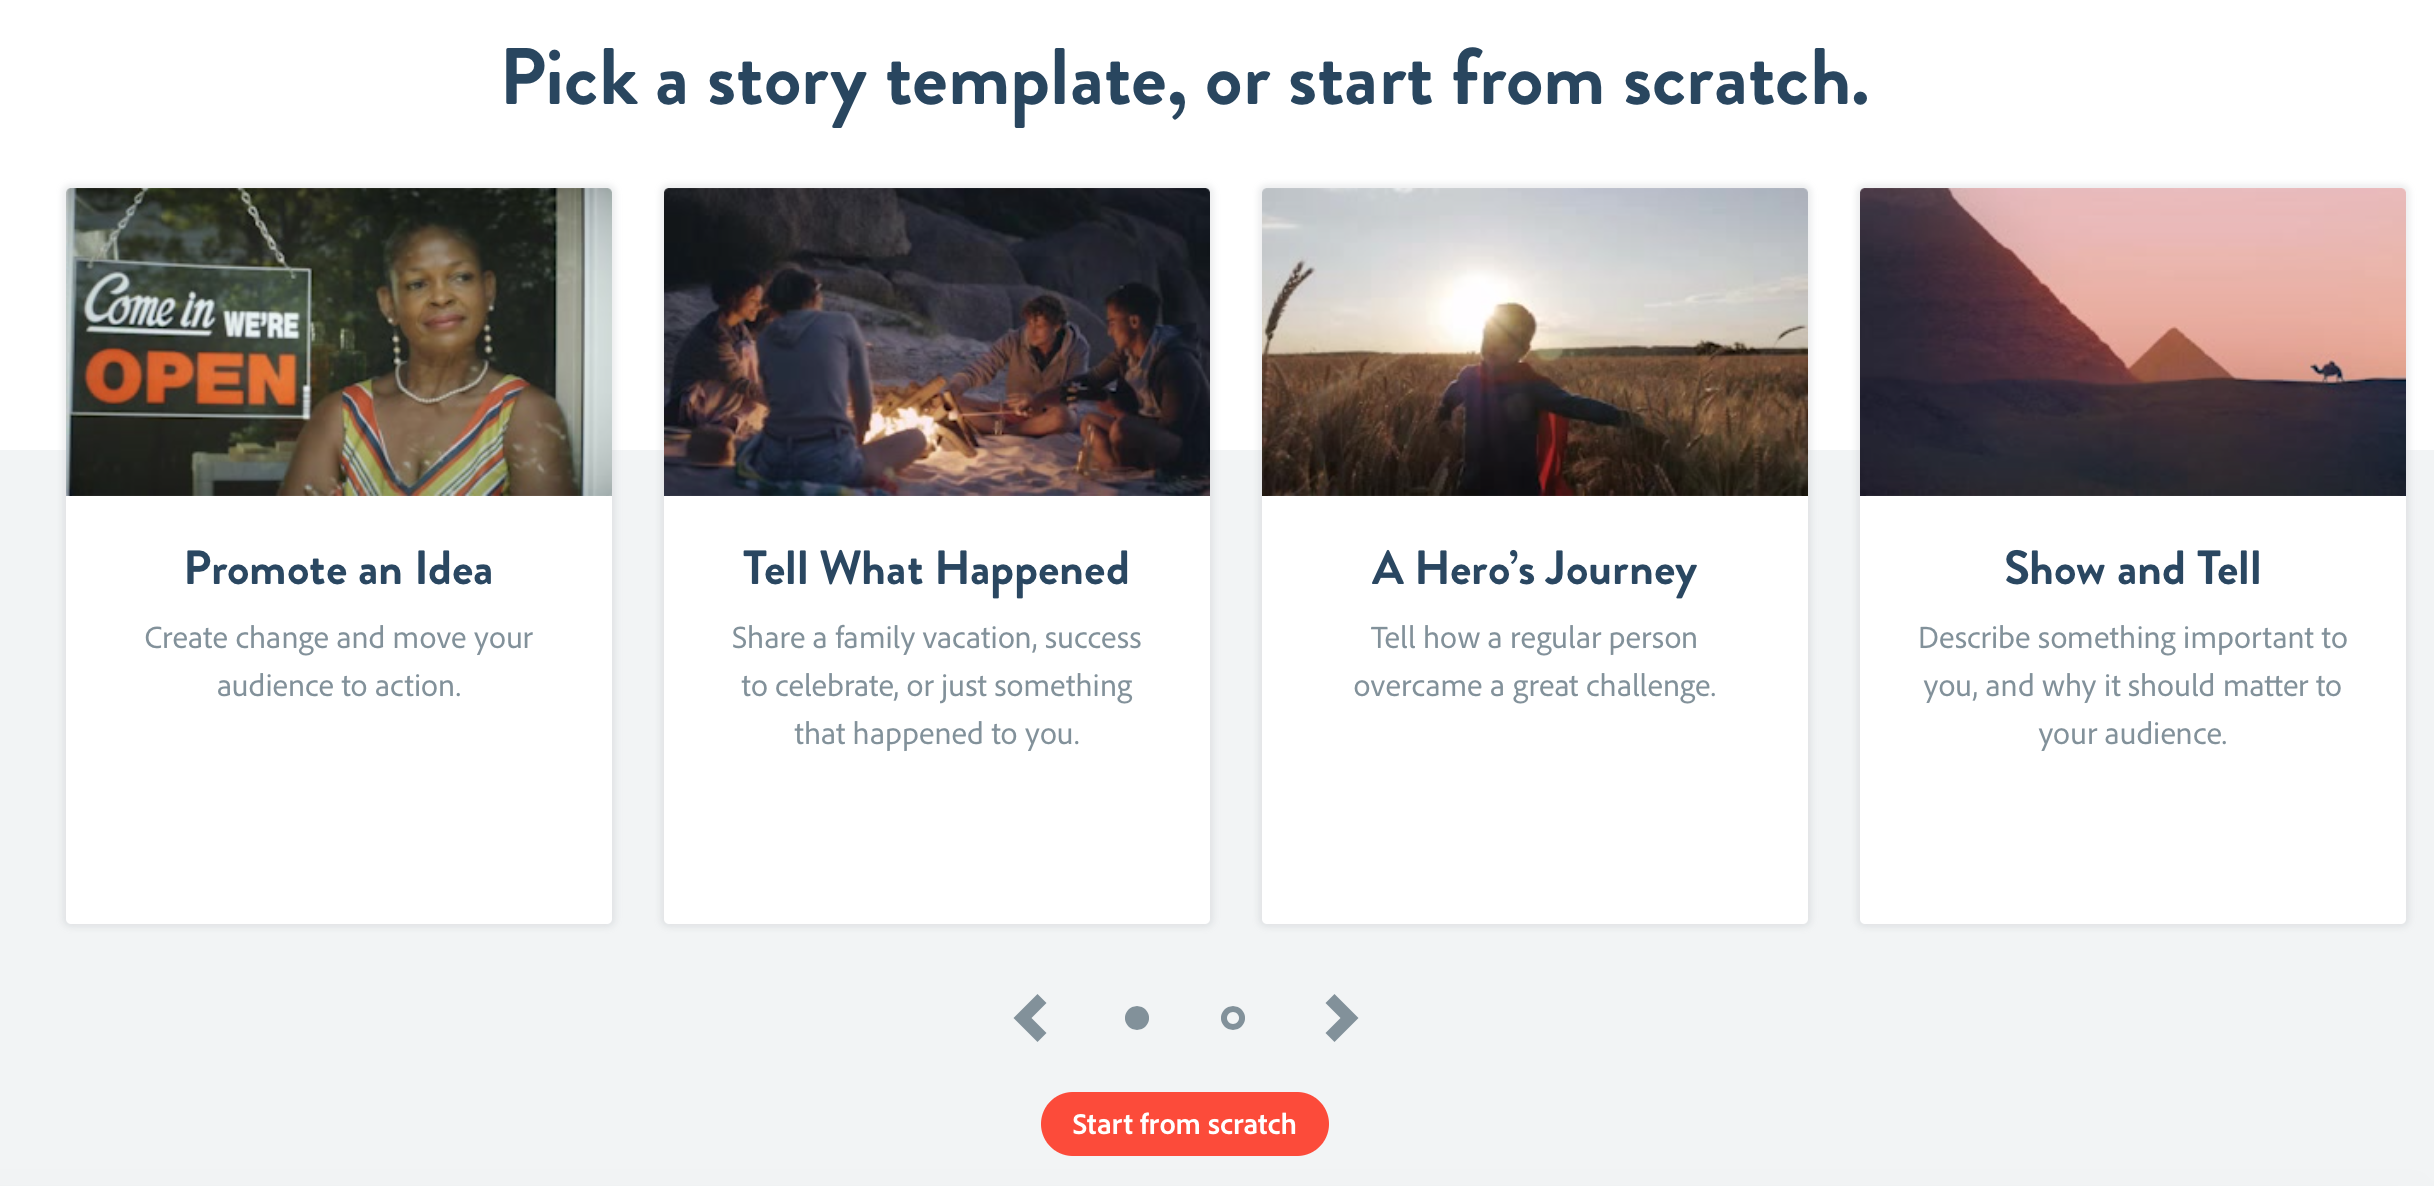
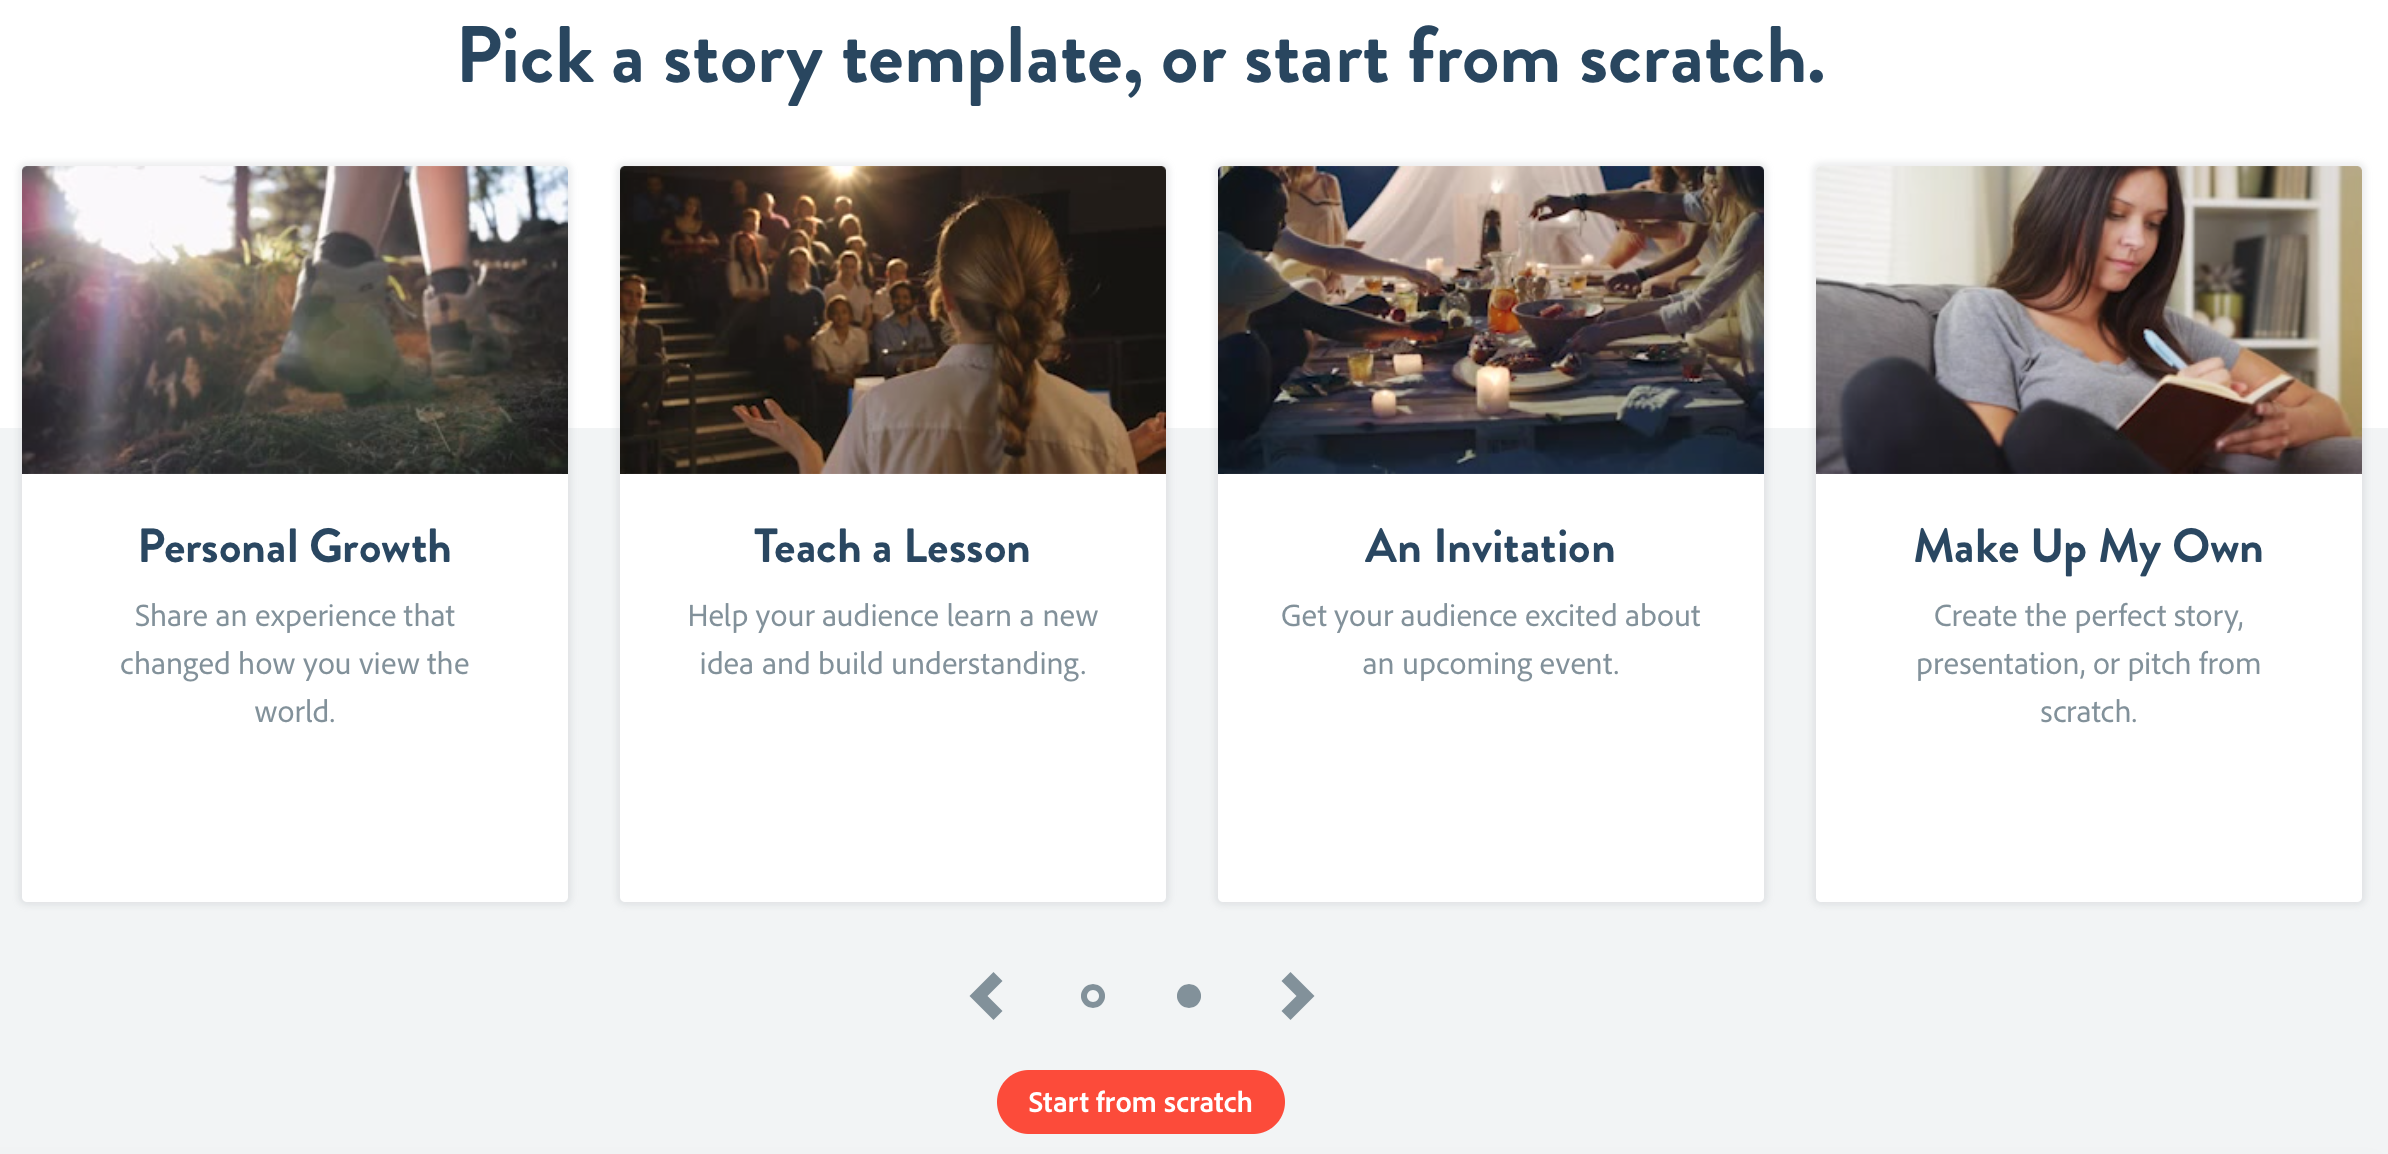
Now we start to get into the fun part! Next, you get to choose what kind of template you would like to use for your story. You can also start from scratch and create your own. Choose the template to Promote an Idea, Tell What Happened, share a Hero’s Journey, Teach a Lesson, and more. This site does a nice job scaffolding the simple steps to create the video.
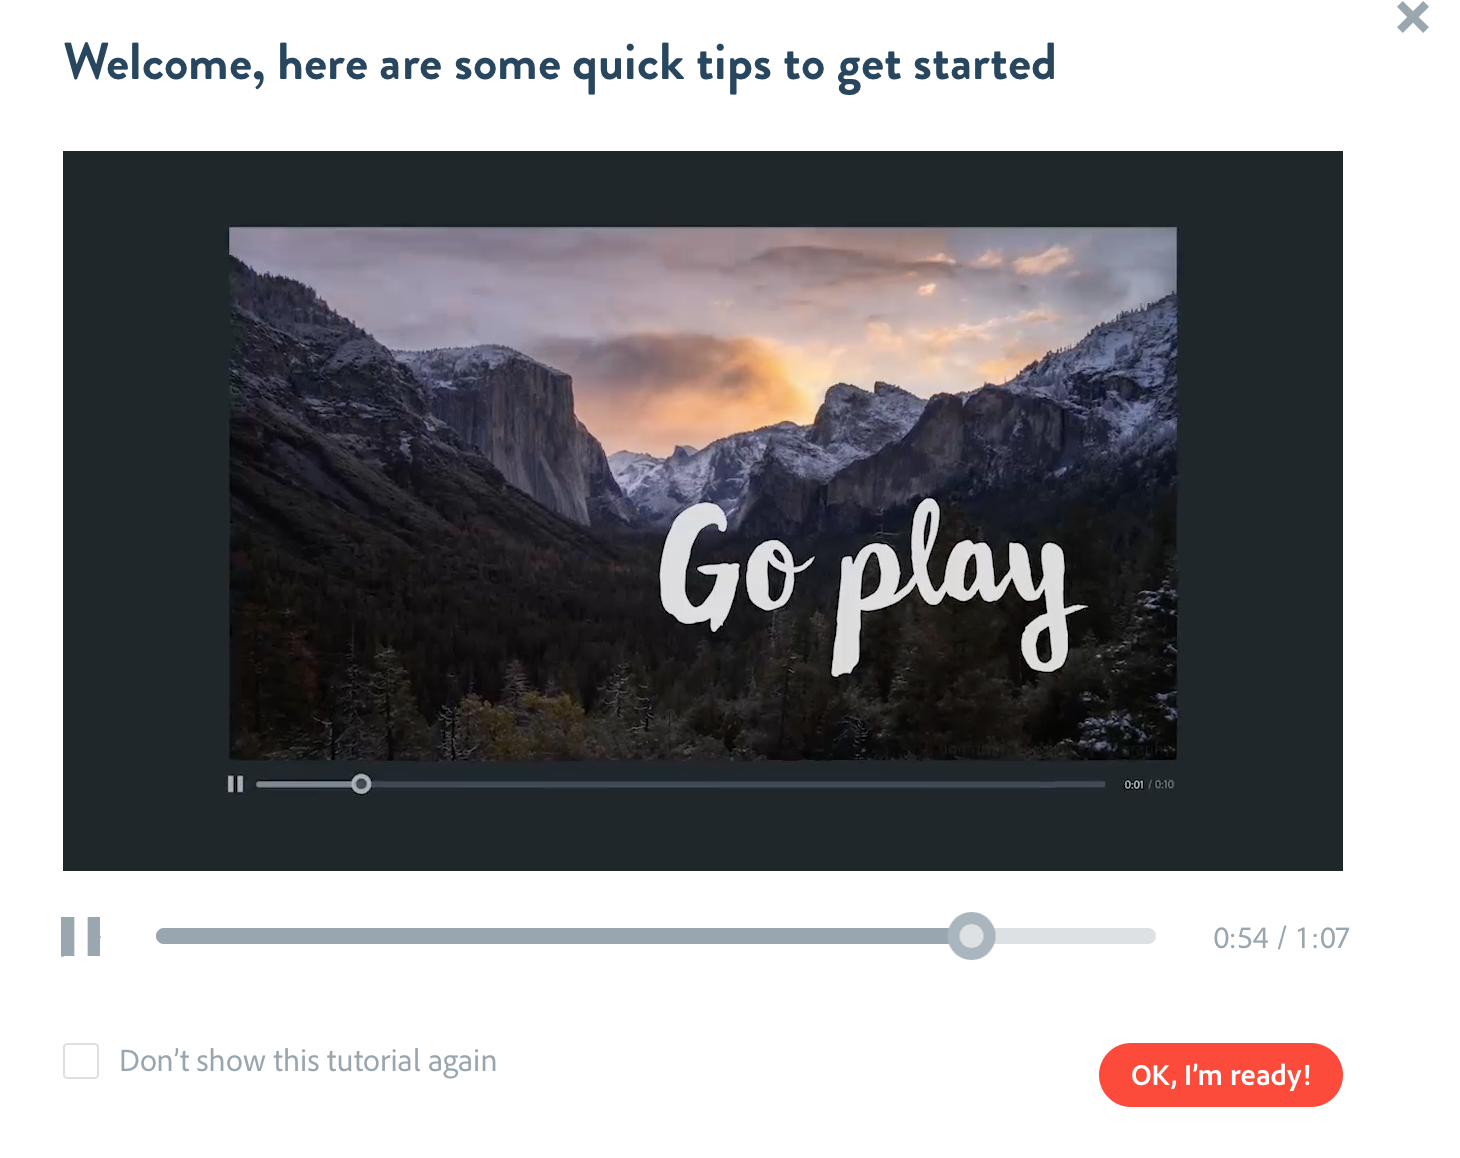
Before you get started on your video journey, Spark even offers a video highlighting how to use the site and all of the features. I highly recommend getting started by watching the Quick Tips video. The video covers a lot in a bit over a minute.
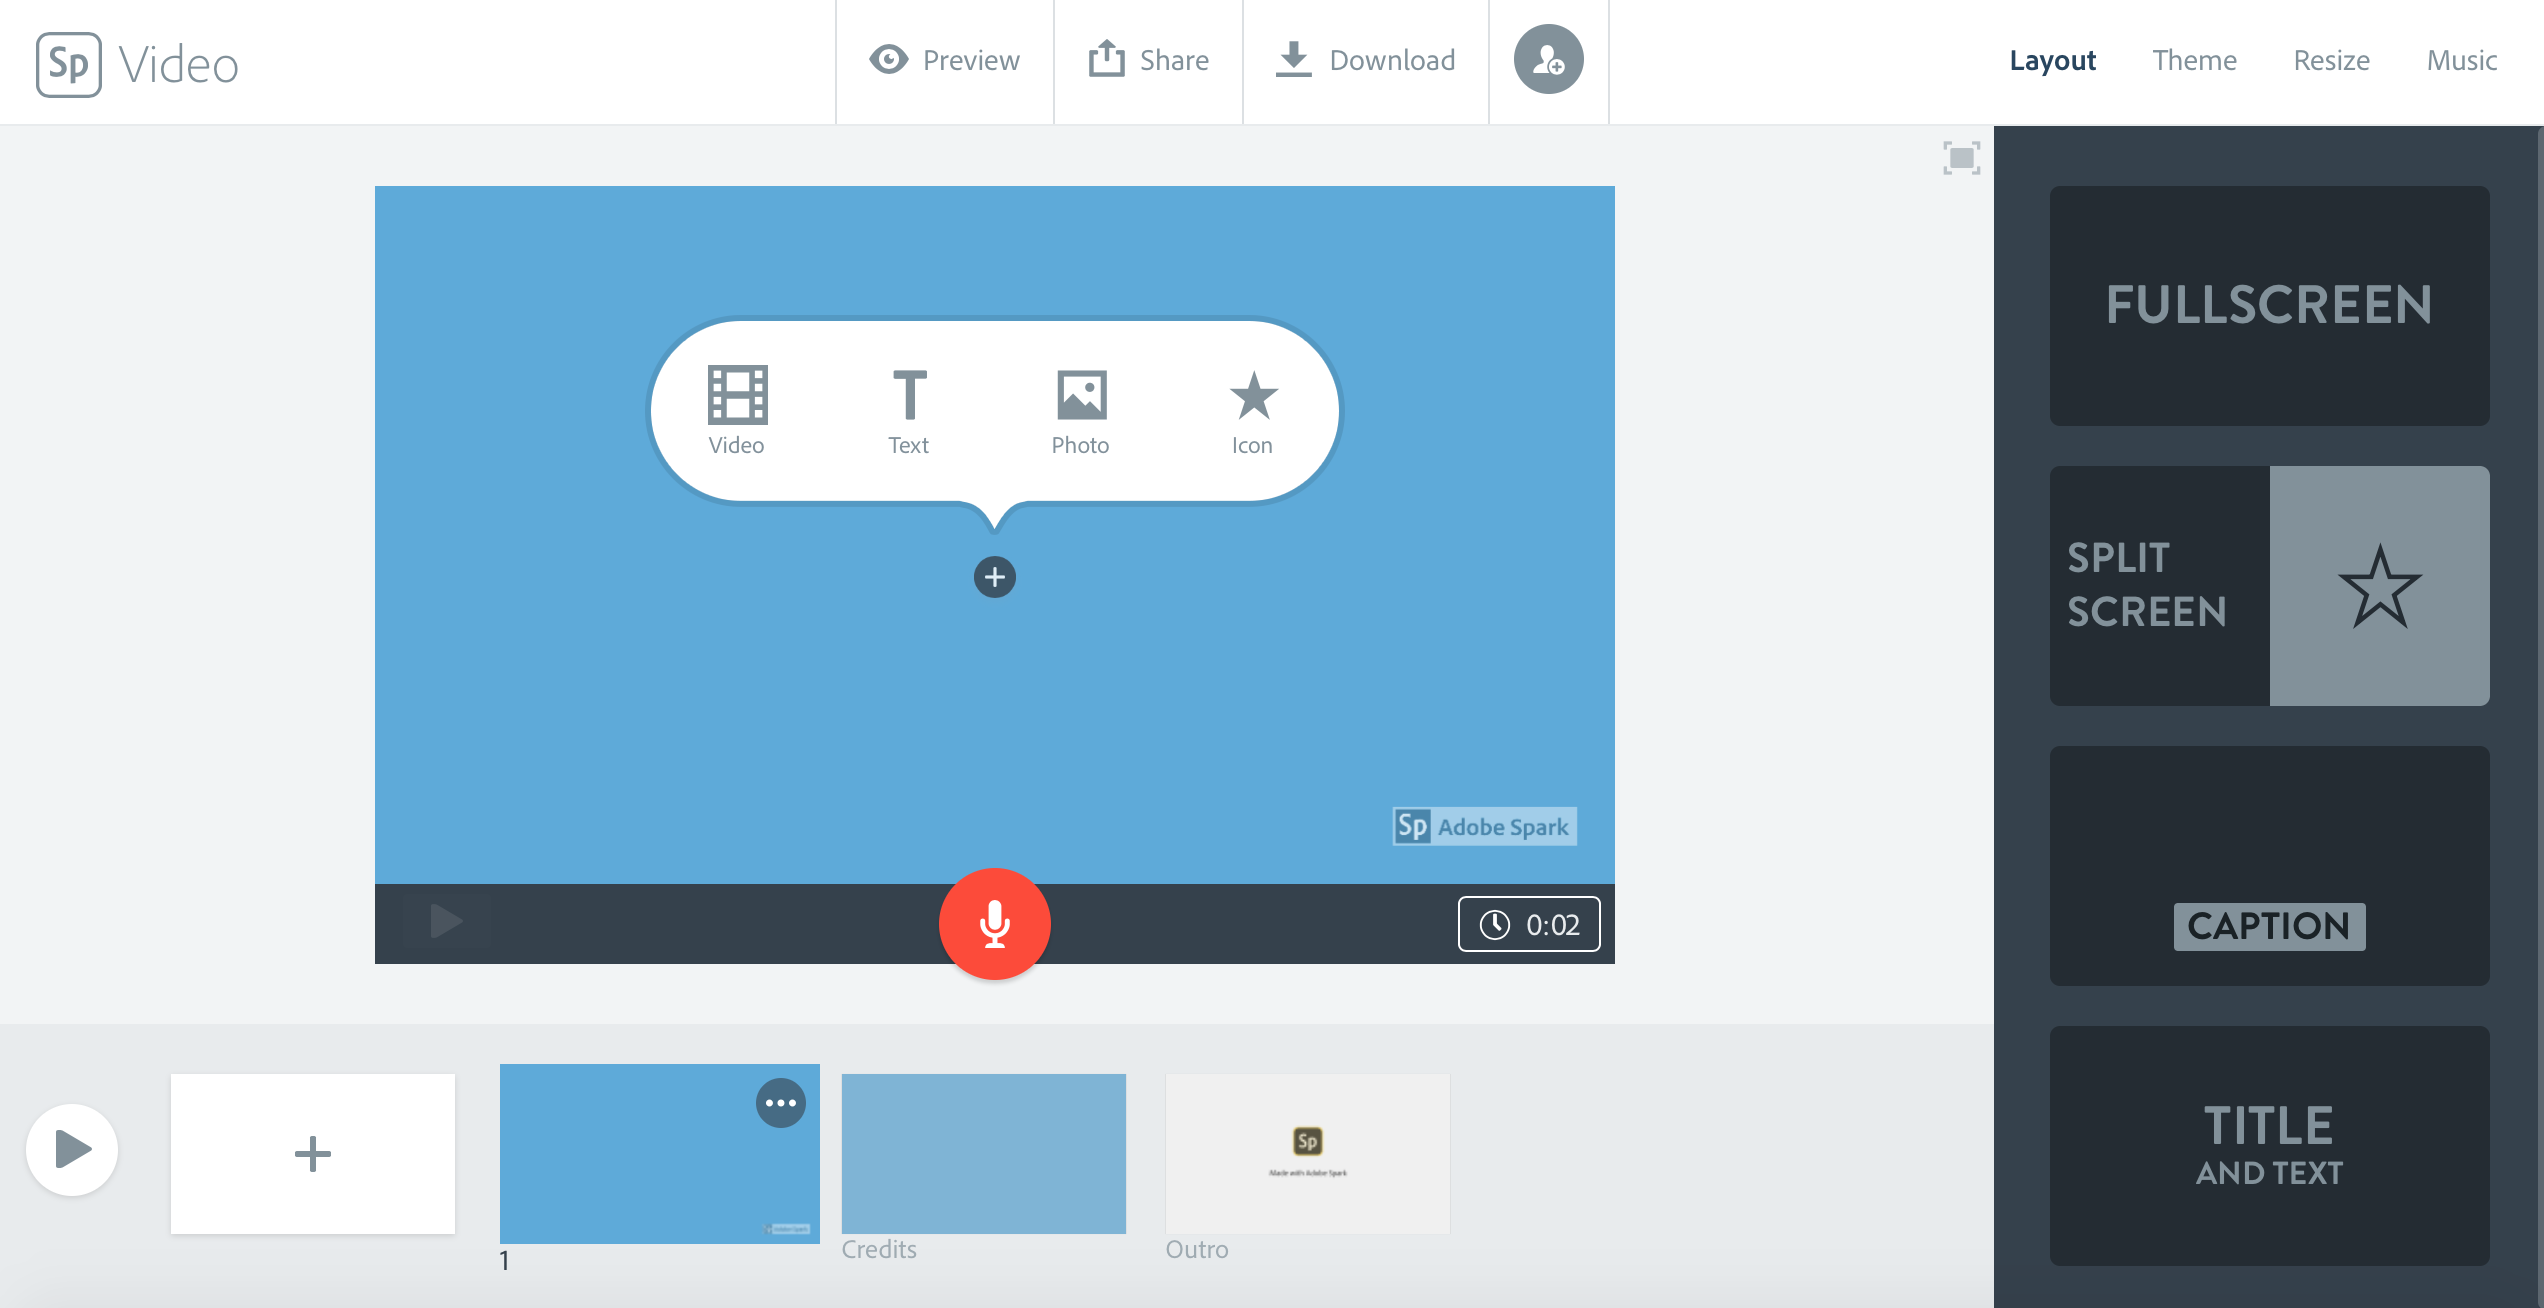
This is how the slide/video creation area looks. Starting on the left side, you will notice a play button. Let’s save that to try later, once we have built up the content. You can click on the small white box (with the +) next to the play button, to add a slide. The blue slide in the middle of the screen shares what the creation options include. Do you want to add a video, text, photos, or icon? Click the + button for this pop-up to appear and then click what you wish to create. Don’t miss the red microphone icon on the slides. This is where you can add a voiceover or narration. Use your voice to tell the story as the video plays! Notice the Layout options on the right side of the screen. You can choose a Fullscreen option, Split screen, Title and Text, and more. There are various themes to choose from also (shared in the next image). At the top (middle) you will also see options to preview your video, share your video (via URL), or to download the video.
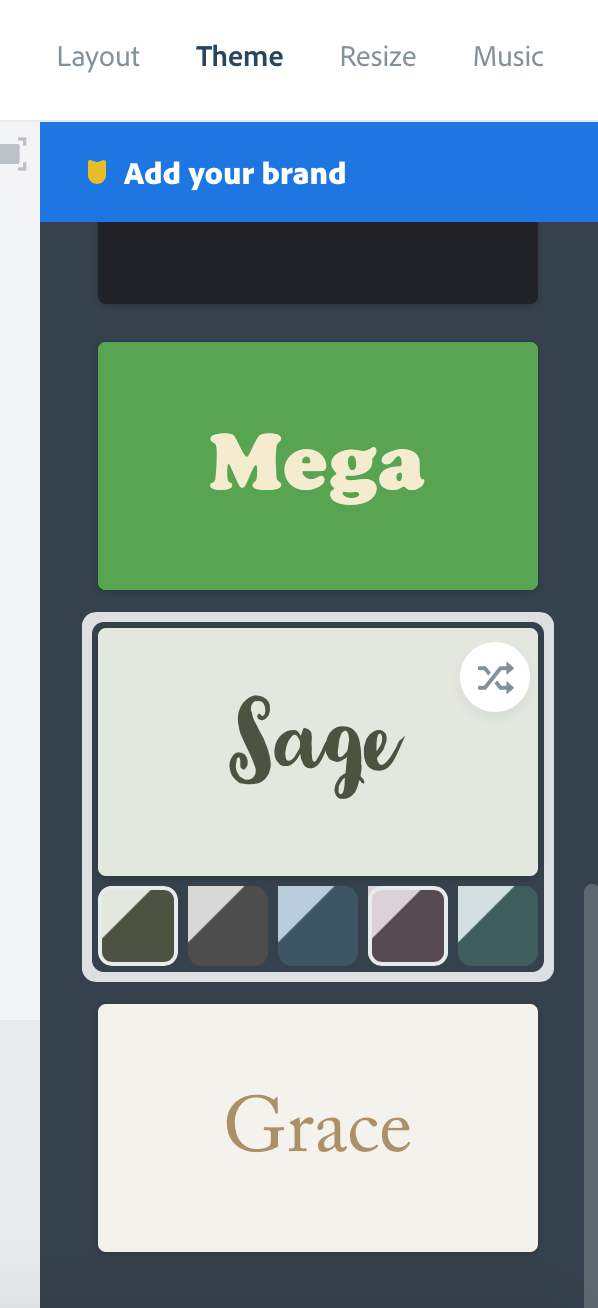
In addition to choosing the layout, you can also decide on the theme. The screenshot below shares just a sampling of the many themes you can use for your video presentation.
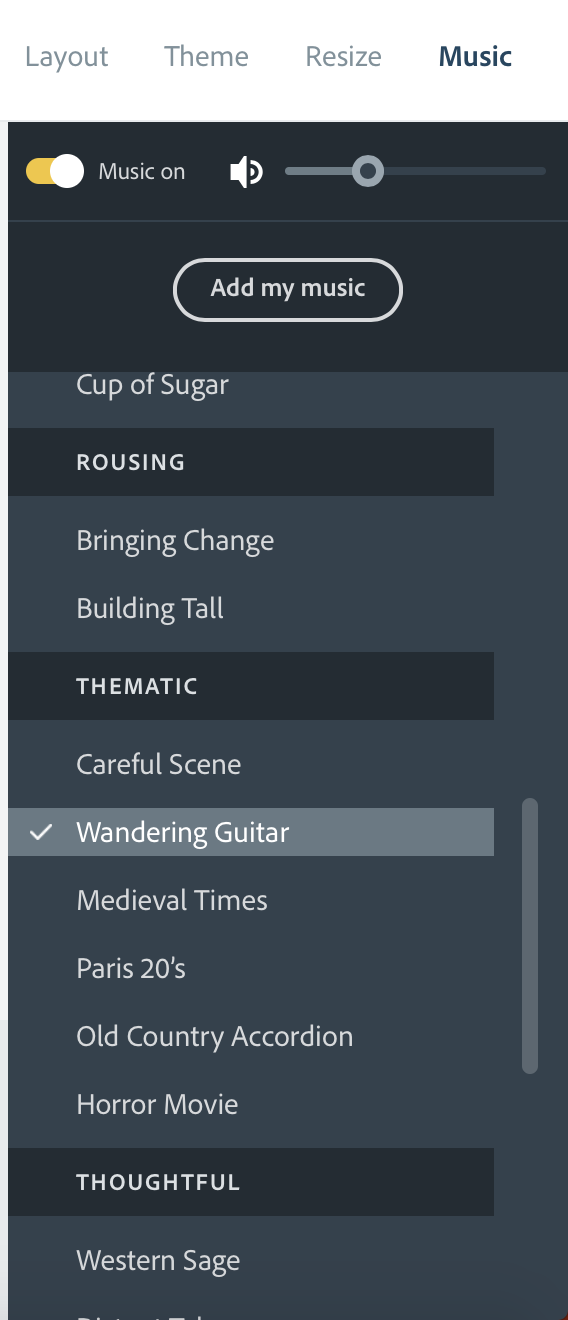
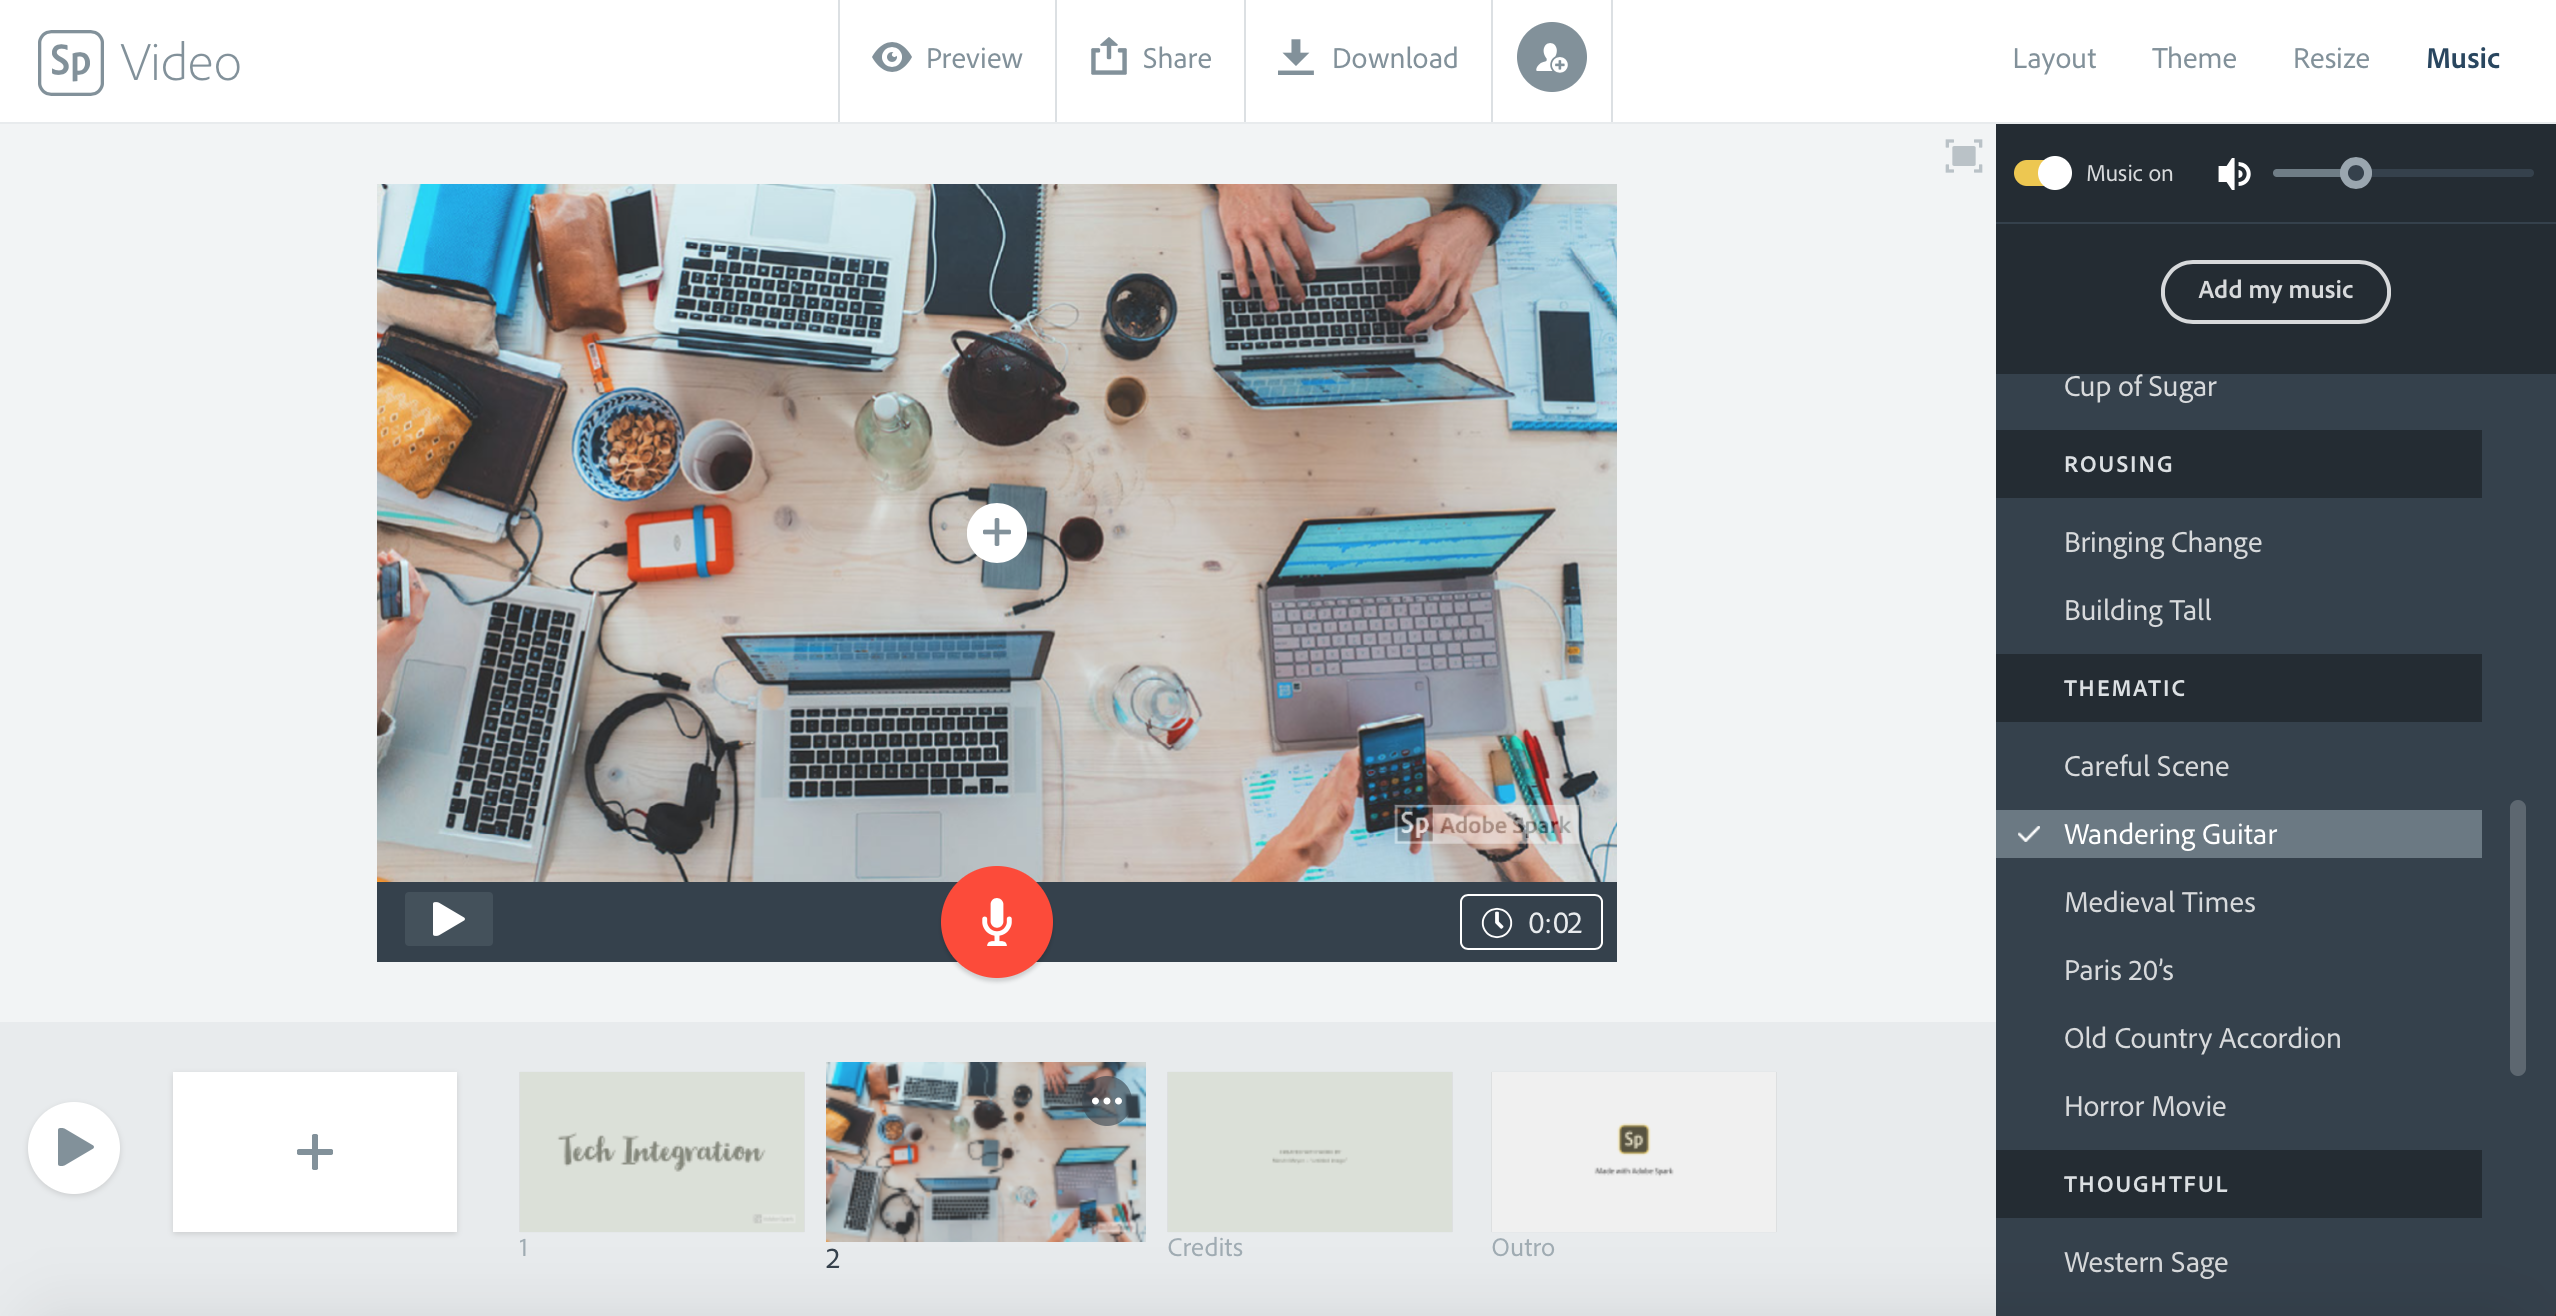
The option to add music is also near the Layout and Theme options. You can see the many options for your choices for music during your video. Music adds creativity and personalization to the project.
The image below shares how the text will appear on the slide that you create for the video. Notice there is a + and – sign to make your text larger or smaller. Adjust the size as needed. And remember, if your students are too young to type, they can use the recording option to share their thoughts or story orally.

Here is another view of a slide for the video that I created. This slide included an image and voice narration. The time of the narration is provided on the bottom right side of the slide. When you are finished with your product, preview, if you are satisfied with the video, share, or download it to your device!
Classroom Use Ideas:
Videos can be integrated across nearly every subject area. They offer an engaging (and fun) alternative to traditional assessment. Rather than using tests or traditional paper/pencil assignments, get your students actively sharing their knowledge and understanding by creating a video. Find some additional classroom ideas to try with your students.
Social Studies:
- Create a video about a president.
- Create a video about the people in your community.
- Create a video about your state.
- Create a video to persuade your class to visit a country.
- Create a video about a general from the Civil War.
- Create a video about a battle from World War II.
- Create a video as a culminating activity after any research project.
- Create a short video as an exit ticket related to the daily topics of study.
- Create a video to advertise a popular product from the time (or location) that you are studying.
- Create a video about the Constitution.
- Have cooperative learning groups create videos about different constitutional amendments to share and use to explain to the class.
Science:
- Create a video at the end of a unit, rather than taking a test.
- Create a video to share and record the results of a science lab.
- Create a video to describe the steps in the Scientific Method.
- Create a video related to the periodic table.
- Have cooperative learning groups create videos about different types of simple machines.
- Create an advertisement about an invention that may be from long ago or created more recently.
- Create an exit ticket related to the daily lesson, have students create simple videos to respond to the question.
- Create a video to share lab safety tips.
- Create a video about wild weather (earthquakes, hurricanes, etc.)
Math:
- Create a video sharing how to solve a difficult word problem.
- Create a video that you share a word problem with the class that you have created.
- In geometry class, assign each student (or pairs of students) one shape to explain on a video.
- Challenge students to create their own math review problems as a video and share the link on your school’s LMS. Assign students the task of solving two of the math problems presented. Use this activity as a final review before a test.
- Have students use a video to talk (and show) their way through solving math problems orally.
- With young students, have them create simple videos demonstrating their understanding of numbers. For example, with the number 3, students could include 3 stars (found in the icons option of the slide).
- Another option for younger students is to have them create a video showing how to do basic operations. They could orally talk through a problem while they are adding icons on the page to symbolize the number.
Language Arts:
- Use the voice narration option to have students practice speaking to evaluate their speaking skills.
- Primary students could use videos to listen to themselves read. Use the videos to assess individual students’ reading skills and needs.
- Have young students find simple images to retell a story that was read in class and then retell the story themselves on the video using the voice narration function.
- Primary students could create videos related to letters and say as many simple words starting with that letter as they can think of in the time they have to use the voice narration.
- Have students share poetry or a short story that they created using video. They can create the slides and then either type the words or add voice narration (or both). They can add images, music, and more. Be sure to share the links to the videos on your class website.
- Create a video to use as a book report. Share the main idea, summarize the theme, do a character analysis, or provide students with specific questions to be answered on the video.
- Practice spelling words orally on a video. Students can type or say them orally using Spark Video. Consider offering this option instead of writing the words for the test.
Creative Arts and World Languages:
- In art class, create a video sharing different artists or types of art.
- In art class, challenge students to create a drawing and then explain the techniques they used and share the drawing (or other artwork) on a video. They can take a photo of the image to share on a slide.
- In music class, use a video to share the sounds of instruments and create songs. Students can likely find images of the instruments and possibly even short video clips to include in their presentation.
- In band or orchestra, use the video as a playing test. Students can share their videos with you, and you can view them to grade.
- Create videos in world language classes to practice articulating the new language. Students can create videos as an assessment.
- Have world language students tell the daily weather, talk about colors or other topics they are learning using a video.
- Rather than a test in world language classes, have students create a video highlighting the new verbs (or other vocabulary concepts) introduced in class. Students can add photos, text, and more.
Additional Tutorial Videos and Articles:
- TeachersFirst Review of Adobe Spark Video
- Tutorial for Adobe Spark Video
- Intro to Adobe Spark Video Maker
- How to Use Adobe Spark Video – Training for SHS Teachers
- Student Sample of Adobe Spark Video
Have you used Adobe Spark Video in your classroom or for professional learning? Share in the comments what types of activities you have done.
One thought on “Tech Tool of the Month: Adobe Spark Video Part 2”