
In Part 1 of this blog, we introduced you to Pathbrite and discussed the application of both the SAMR Model and the Triple E Framework to help you integrate Pathbrite into your instruction. Today’s post offers detailed instructions about how to use this tool and shares classroom use ideas by subject.
Pathbrite:
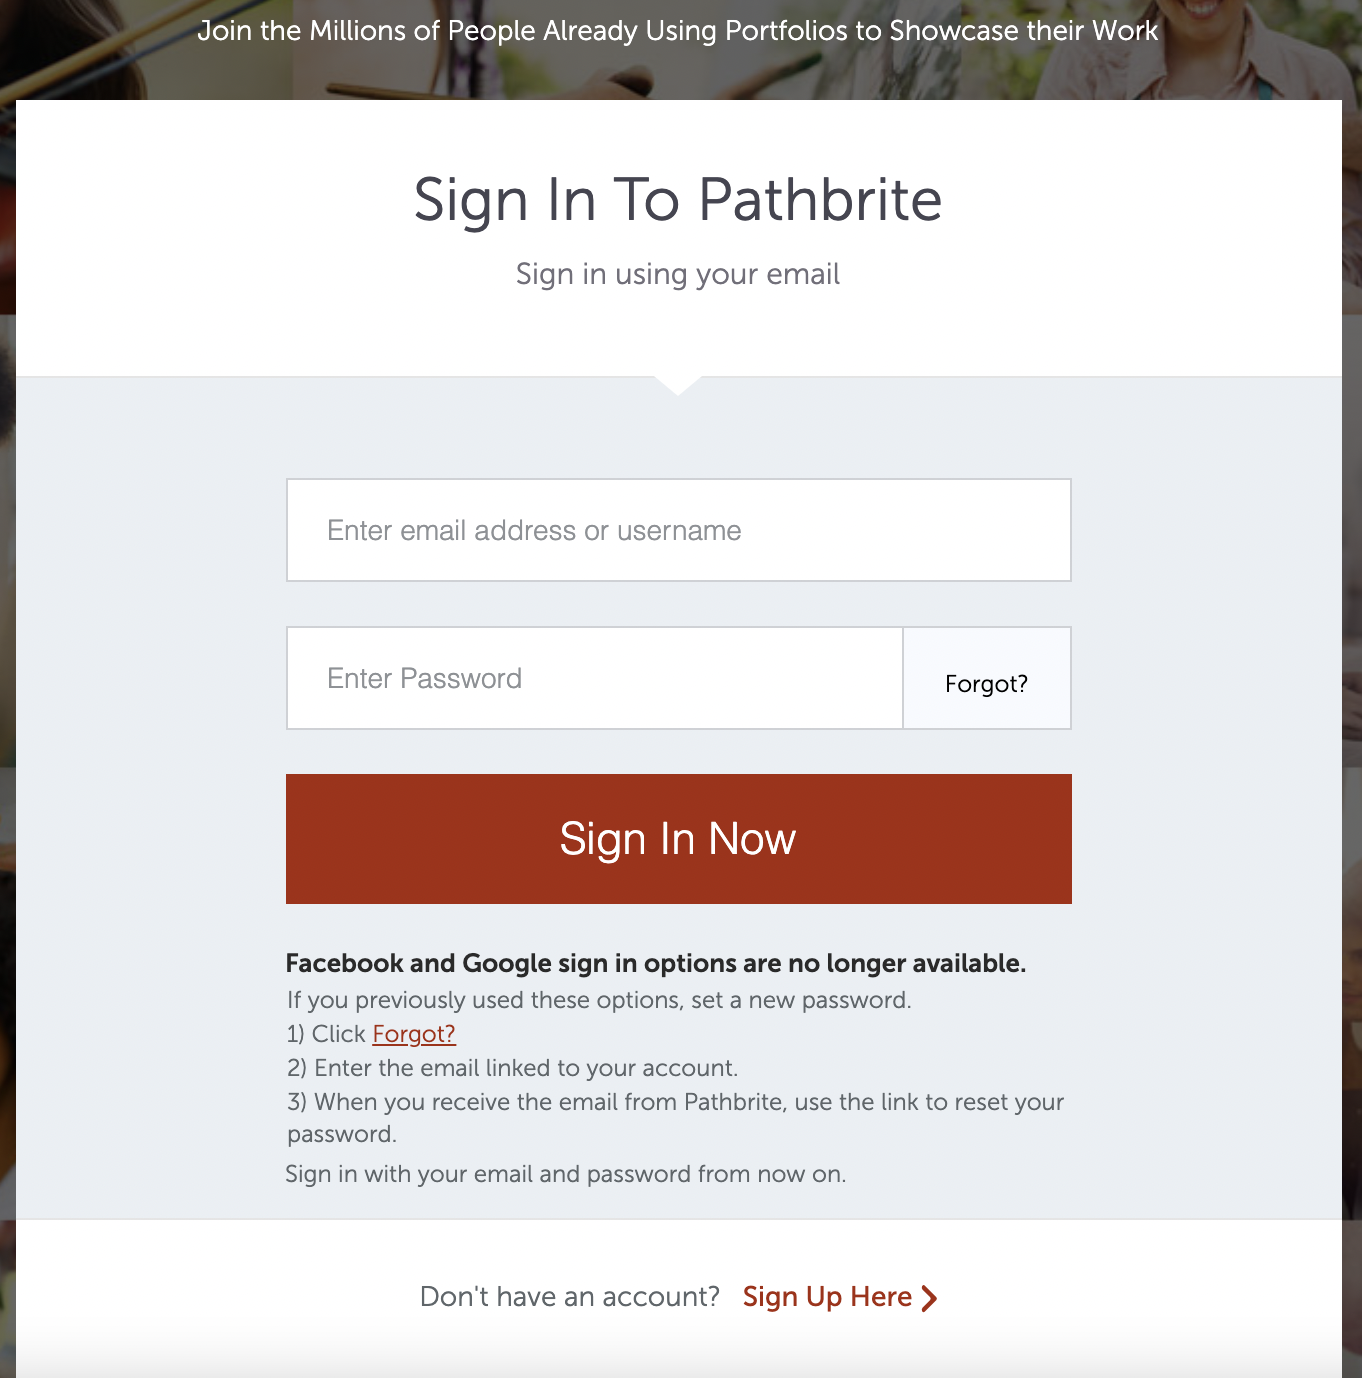
As you arrive at the site, you will be asked to sign in. If you do not have an account, click Sign Up Here to begin registration.
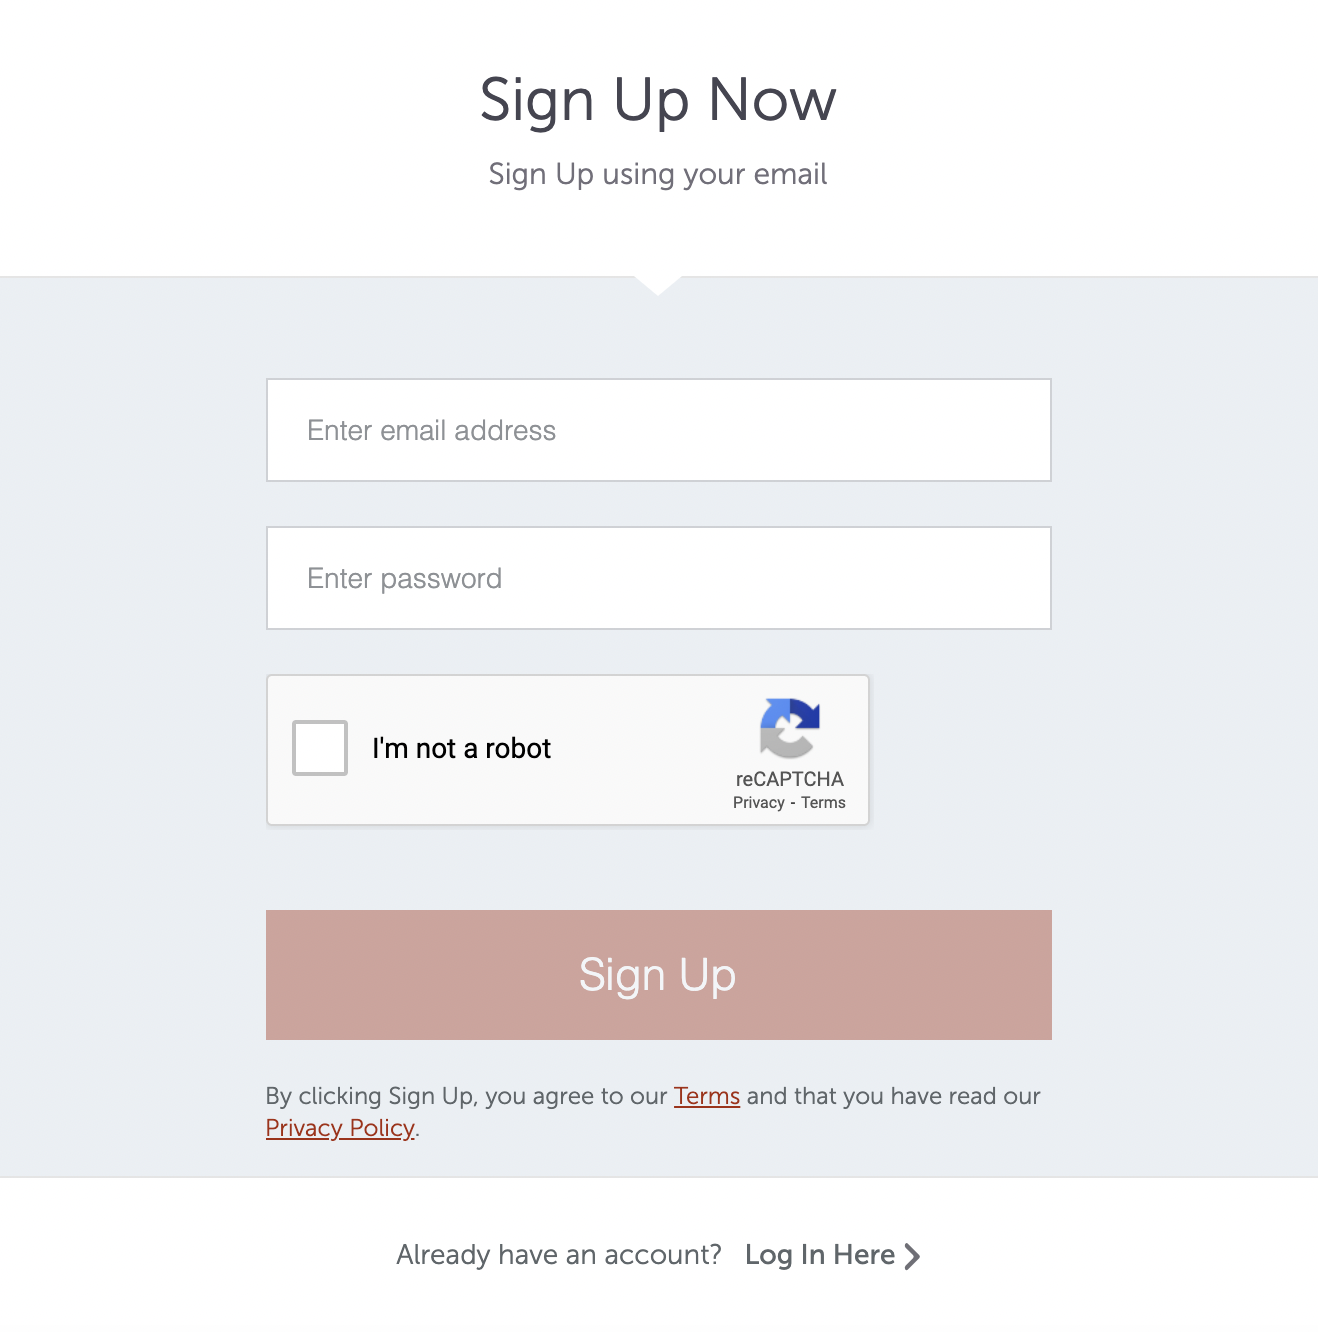
Registration requires an email address and password. Once you are registered, you will receive an email with a link you must click to verify your account.
Once verified, you will go to a blank page that allows you to create a user profile and begin creating portfolios. To begin a portfolio, click the yellow button on the bottom right side.

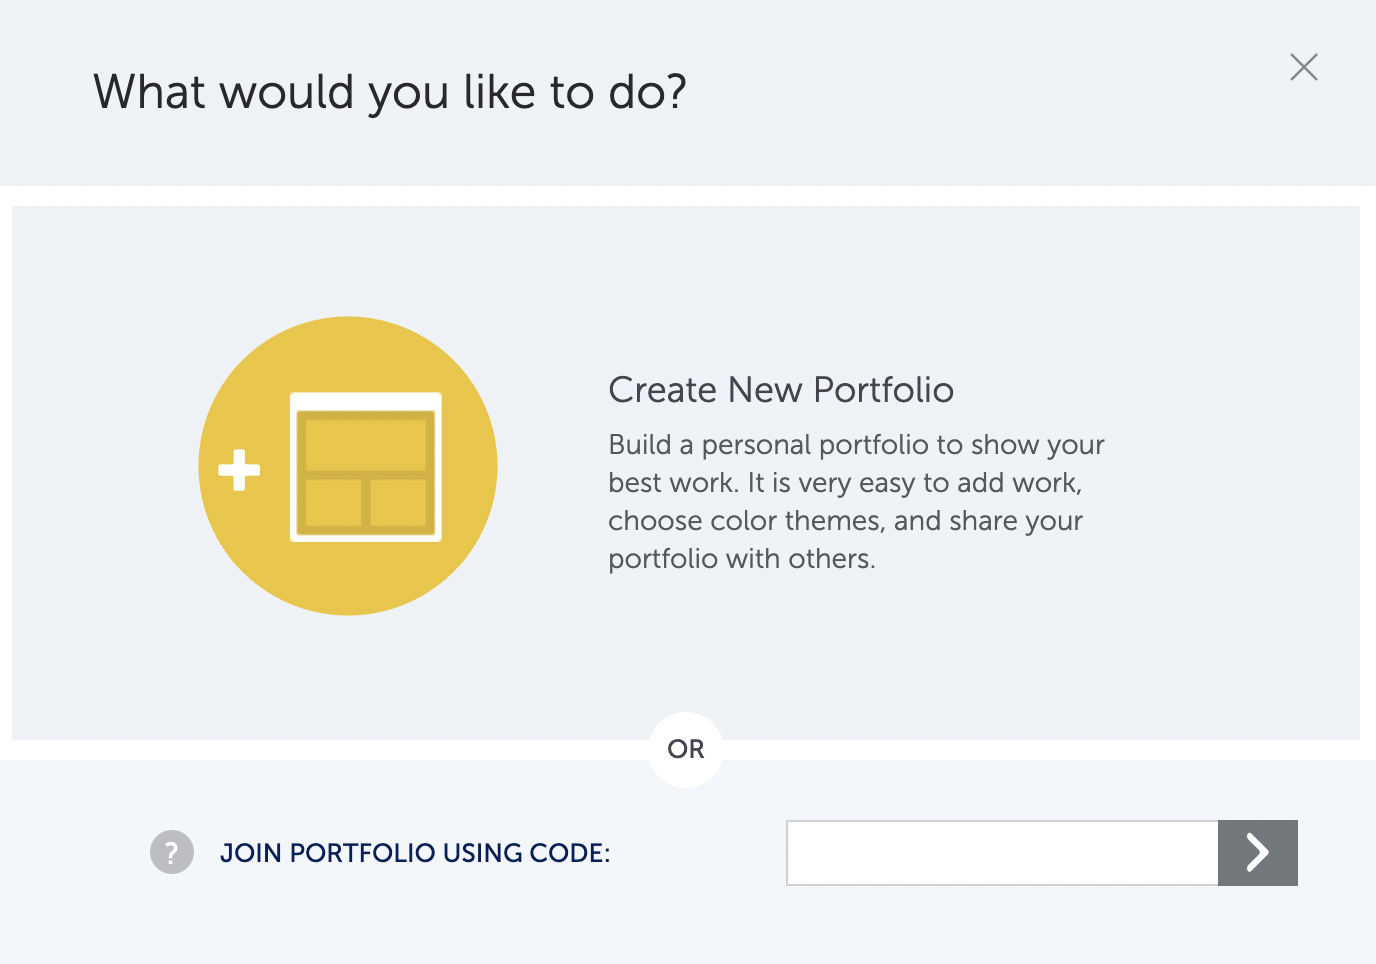
Click Create New Portfolio. (Please note that the Code option is only available for school memberships, which are not free. This blog post only highlights the free personal accounts available at Pathbrite.)
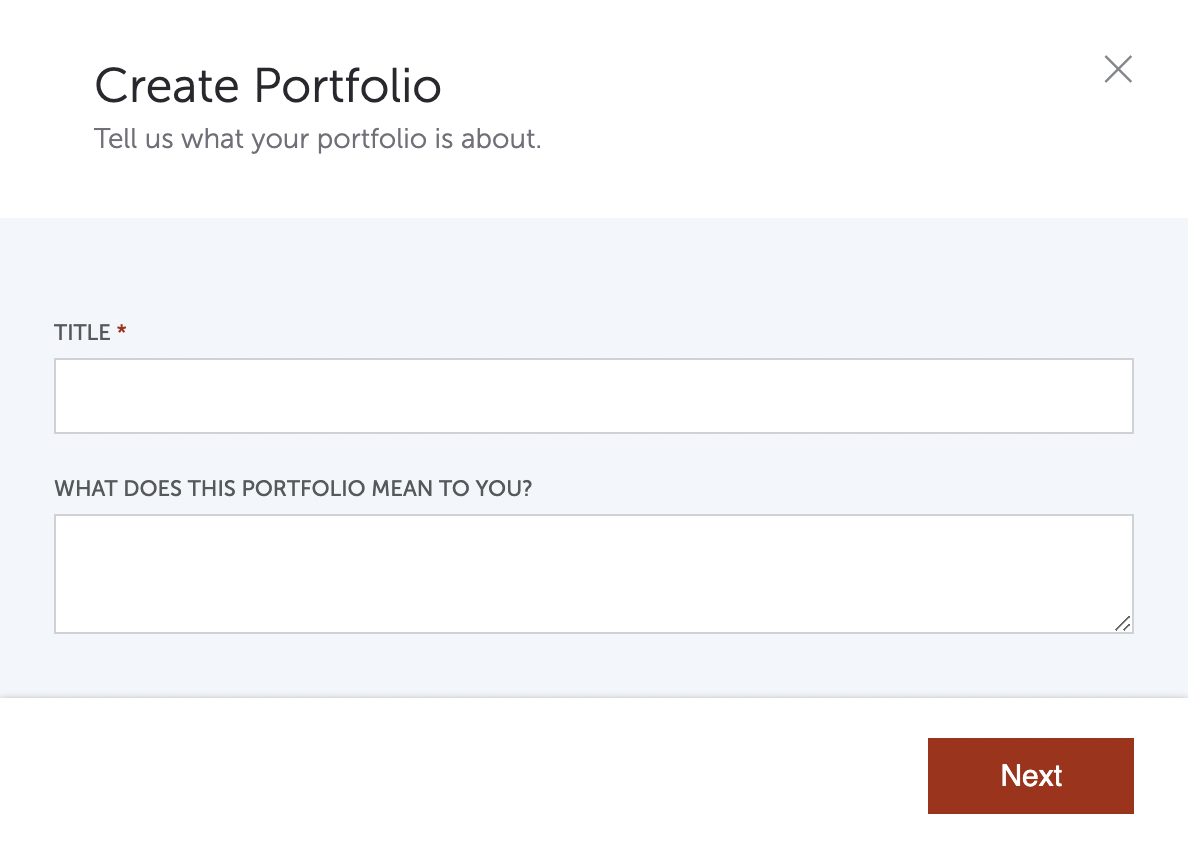
As you begin your portfolio, provide a title and a brief description. Click Next when finished.
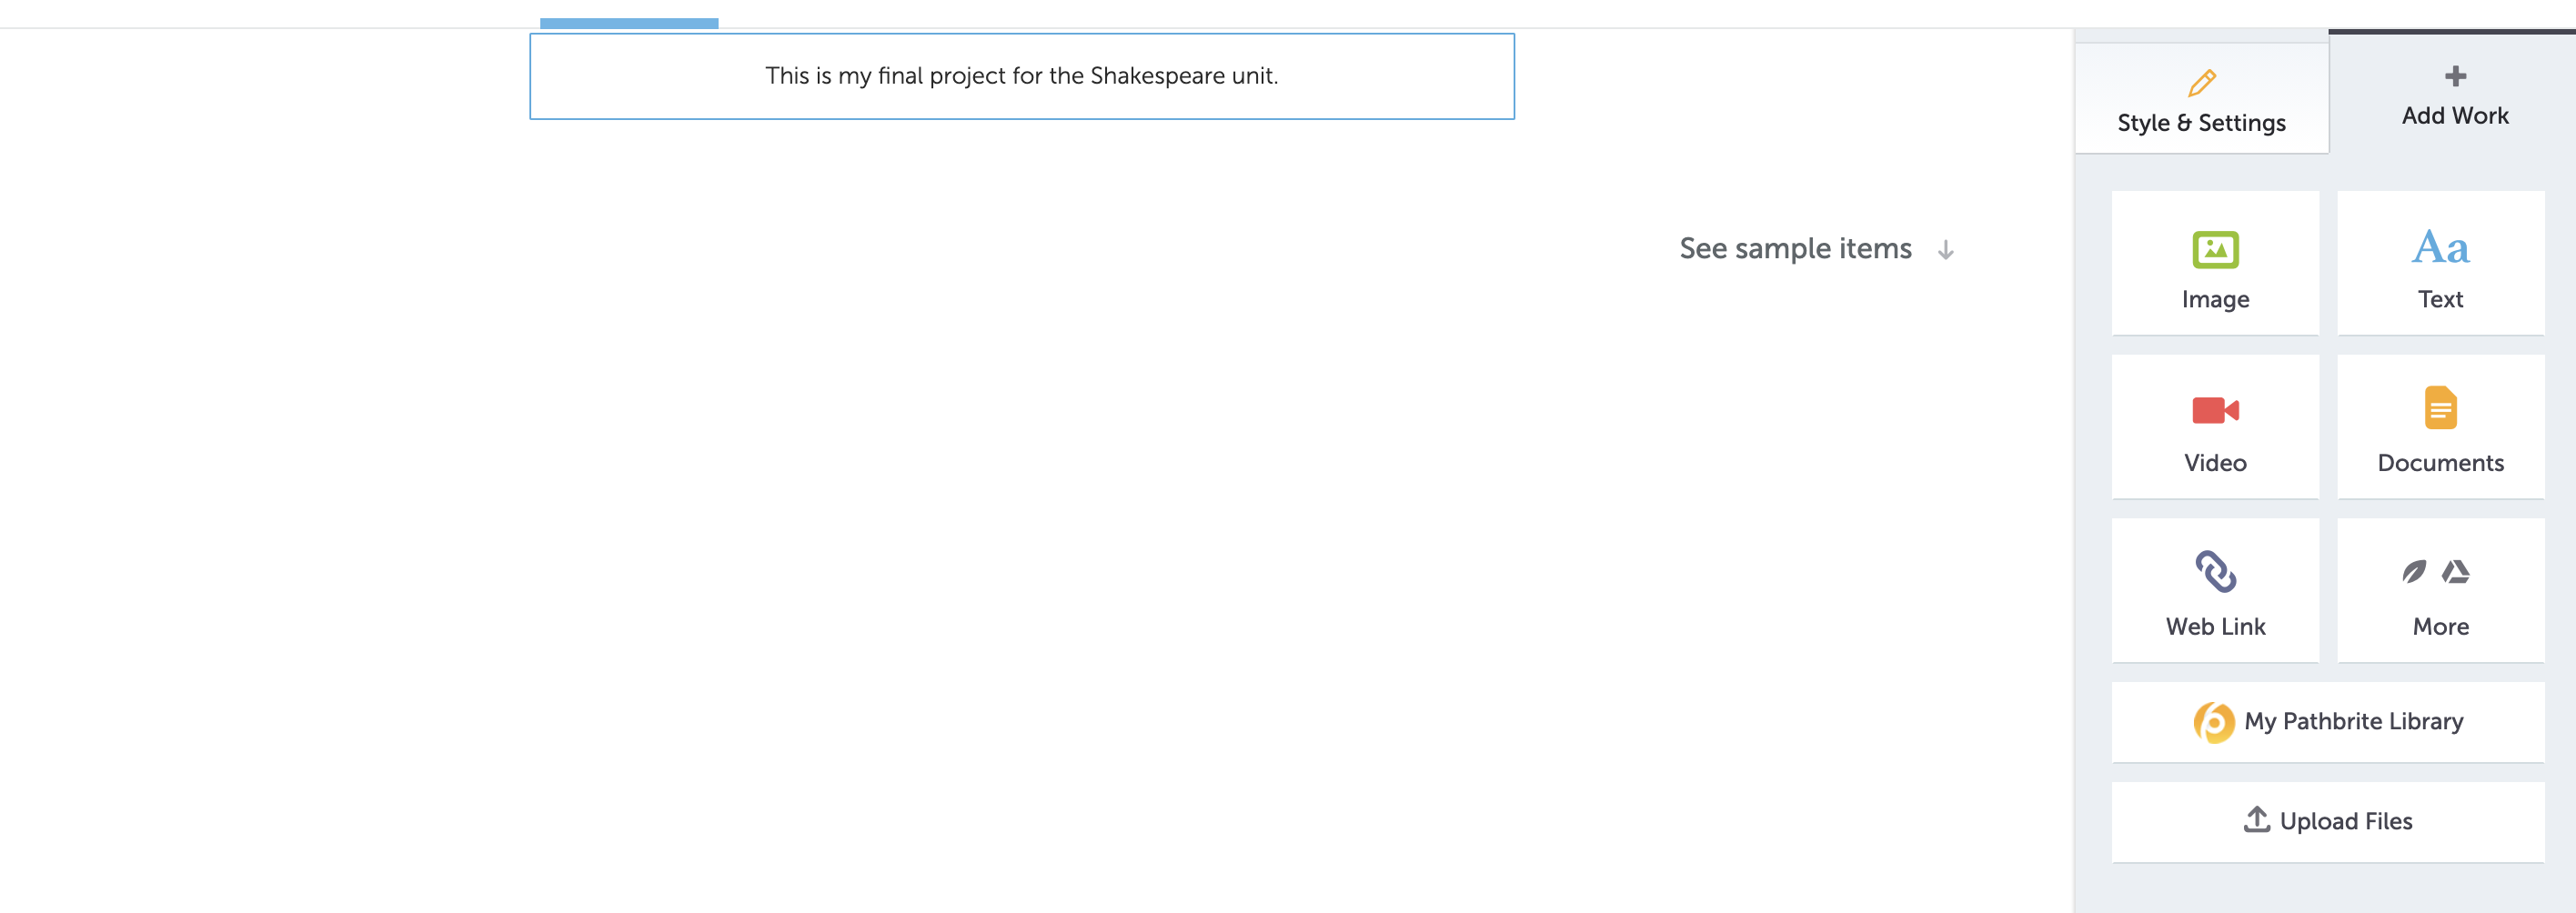
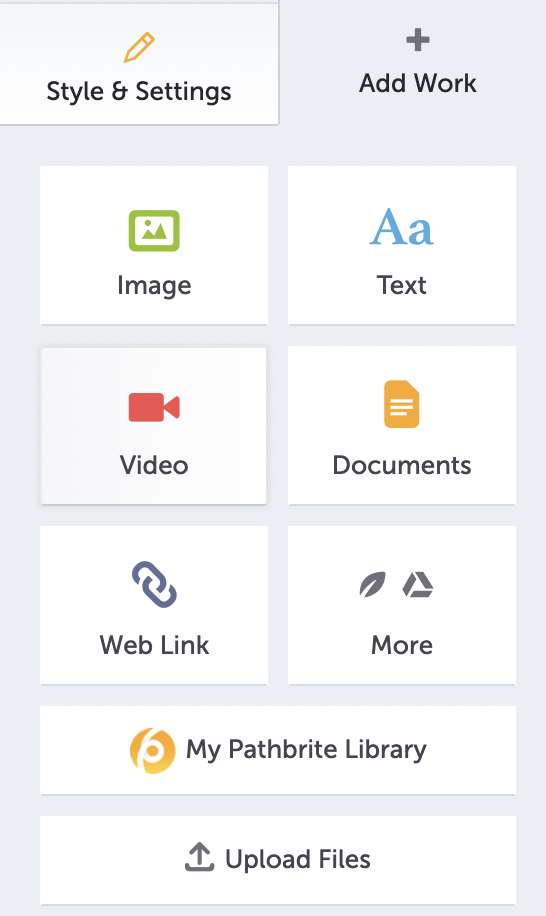
Now you are ready to begin adding content. Your screen will be blank at first. You can add content by clicking on the options on the right side to add an image, text, video, documents, weblinks, and more. You can also change the style and settings.
Here is a close-up view of the options. Notice there are also options to upload files from your device (or Google Drive) and a place to store content that you have already shared (My Pathbrite Library).
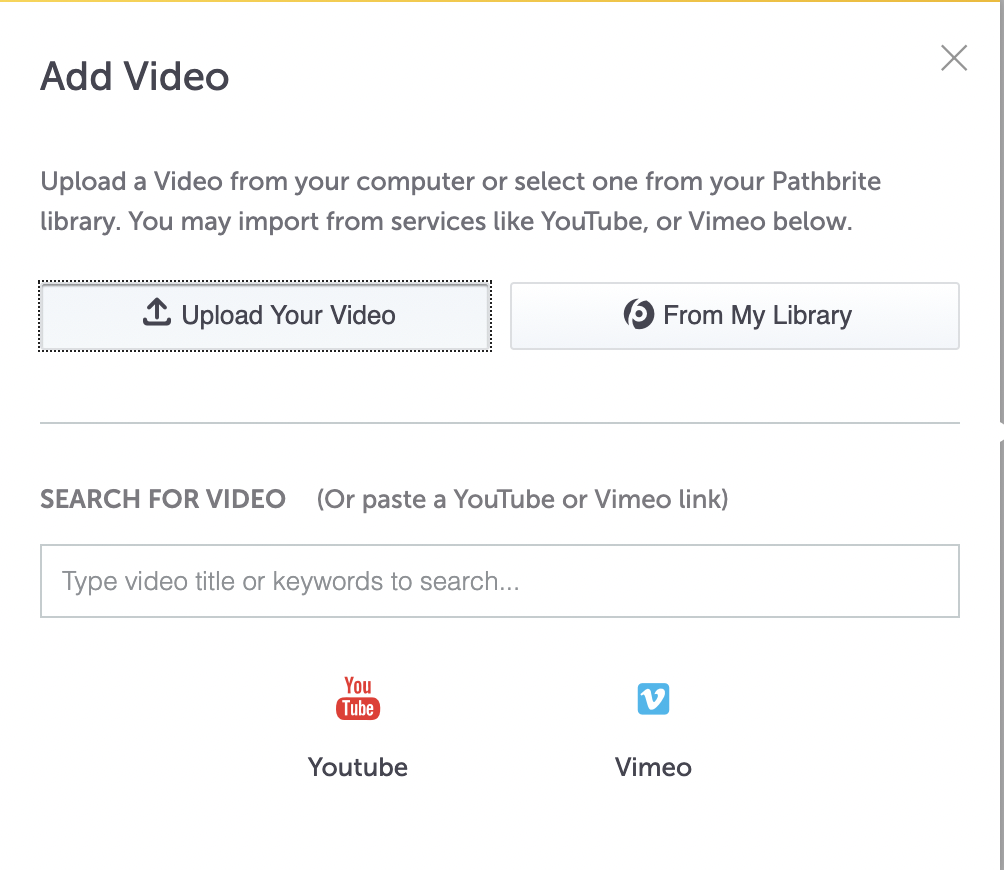
Now let’s look at some of the content features. Click Add Video to upload your own video or find a video that is already in your library. You can also search YouTube and Vimeo using keywords. A final option is to paste a link to a YouTube or Vimeo video.
Here is an example of what happens when you paste in the URL for a YouTube video. Don’t forget to click Done before returning to your portfolio.

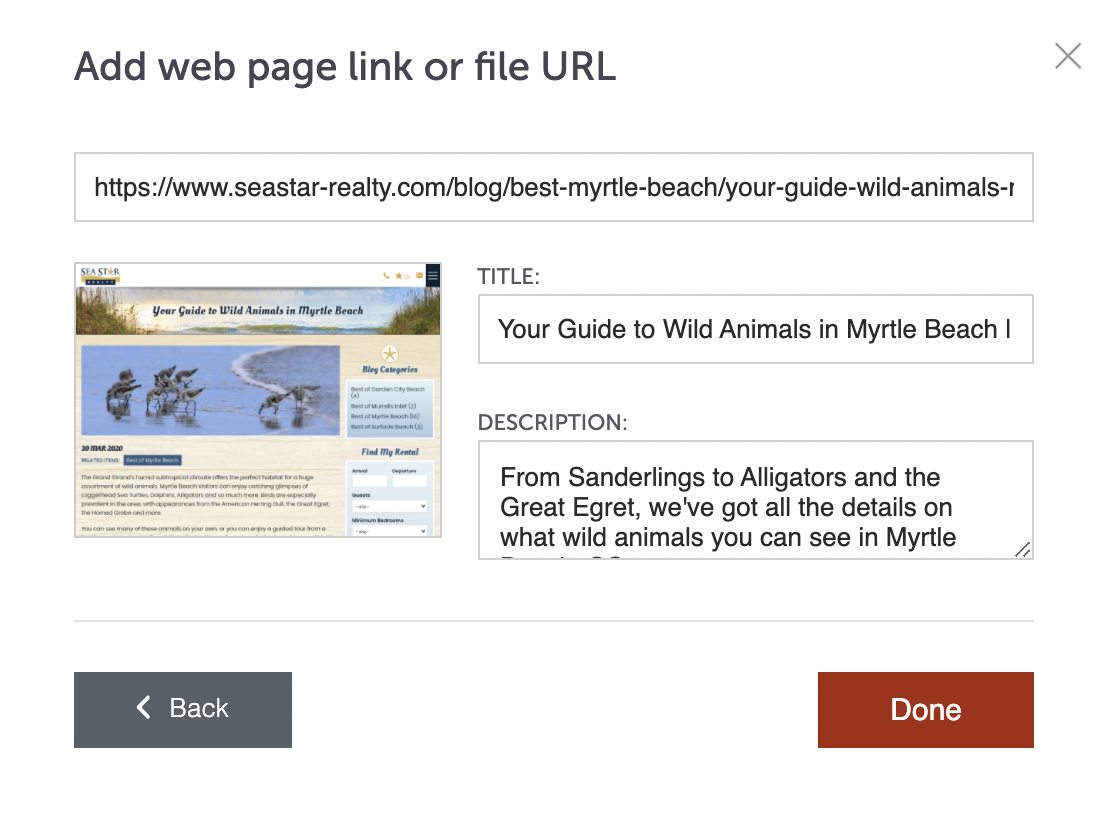
Pathbrite makes it very simple to add links to your portfolio. Enter the web address and they will add the title and description for you. We tested this for several sites and they did a pretty good job describing the site. We recommend reading this text and editing as you wish before sharing with students. Again, click Done when you are finished adding this piece of content.
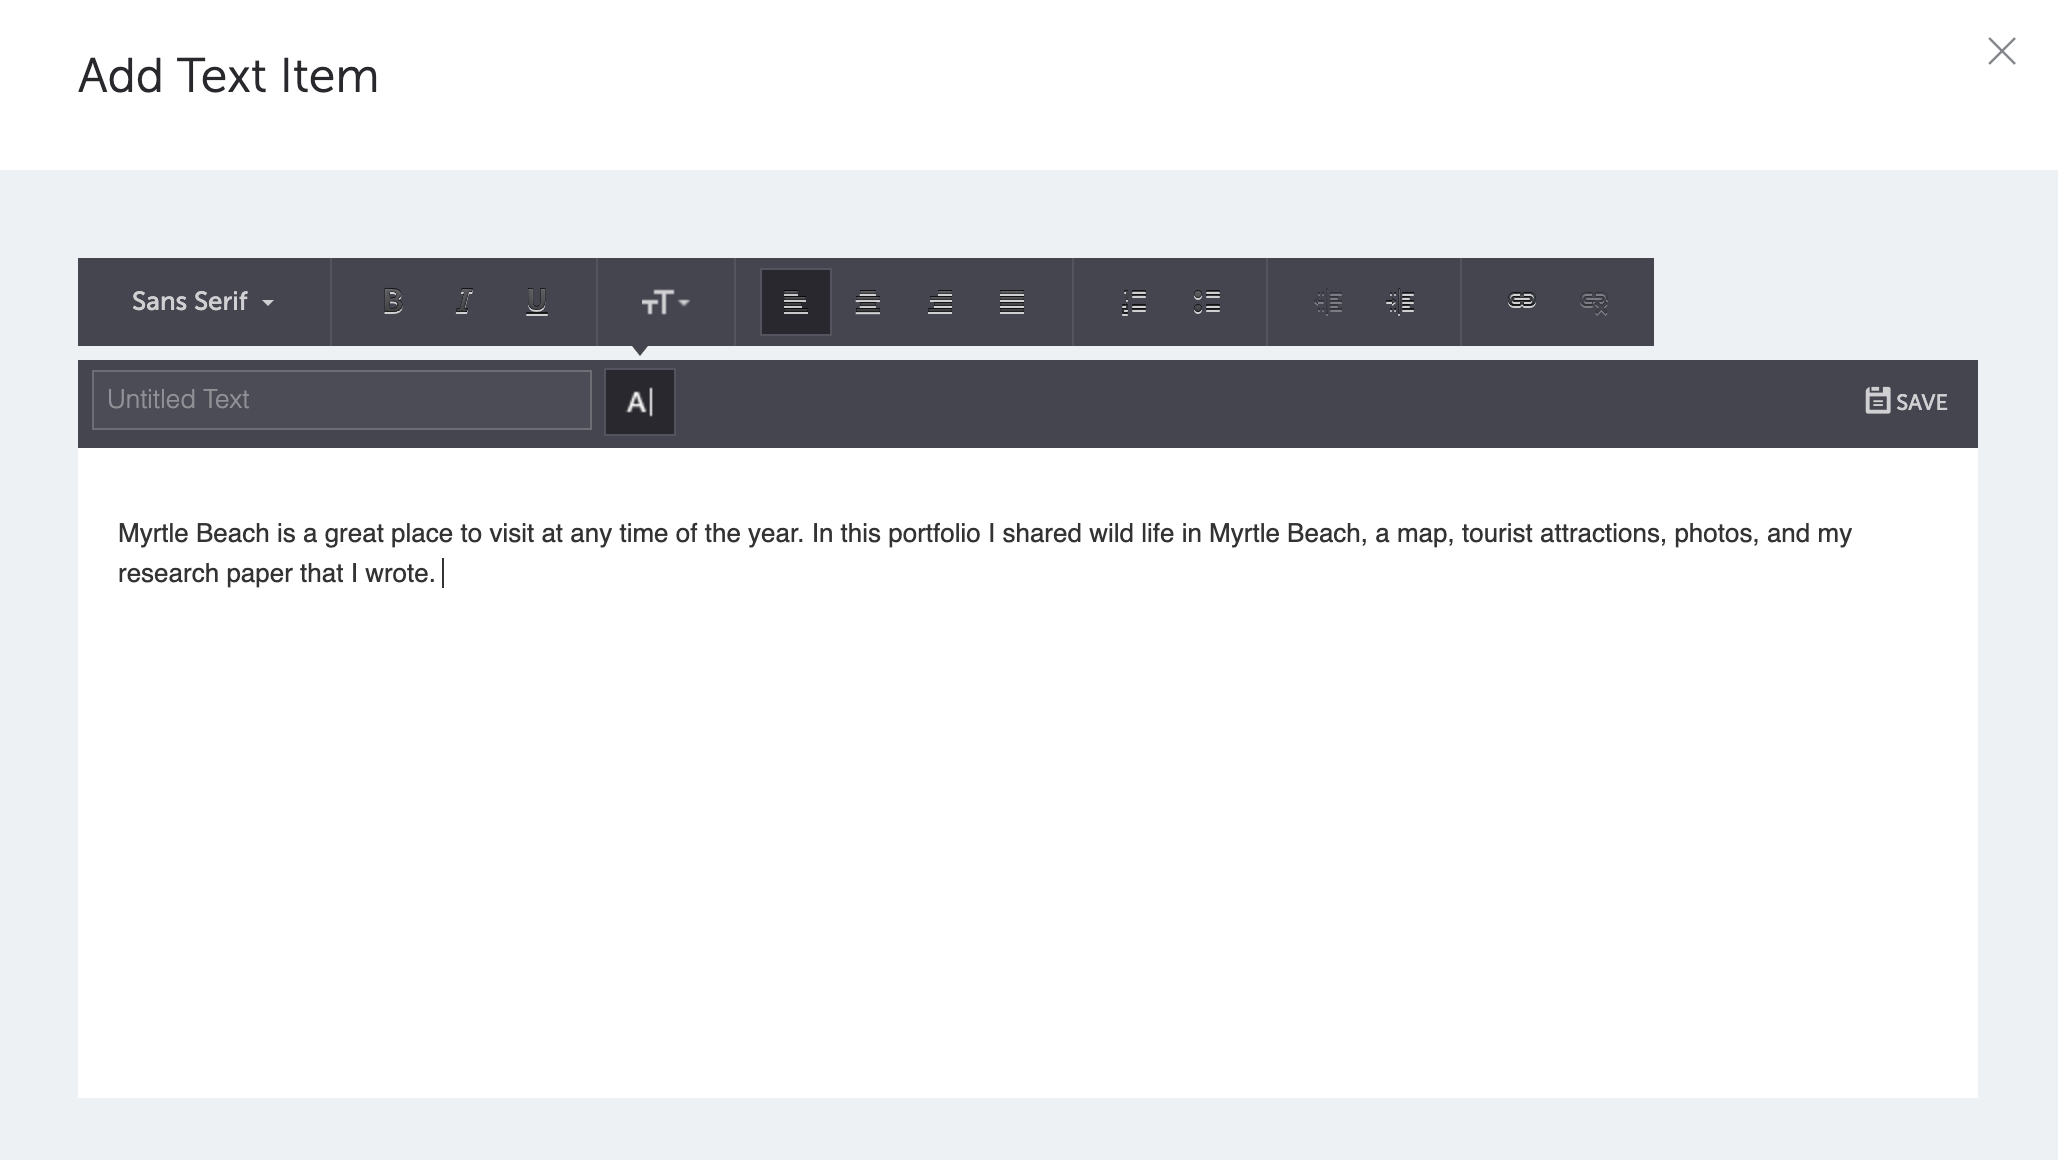
The Add Text Item option may not look aesthetically pleasing, but it does allow students an opportunity to share a larger chunk of information. This is a great place to have students write down a reflection about the project. This feature allows you to change the font type and size, add a title, center the content, and even add bullet points (great if you are asking students to create a list).
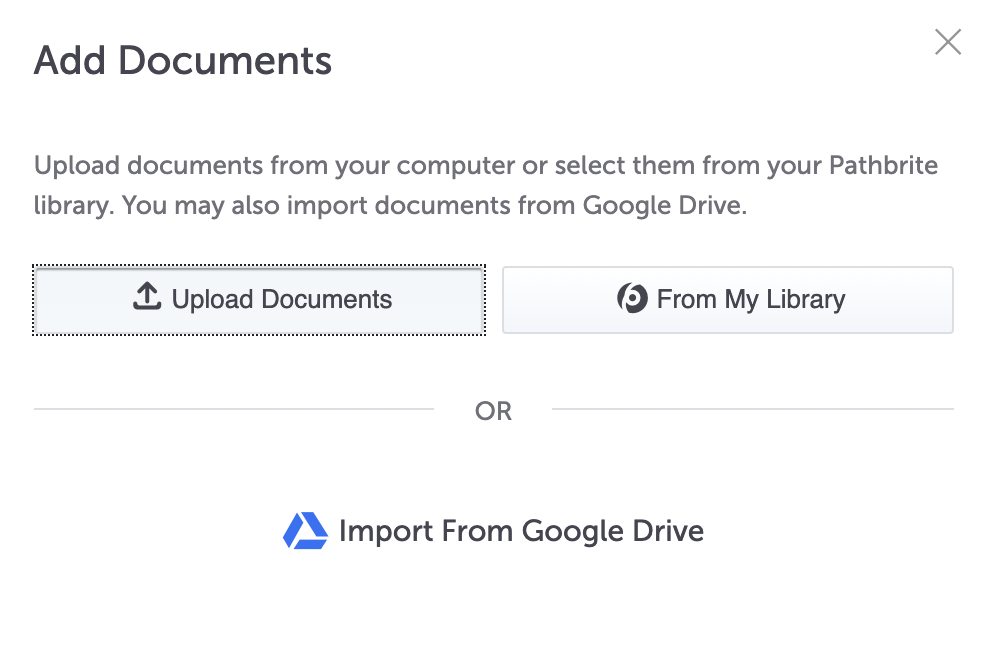
The Add Documents area has options for users to upload documents from their computer, find a document already in your Pathbrite library, or import documents from Google Drive.
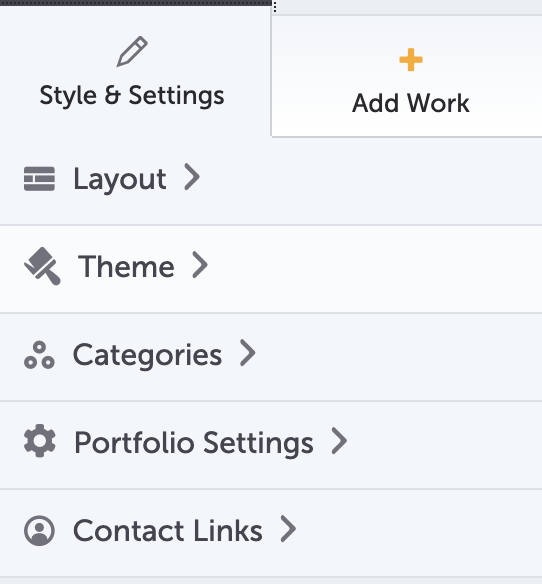
Now that we have talked about the various types of content you can add, let’s discuss the Style & Settings options. You have options to change the layout, theme, categories, portfolio settings, and contact links.
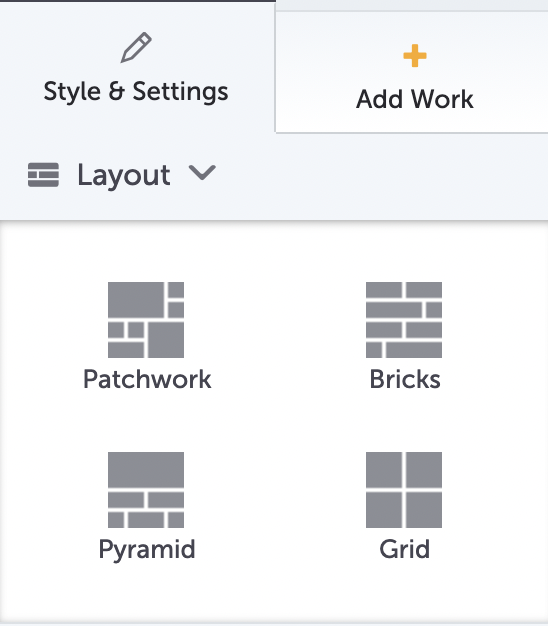
Beginning with the layout, you can choose how your portfolio will look. There are four styles to choose from.
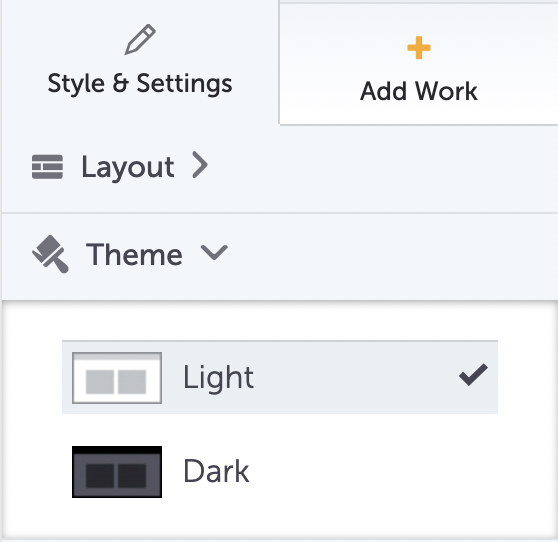
Choosing a theme allows you to pick a lighter or darker background.
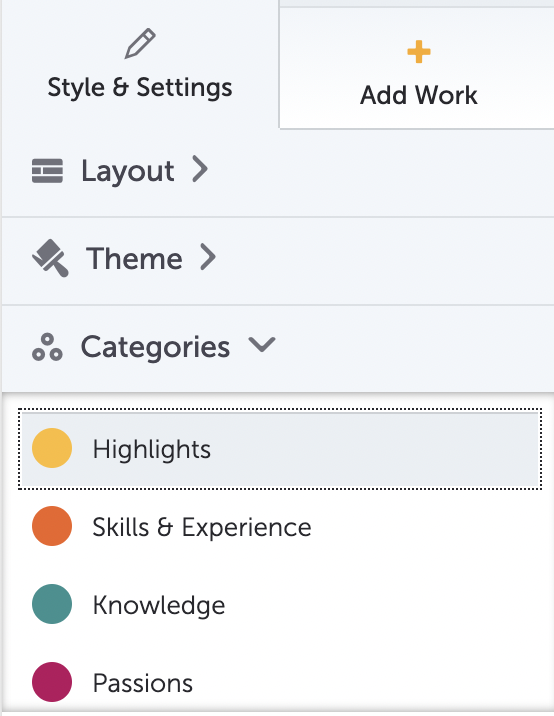
You also have the option to pick a category (basically saying the theme of your portfolio). Some of the options include Knowledge, Highlights, and Passions. Scroll down to view more options. You can also leave this area blank.
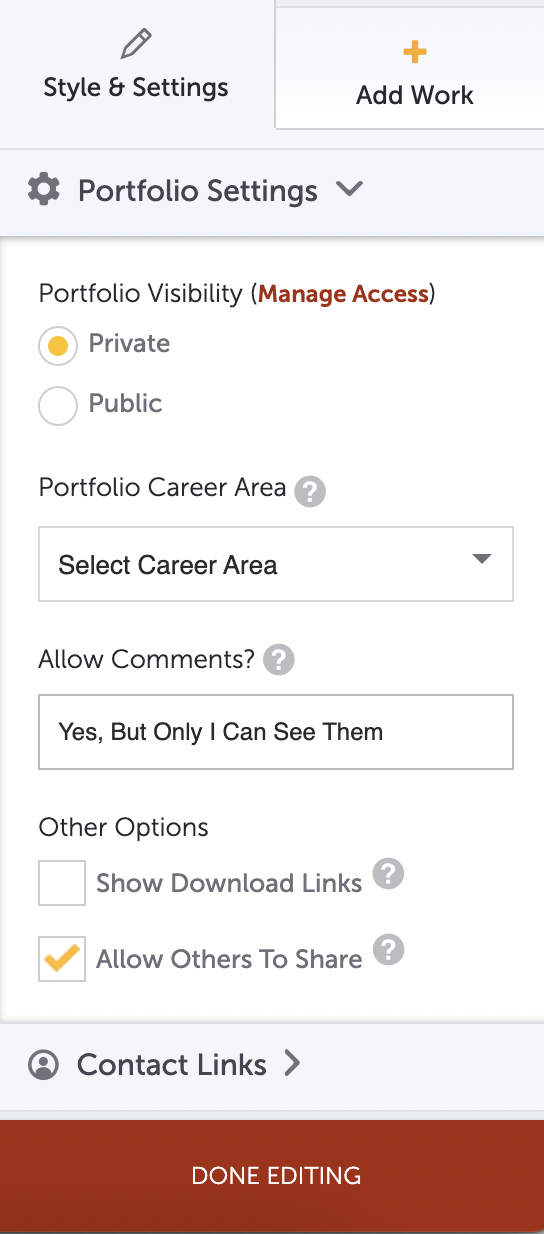
You don’t want to miss the Portfolio Settings area. This is where you will decide if the portfolio will be private or public, if you will allow comments, and other pertinent information. We highly suggest keeping all student work private—you and your students can still view private Pathbrite portfolios if you have the direct URL. You can also decide to make the comments private (so only the author can see) or public for all to see. If you want collaboration, you would likely want to keep the comments open. However, if you have created a lesson using Pathbrite yourself to share with your students, you could use the comment option as a way to assess their learning. By keeping it private, students can’t see any questions or comments by other class members, giving you a clearer picture for formative assessment of each student.
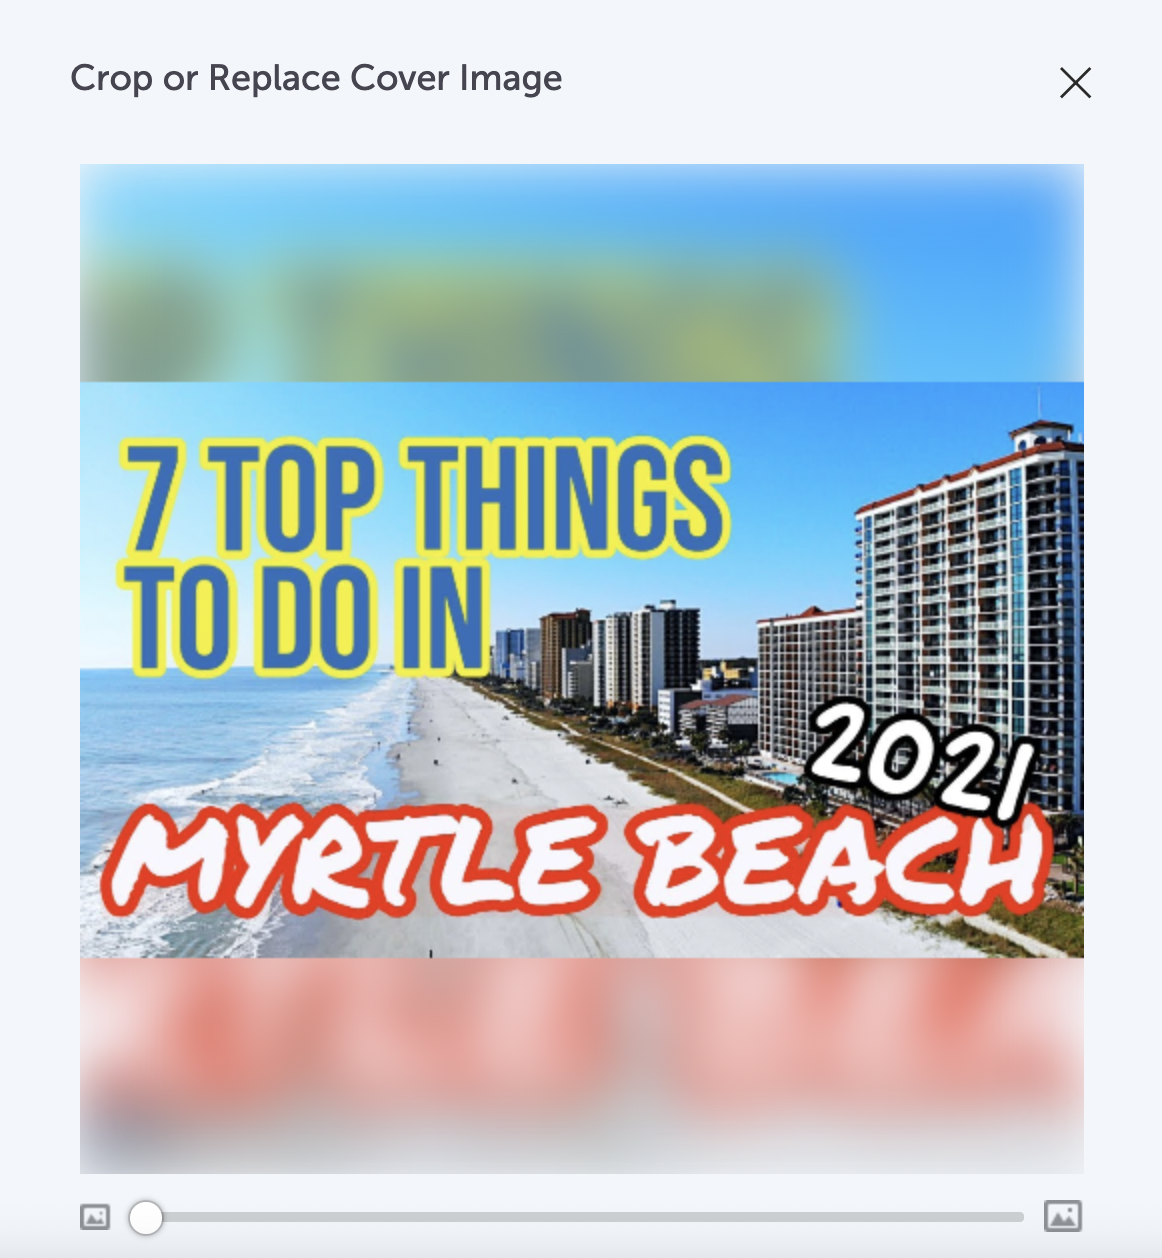
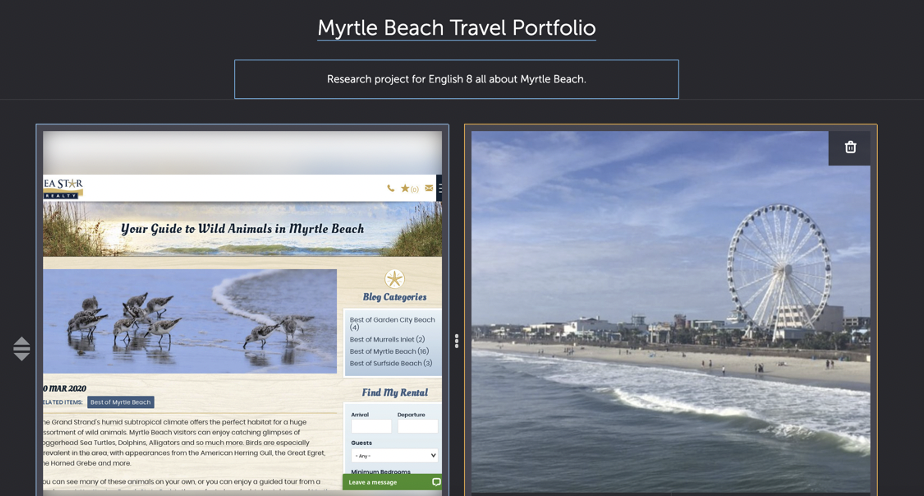
To move or rearrange your content pieces, simply click and drag them to where you would like them to appear. If you place a rectangular image into a square tile area, you may need to resize. This is very easy to do—just click Crop and use the slider to get the size you wish to obtain.
This is an example of a final project—using a dark theme and a grid style (all squares).
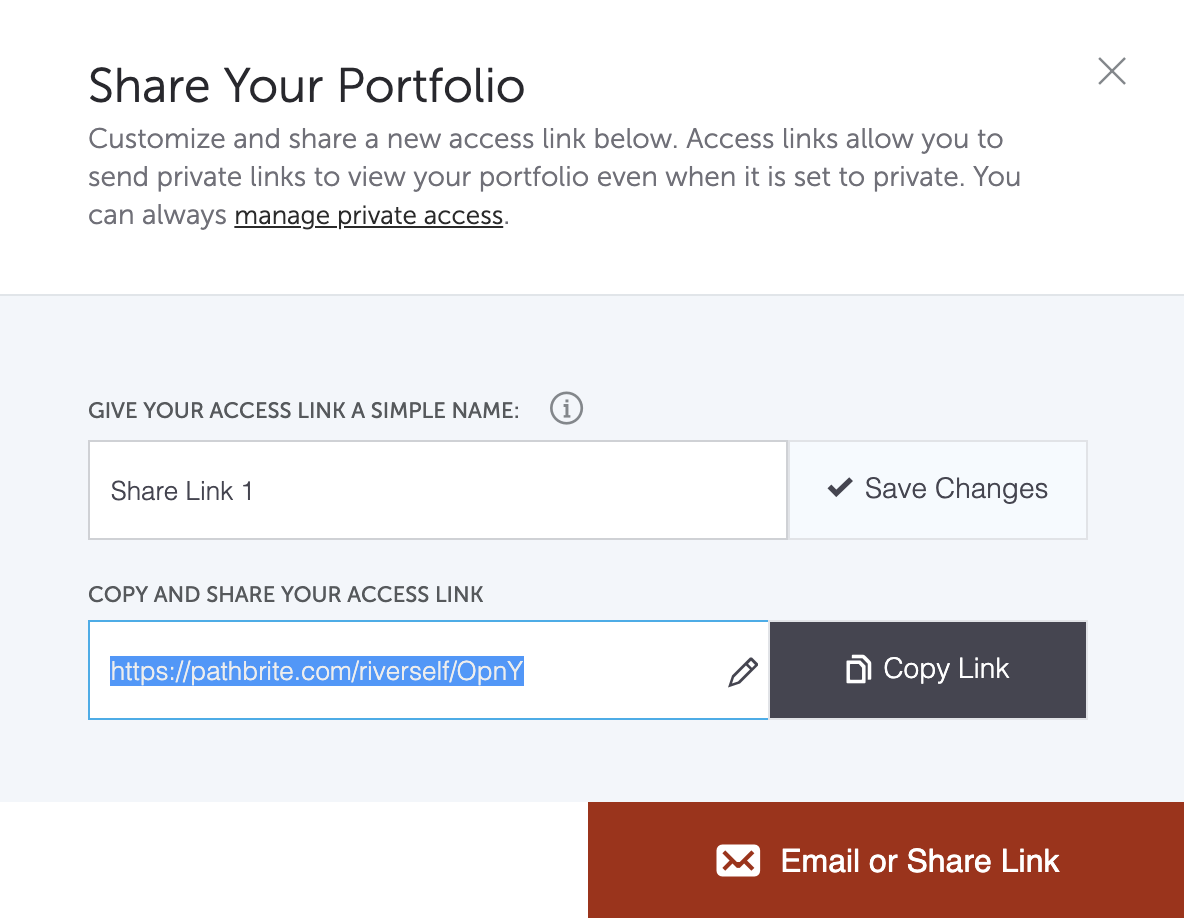
When you are ready, click Share. You can copy the link to share on your class website or you can click the button to send an email to share the link.
Your library will store all of your portfolios. When you are ready to start another new portfolio, simply click the yellow Create Portfolio button and let your creativity soar!

Classroom Use Ideas:
Pathbrite offers educators an engaging option for blended and remote learning. Teachers could create their own digital portfolios for nearly any subject area as a single lesson or as an entire unit. The comment feature is a great option for formative assessment and reflection for all ages.
Students could create digital portfolios about a variety of subject areas, including:
Social Studies:
- How imperialism affected World War I.
- The location and language of the Gettysburg Address.
- The causes of the Vietnam War.
- The Silk Road.
- How rivers impact trade.
- Time zones.
- Travel brochures for other countries, cities, or landmarks.
- Joe Biden (or another past or current president).
- The Wonders of the World.
- Careers.
Science:
- A famous invention or inventor.
- The steps in the Engineering Design Process.
- Animals of the aquatic ecosystem.
- Biomes of the world.
- The climate of Iceland.
- Wild weather phenomenon.
- The results of a science lab.
- DNA and heredity.
- Anatomy of a cell.
- The periodic table.
Math:
- Factoring equations.
- The difference between median, mean, and mode.
- Shapes in geometry.
- How to find the slope.
- Telling time (created by teachers for students).
- Measurements. Create a measurement scavenger hunt to find the area and perimeter of various objects around the classroom, school, or home. Find videos to create a digital scavenger hunt.
- Basic addition problems (with videos and images for nonreaders, created by teachers for students).
- Roman numerals.
- Money for young students.
- Savings and budgeting for older students.
Language Arts:
- Locations from a story.
- Characterization of one of the main characters from a book.
- A persuasive project about who is to blame for the death of Juliet in Romeo and Juliet. For example, who would students pick as the one carrying the most blame: Tybalk, the nurse, Friar Laurence, Paris, or her parents?
- How to write a resume and cover letter.
- An alternative to a book report.
- How-to guide for writing a personal narrative.
- Poetry collection and creation tools. Students can share poetry they created and what web tools they used to create the poetry.
- Finding the subject, verb, and other parts of speech (after reading short passages in links).
- Identifying the main idea, theme, and tone of stories.
- A narrative about the student’s favorite place (this could be cross-curricular and include information about the geography of the area, wildlife, and climate).
Art & Humanities:
- Music from the Roaring 20s.
- Instruments from the orchestra.
- An artist from the Renaissance period.
- A showcase of artwork created by the student (they could upload images, add text explaining the art, and even add videos).
- A location where people speak the world language being taught.
- Famous places to visit in France (in French class).
Additional Video Tutorials and Articles:
- TeachersFirst Review of Pathbrite
- Video: How to Create Portfolios in Pathbrite
- Video: Getting Started with Pathbrite
- Collection of Example Portfolios
Have you used Pathbrite in your classroom or for professional learning? Share your activities in the comments below!