
In Part 1 of this blog, we introduced you to elink and discussed the application of both the SAMR Model and the Triple E Framework to help you integrate elink into your instruction. Today’s post offers detailed instructions for using this tool and shares classroom use ideas by subject.
Elink:
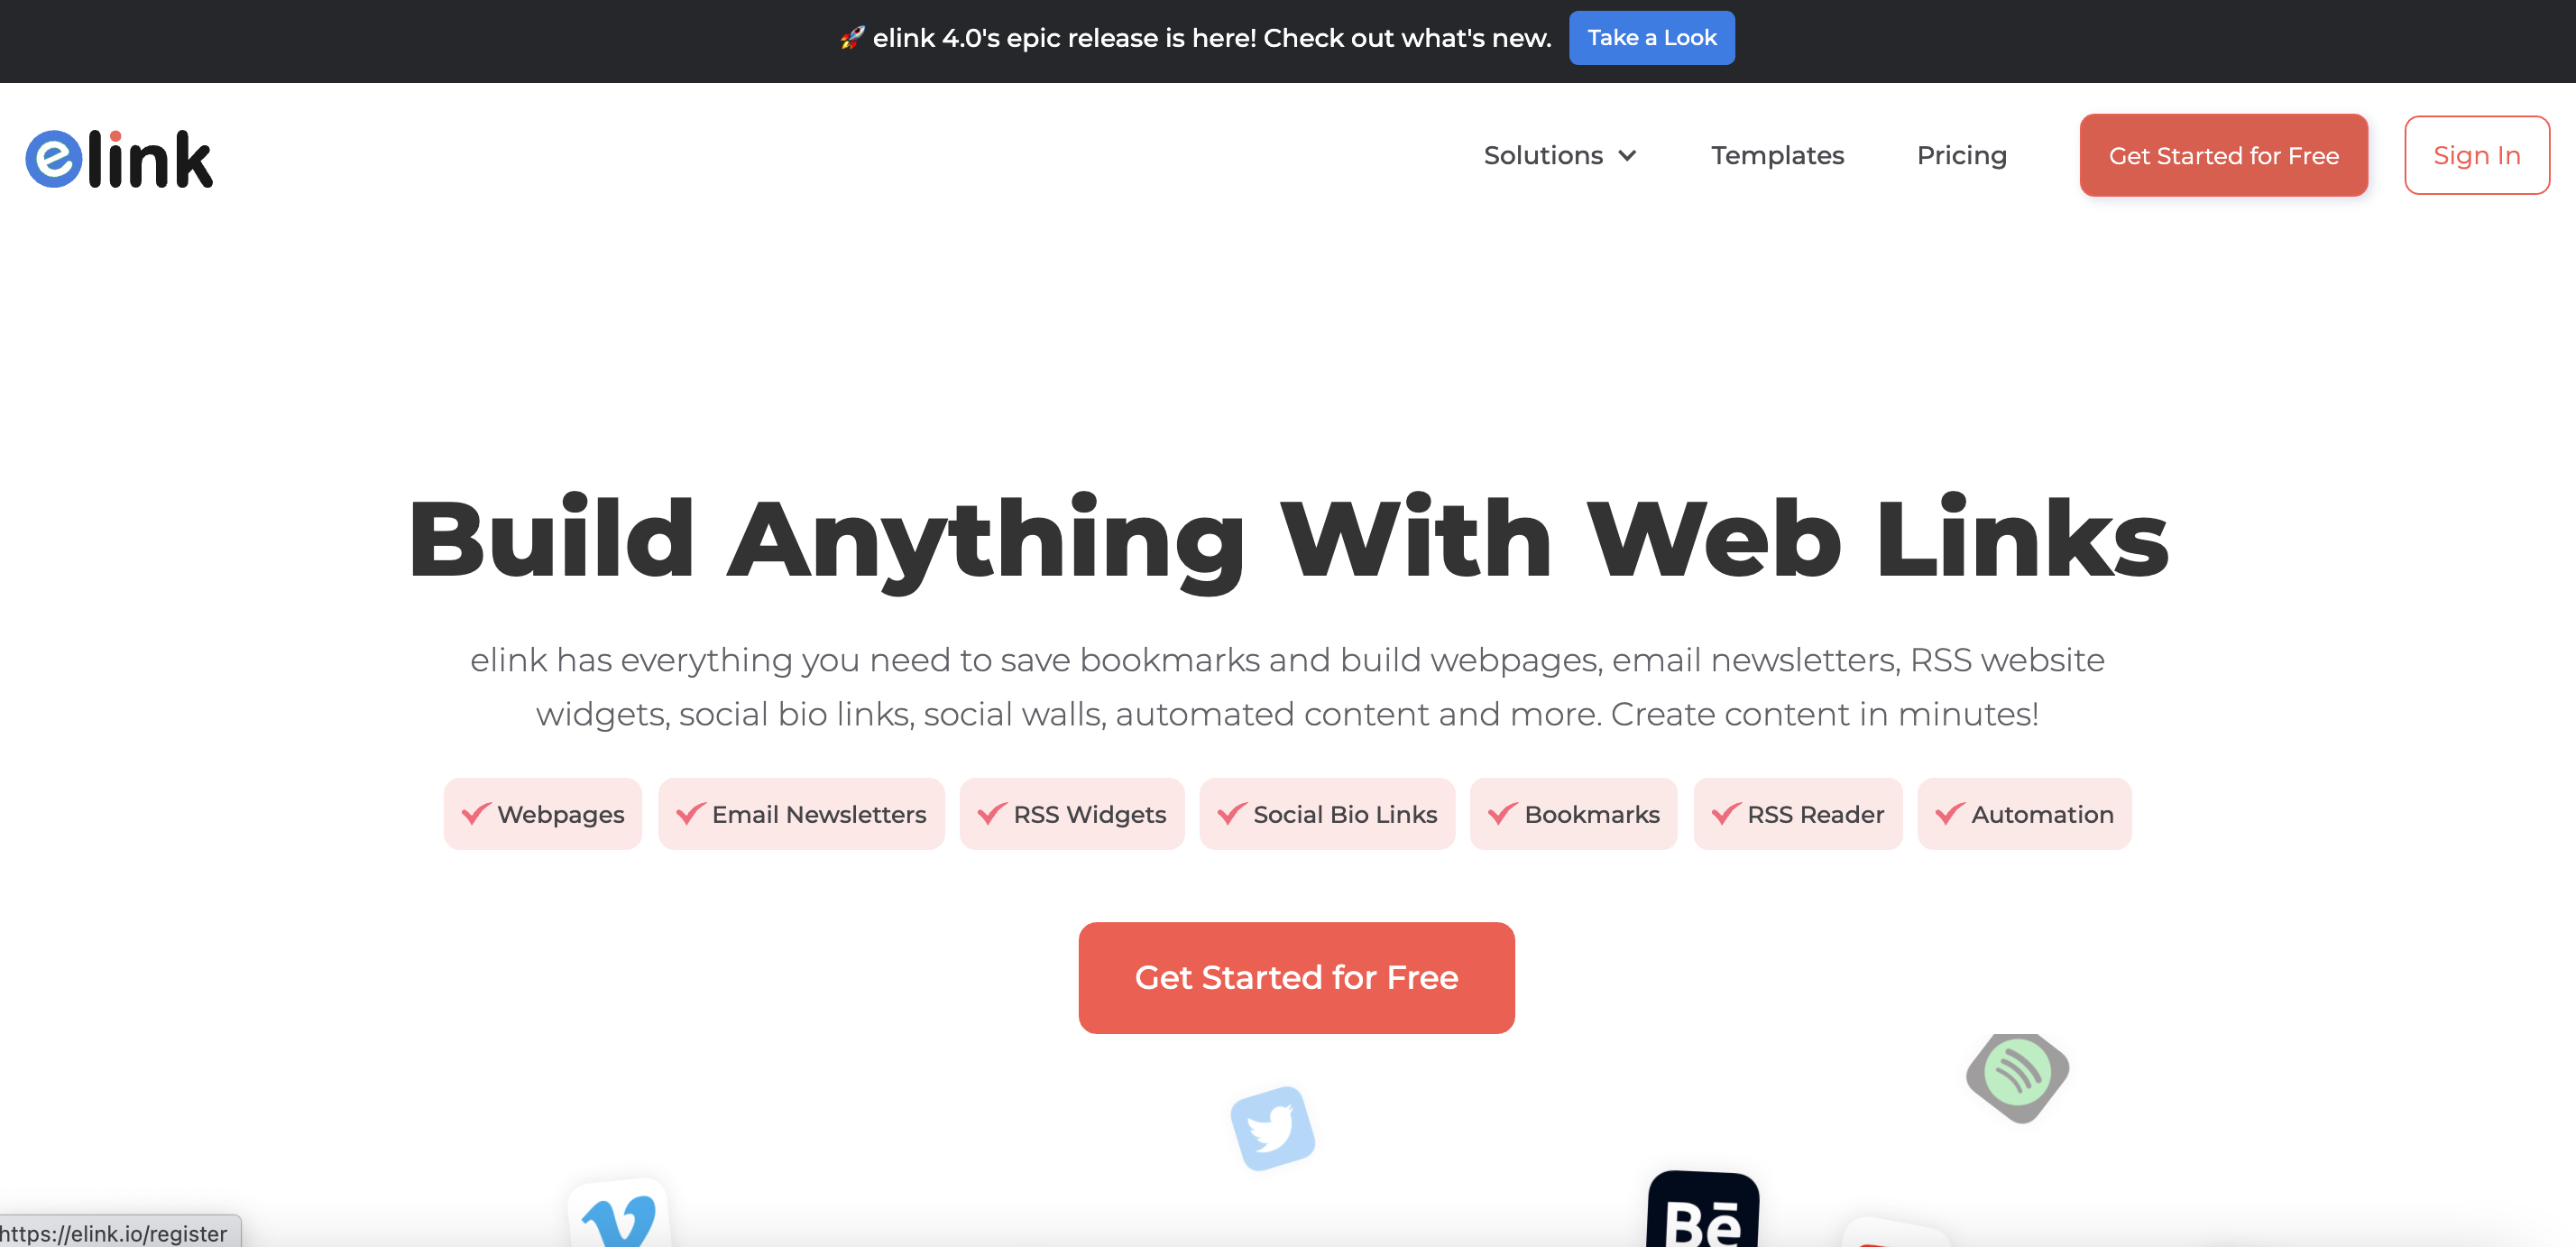
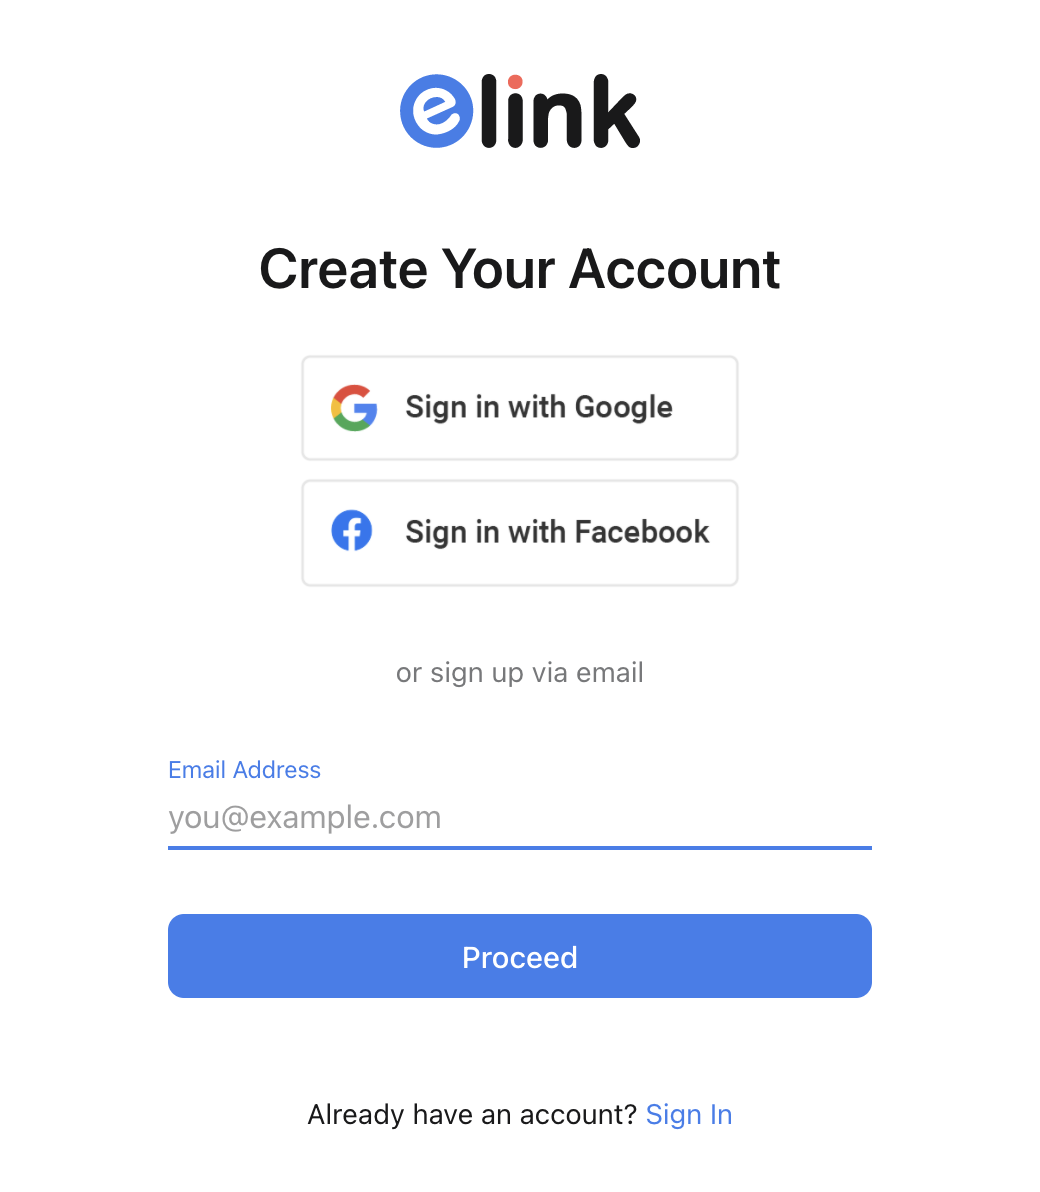
As you arrive at the site, you will be asked to sign in. If you do not have an account, click the Get Started for Free button to begin registration.
You can create an account using your email address or your Facebook or Google account information.
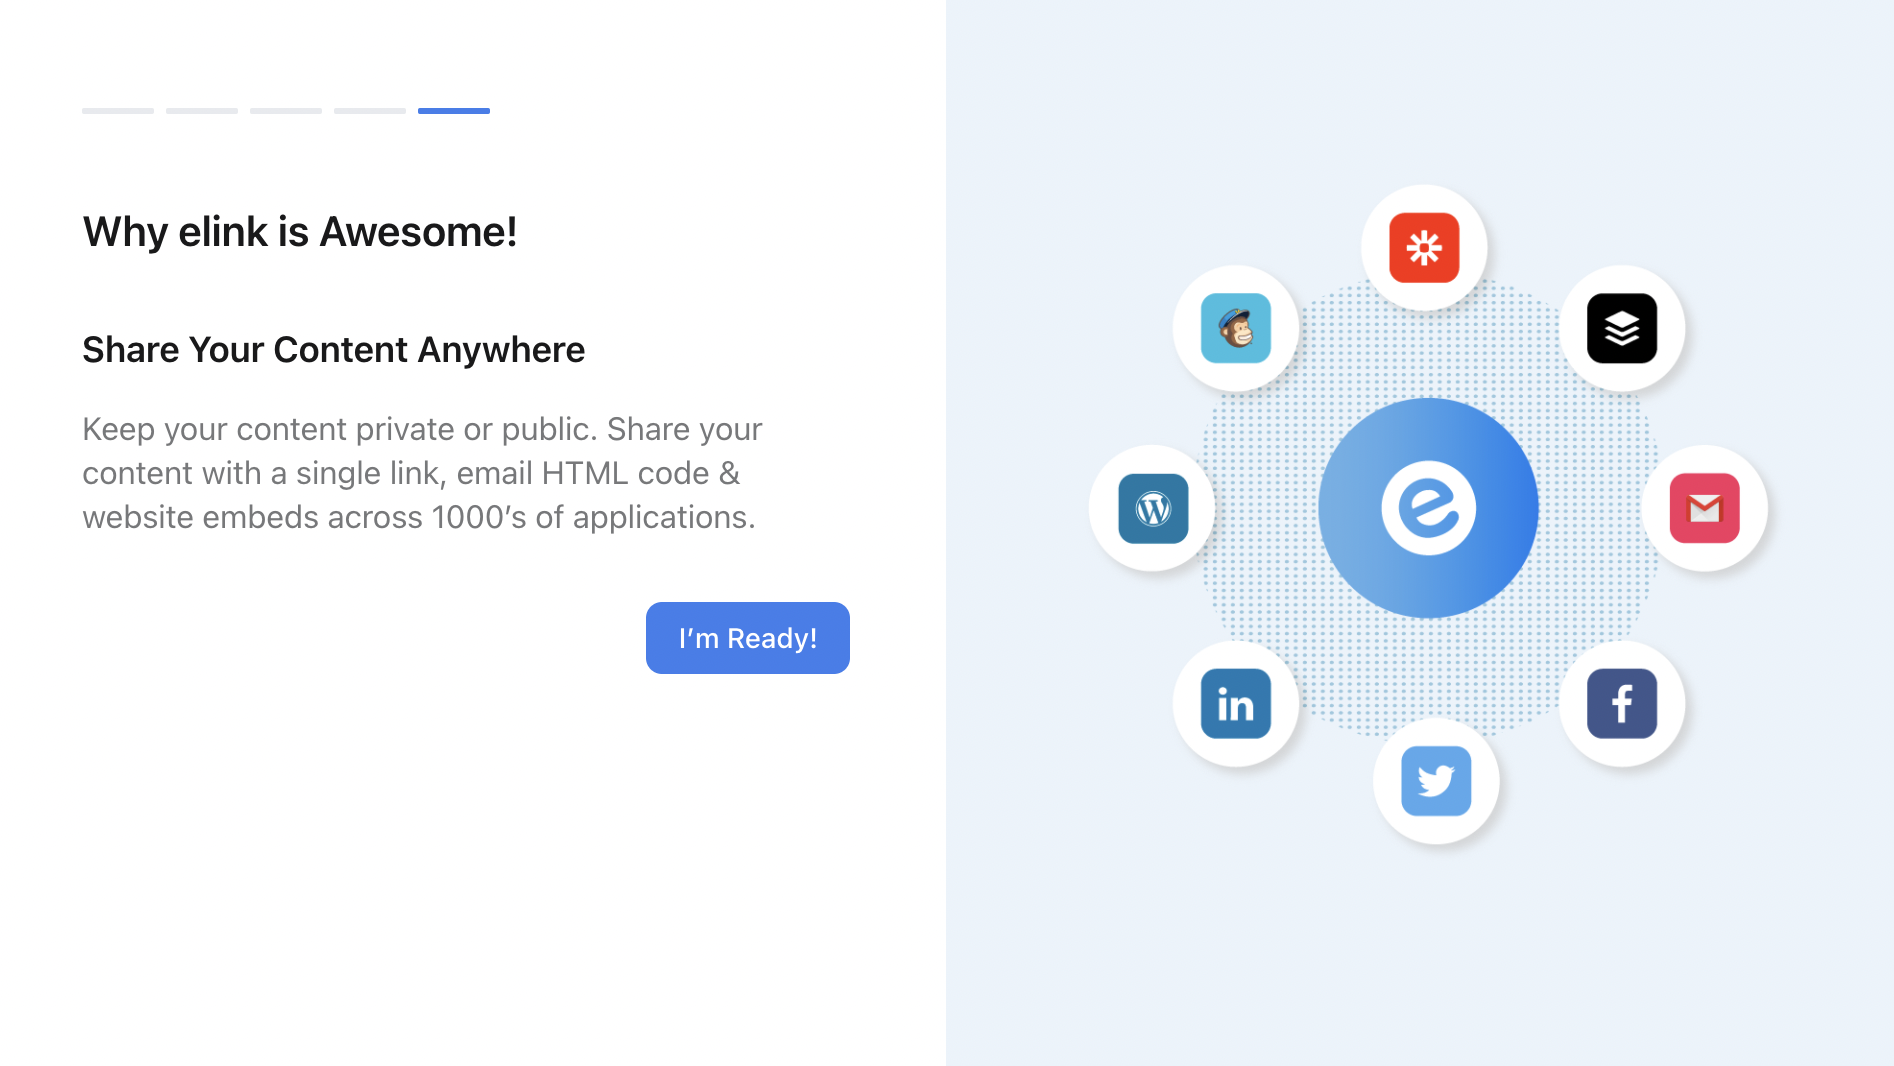
As you create your account, elink will take you through the steps and show you what to do. After you view the quick tutorial slides, click I’m Ready!
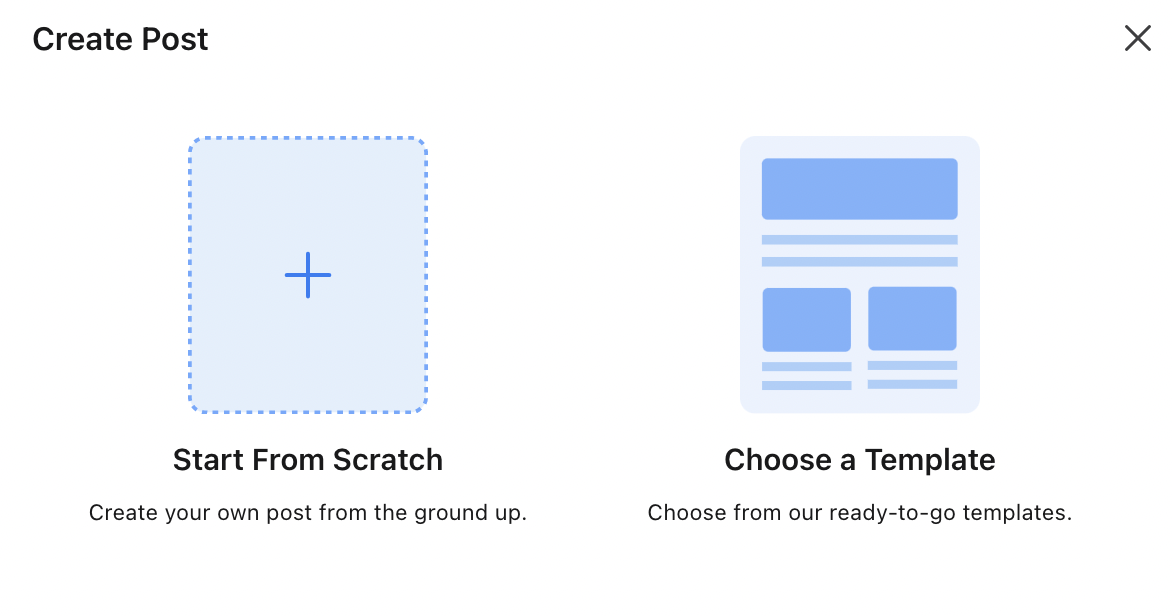
Your first decision will be whether you’d like to use a template that is already created or start from scratch.
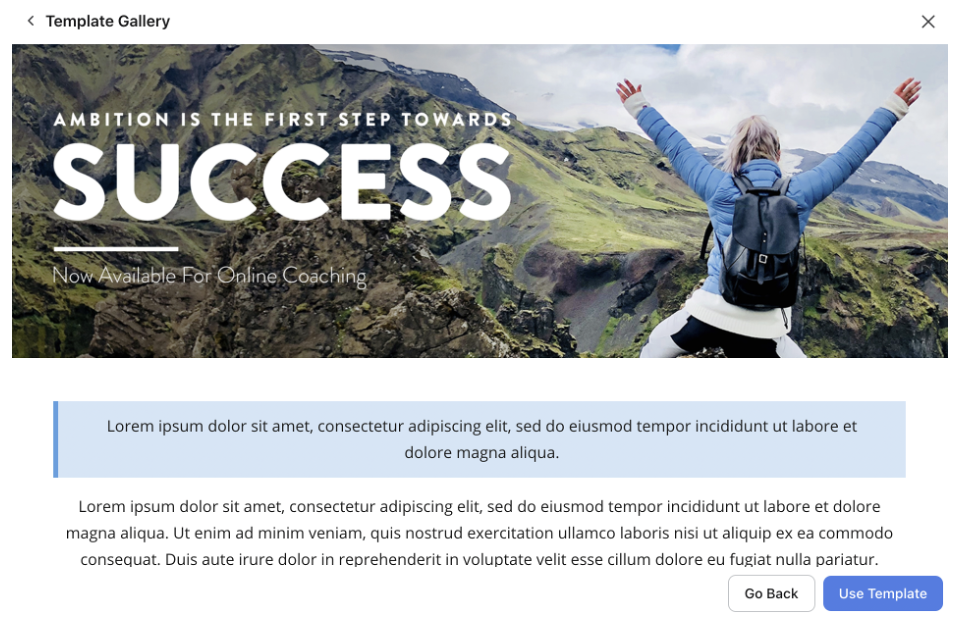
Here is a quick look at the Template Gallery.

Once you find a template that you would like to use, click Use Template.
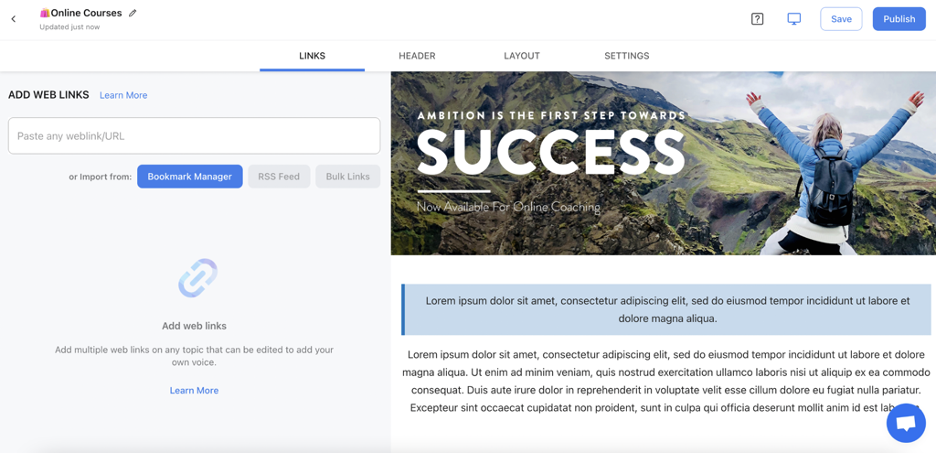
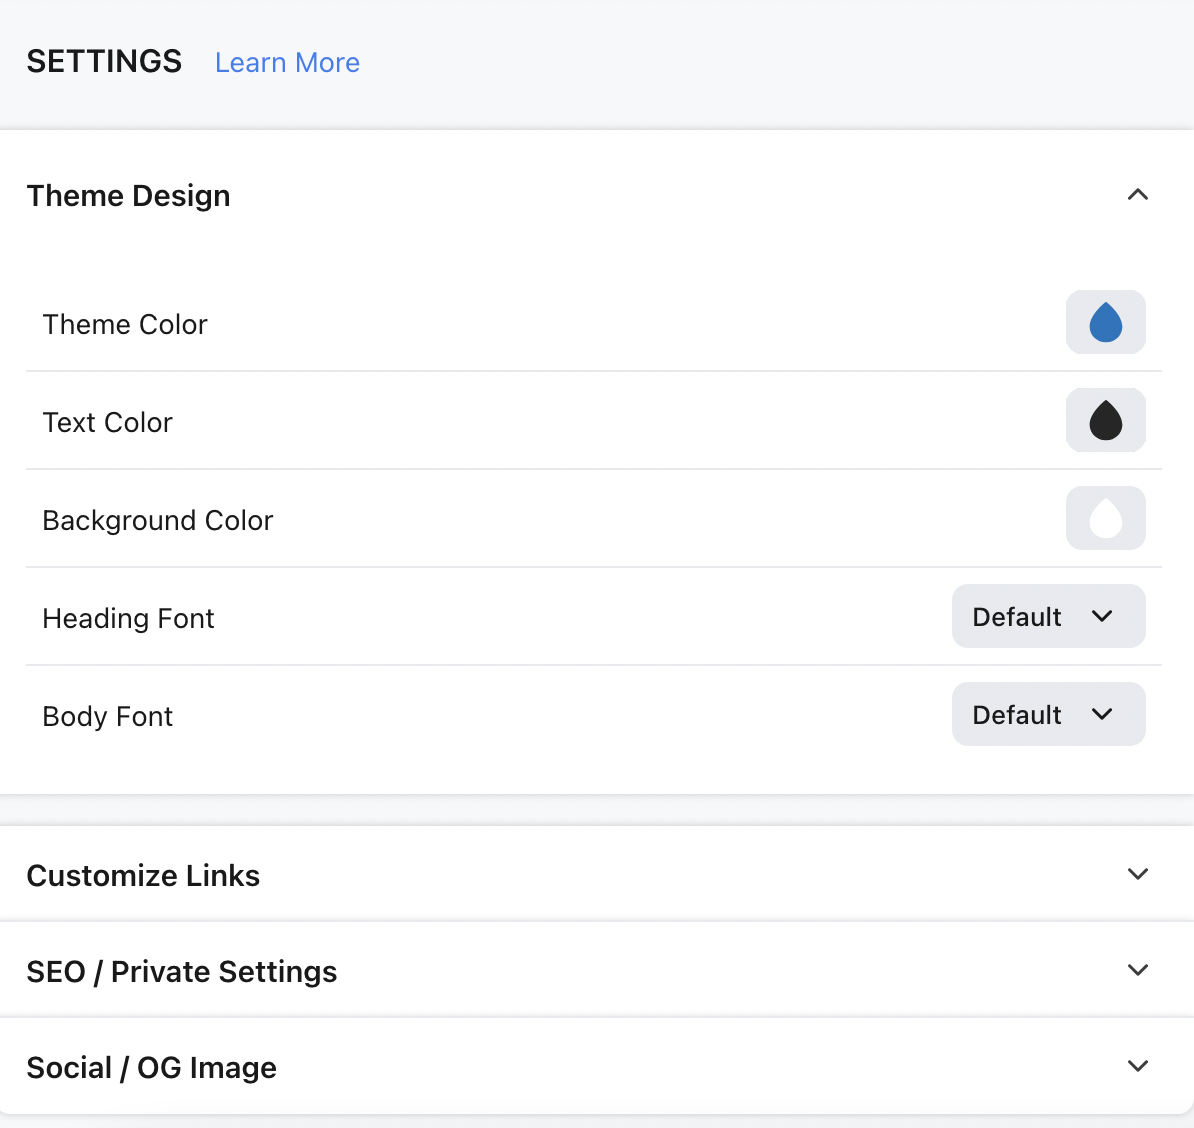
You will see four options at the top: Links, Header, Layout, and Settings. Let’s dissect each of these options to see what is included. With the free account, you can add up to 5 links. Simply copy and paste your links into the Add Web Links box.
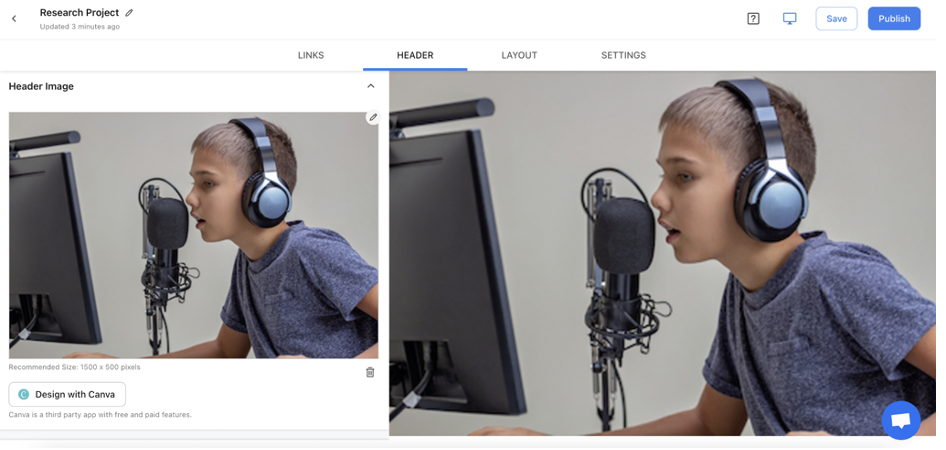
Use the Header option to change the image at the top of your template. You can import any image from your computer or design an image using Canva.
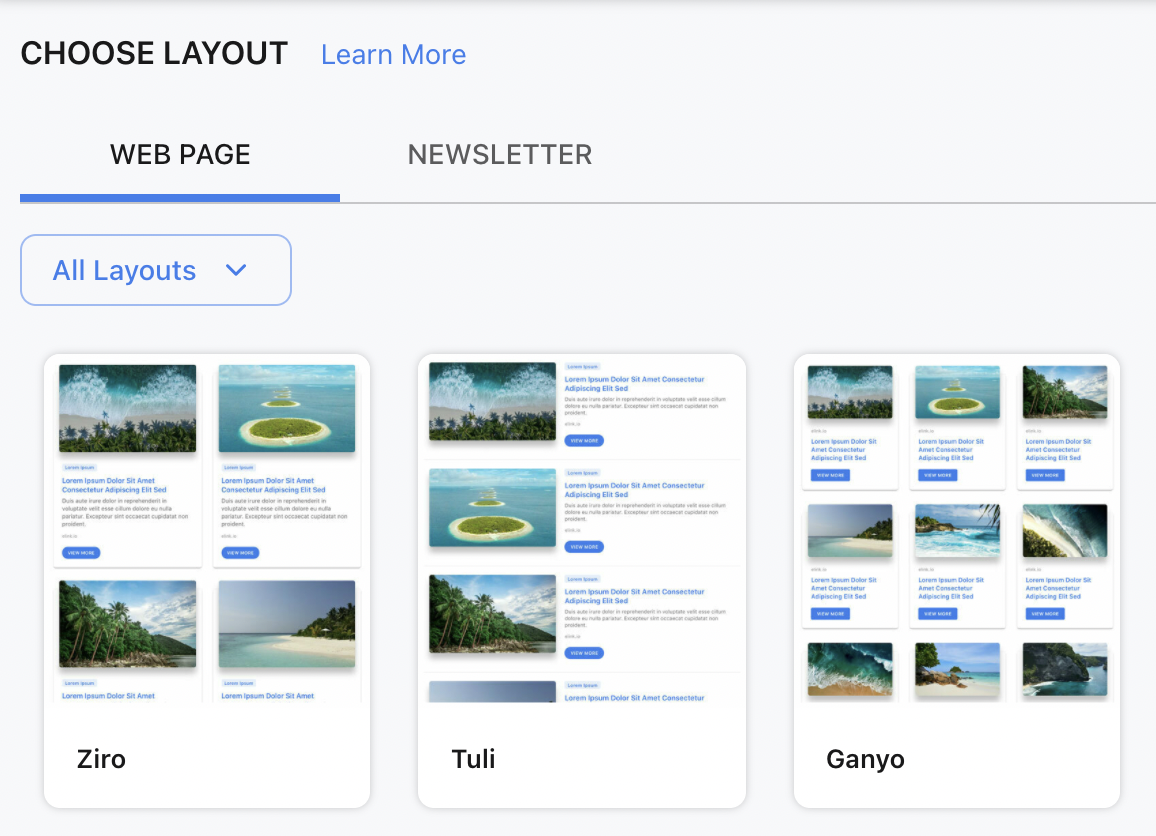
Moving across to Layout, you will find many ways that you can present your curated list of links. You can click to preview what each layout will look like before you make your final choice.
The final option, Settings, is mostly only available on fee-based accounts. The one thing that you can change in this area using a free account is the SEO/Private Settings. This makes sure that your account is not searchable by the public.
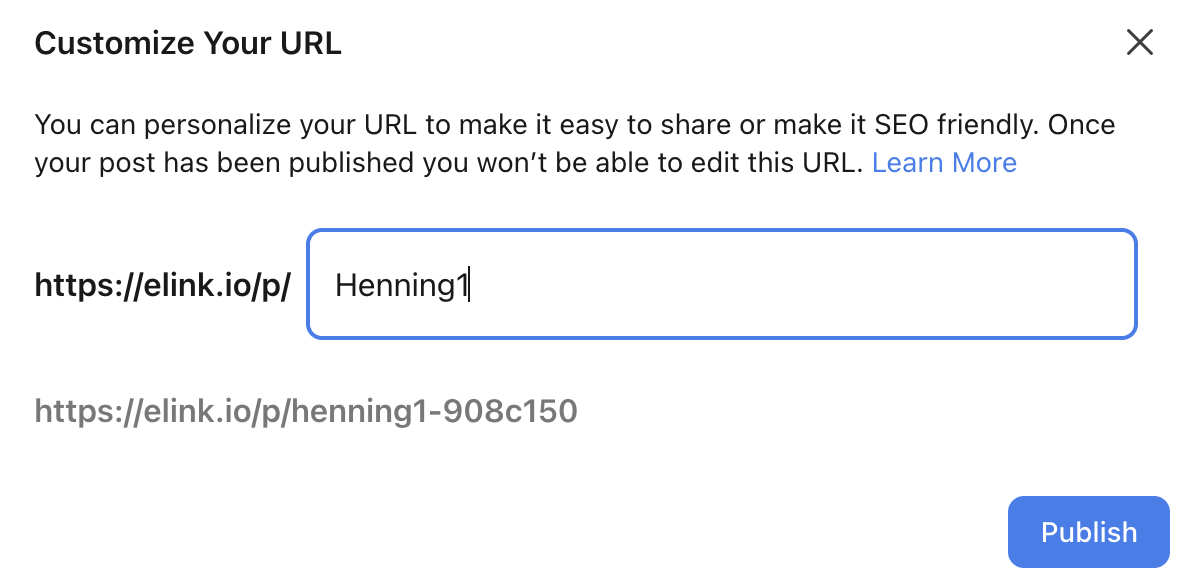
Once you are finished, click Publish. You will have the opportunity to customize your own URL, which is a great opportunity to assign using student numbers (easy for students to remember!).
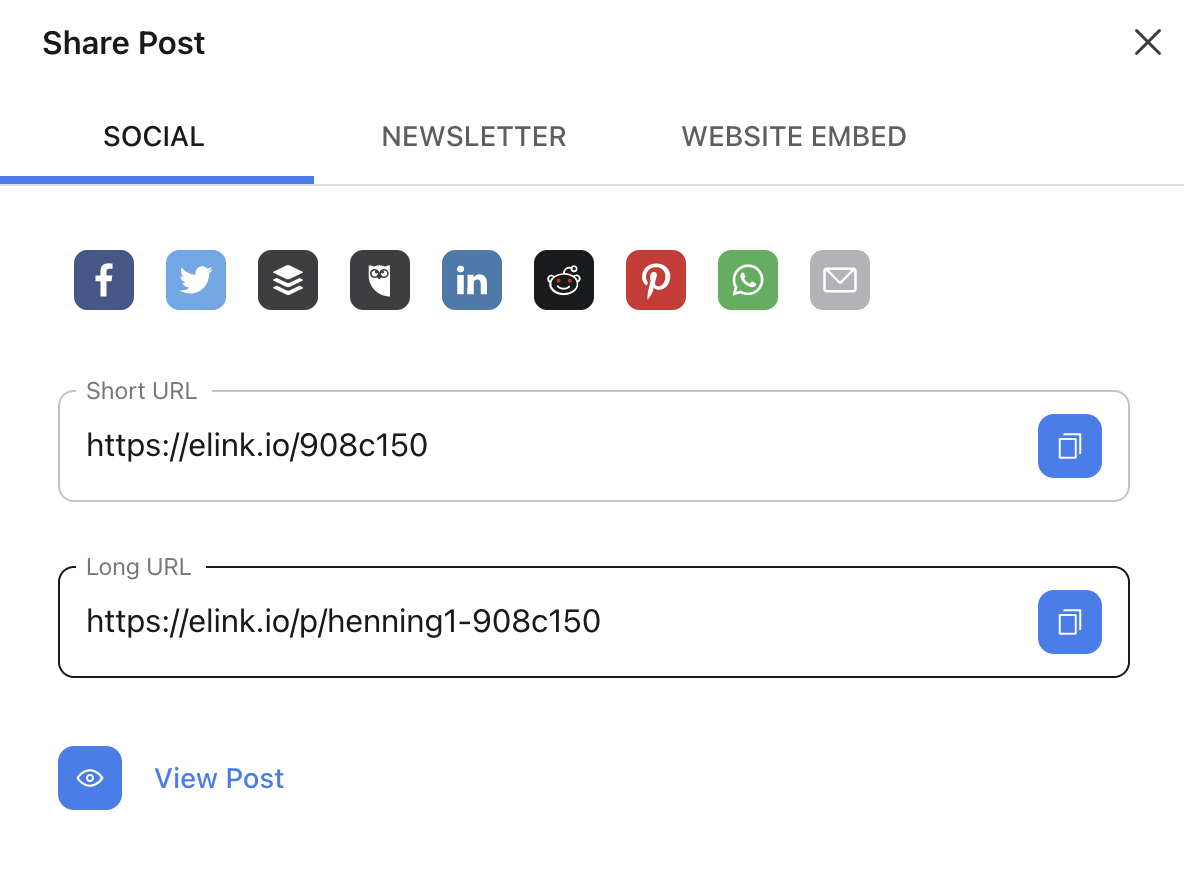
Once your elink is published, you will be provided with the URL and many options to share your elink on social media or a website. Remember, although you can only publish one elink per day, you can create drafts of additional elinks to be saved and published in the future.
Classroom Use Ideas:

Elink offers educators an engaging option for traditional, blended, and remote learning. Teachers could create elinks for nearly any subject area as a single lesson or as an entire unit. This is a wonderful tool to use for playlists to personalize learning and differentiation for your students.
Below, we’ve included ideas for using elink to teach several subject areas—but the only limitation is your imagination!
Create an elink playlist about…
Social Studies:
- Franklin D. Roosevelt (or any past or current president).
- Famous landmarks in Europe.
- The holocaust.
- A country or state.
- Ancient civilizations.
- Time zones.
- Medieval castles.
- The Great Depression.
- War strategies of the Revolutionary War.
- The Spanish Flu pandemic.
Science:
- Uses of the kidney or other organ of the body.
- The science (and physics) of baseball or another sport.
- A famous invention or inventor.
- The steps in the Engineering Design Process.
- One of the biomes of the world.
- Punnett squares.
- The food chain.
- Weather phenomena.
- DNA and heredity.
- Anatomy of a cell.
Math:
- How to factor equations.
- The difference between median, mean, and mode.
- Shapes in geometry.
- Adding money.
- The order of operations (PEMDAS).
- Roman numerals.
- Saving and budgeting for older students.
- The X-axis (or Y-axis).
- Dividing fractions.
- Using a scatter plot.
Language Arts:
- An author analysis from a recent book that students have read.
- Locations from a story.
- Characterization of one of the main characters from a book.
- Writing a resume and cover letter.
- Poetry examples and creation tools.
- Types of personal pronouns.
- Finding the subject, verb, and other parts of speech (after reading short passages in links).
- Defining and identifying proper nouns.
- Identifying the main idea, theme, and tone of stories.
- Basic reading and word families.
- The difference between the mood and tone of a story.
Art & Humanities:
- Music from the Roaring 20s.
- Instruments from the orchestra.
- An artist from the Renaissance period.
- A location that speaks the language taught in a world language class.
- Famous places to visit in Spain (in Spanish class).
- Different techniques in art.
- How to play the keyboard (or guitar or other instrument).
- A genre of music, such as reggae.
Additional Video Tutorials and Articles:
- How to Use Content Curation for Education: Infographic
- Playlist Building 101 (PDF)
- What is Video Curation and How To Curate Video Content
- Video: How to Use elinks Layouts
- Video: The Best Online Curation Tool on the Planet
Have you used elink in your classroom or for professional learning? Share your activities in the comments below!
Thanks, elink.io looks useful, I will try it.