
In Part 1 of this blog, we introduced you to FluentKey and discussed applying the SAMR Model and the Triple E Framework using FluentKey in your instruction.
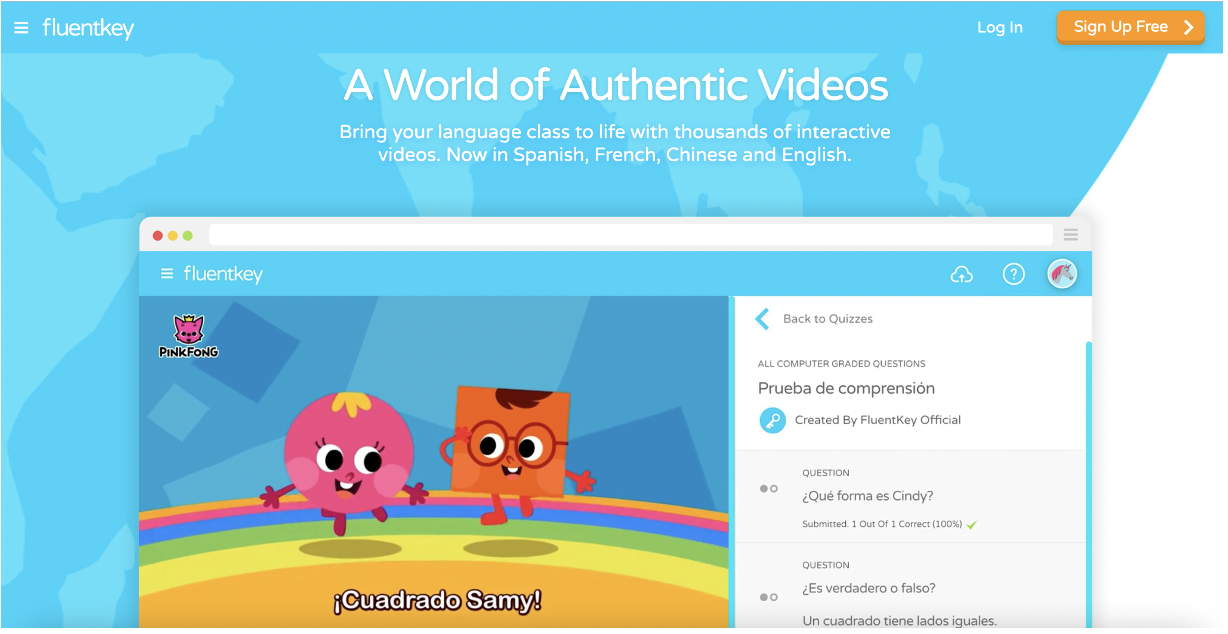
Learn more about this game-based learning interactive that uses video clips to engage students and helps them practice listening comprehension skills in 14 languages, including Arabic, Chinese, Japanese, American Sign Language, Russian, Spanish, and Hebrew. These learning activities are also ideal for English language learners of all ages. Today’s post offers detailed instructions for using this tool and shares classroom ideas.
FluentKey:
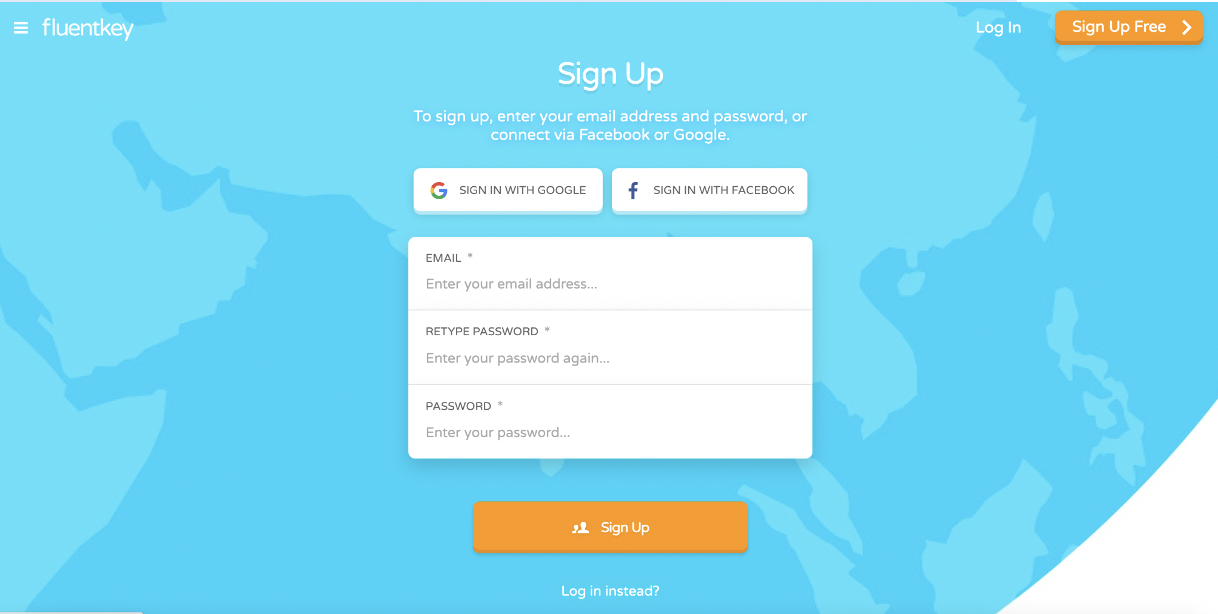
When you arrive at the site, click Sign Up Free.
You can register using an email address or your Google or Facebook account.
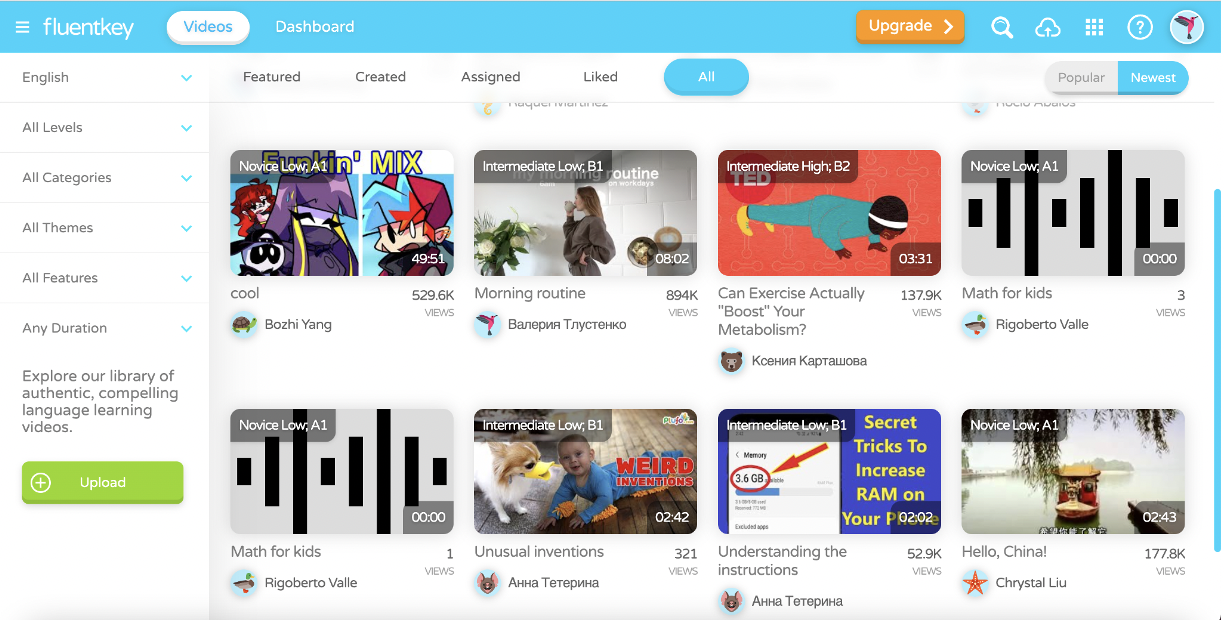
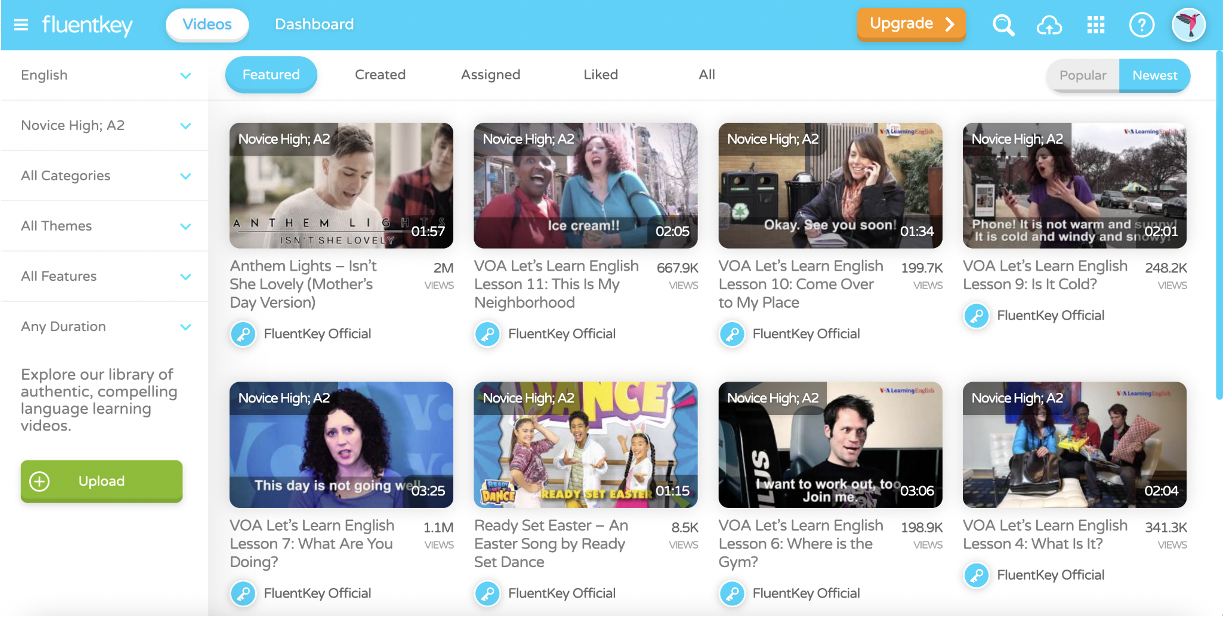
Once logged in, you can view all the listening activities or upload your own. Use the left sidebar to search by level, category, theme, features, and duration, or click Upload. Let’s explore these options.
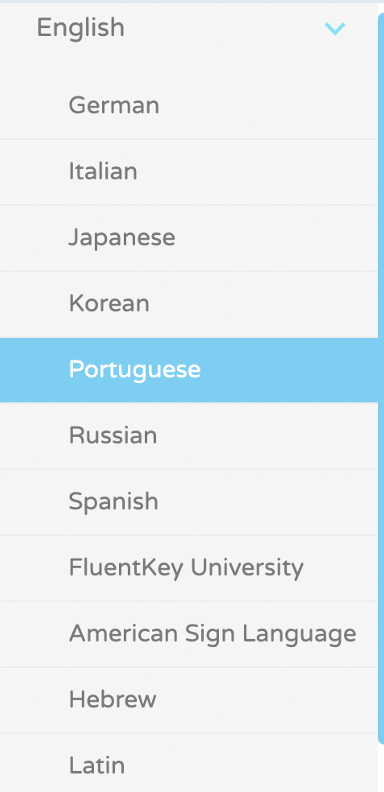
Available languages include Spanish, German, Italian, Japanese, Korean, Portuguese, Russian, Spanish, American Sign Language, Hebrew, Latin, Arabic, English, French, and Chinese.
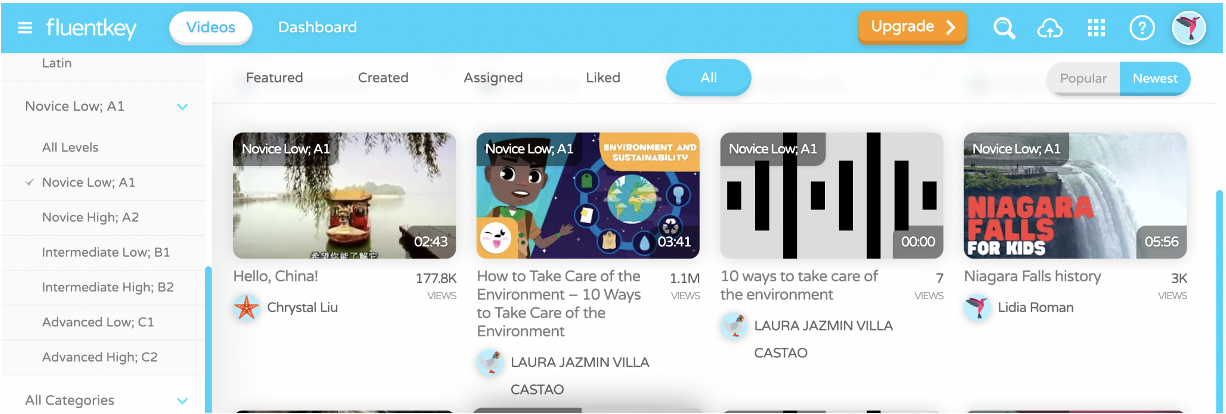
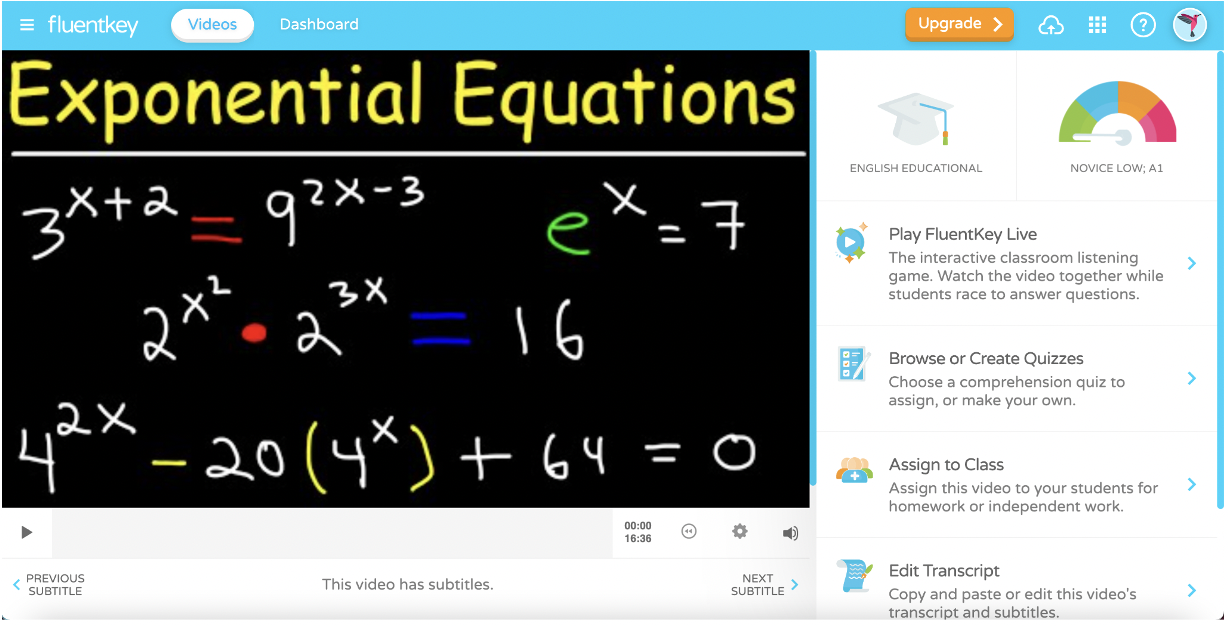
The site offers six difficulty levels. This image shows some examples of the easiest level, Novice Low; A1. There are two novice, intermediate, and advanced levels.
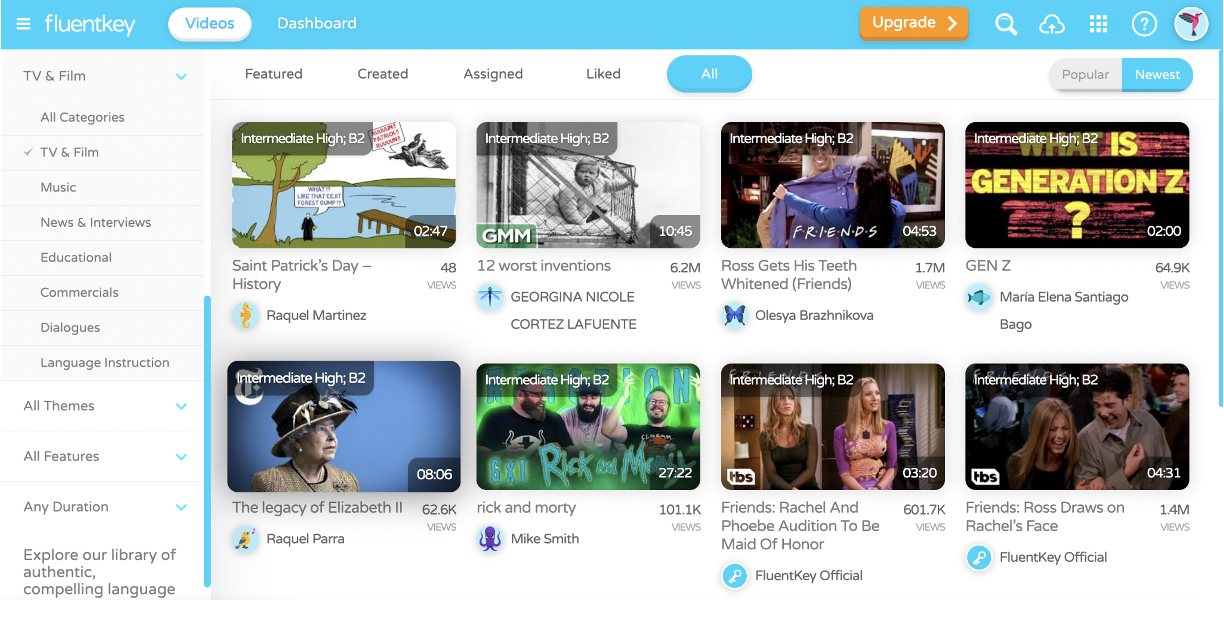
Choose from categories including TV & Film, Music, News & Interviews, Educational, Commercials, Dialogues, and Language Instruction. The themes get more specific and include food, fashion, environment, politics, and more.
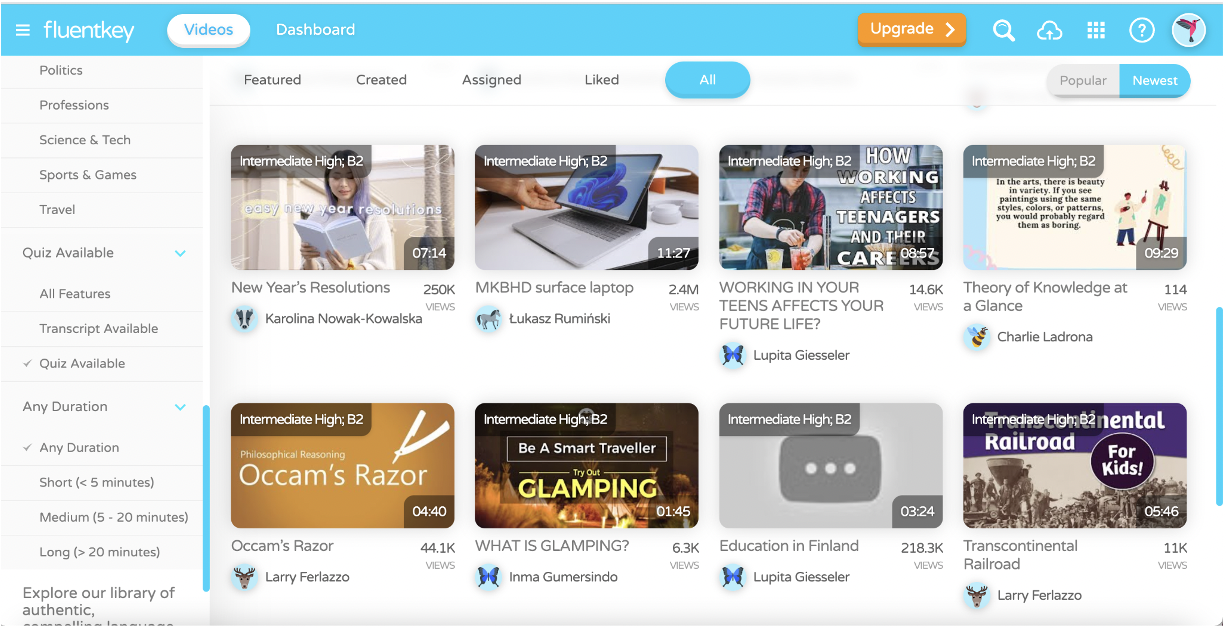
Click the Features drop-down to view only videos with a quiz available or a transcript available. Click Duration to explore videos by length. Please note that the duration is how long the video will run and does not include any built-in time for the interactive questions. Based on our experience, your game time will be at least double the duration of the video.
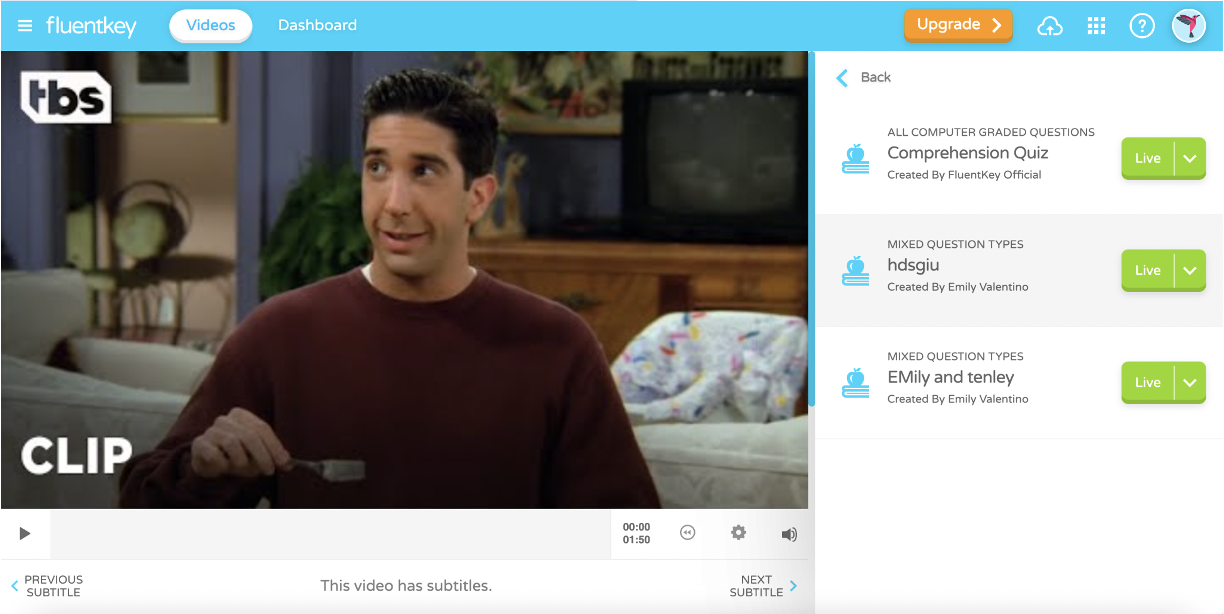
After using the search options on the left sidebar, it’s time to pick your video. After clicking on the video, you’ll see graphics on the right side of the screen that show the category and difficulty level and options for how you want to use the video. Click Play FluentKey Live if you want your students to play together. Click Browse or Create Quizzes to choose between different question sets or to create your own questions related to the video. Click Assign to Class to enable students to complete this assignment on their own asynchronously. Finally, View Transcript allows you to pre-read the words from the story. We highly recommend reading the transcript before sharing the video with your student to ensure the story is appropriate for your grade level.
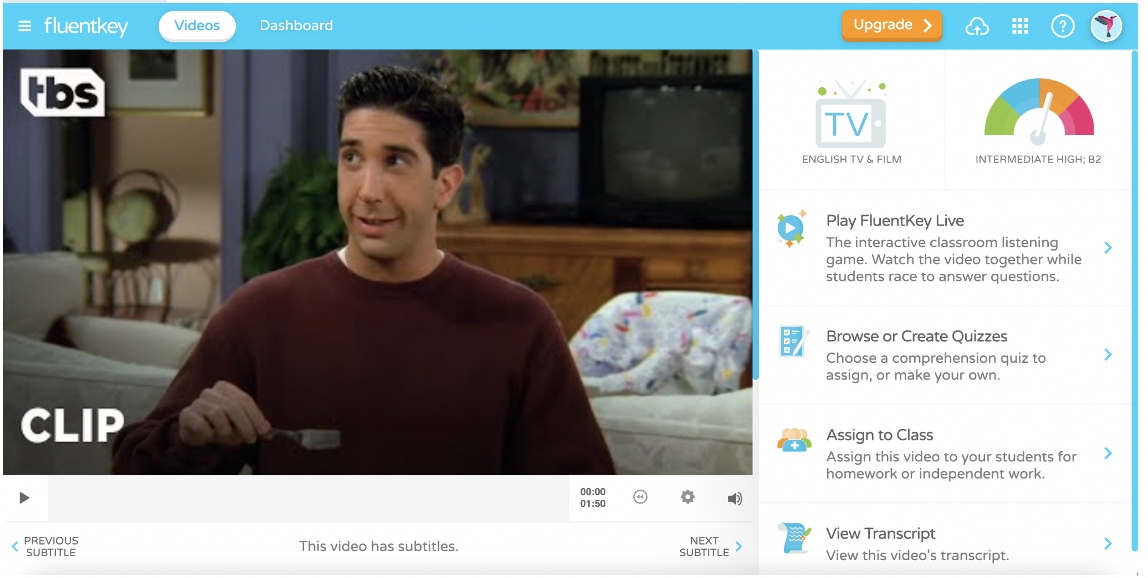
Click on the small dial in the bottom right of the video to adjust the speed and add or remove subtitles. This is a great way to differentiate and slow the speakers’ speech.

Let’s begin with how to play live. Click Play FluentKey Live to pick the questions for your video. Most videos have a few question set choices—we recommend using the questions from FluentKey Official (rather than a user-created set), which are almost always available. Click the arrow next to the Live button to begin the game!
Next, you can preview how many questions this game includes. You can also create a class or select a class that you’ve already created.
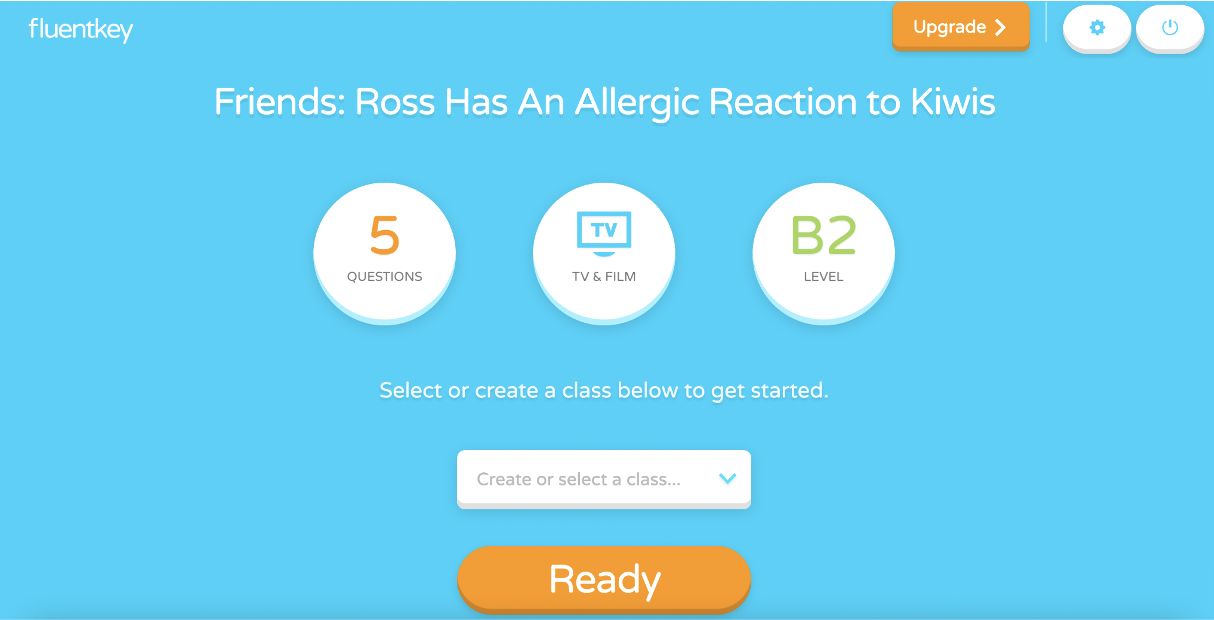
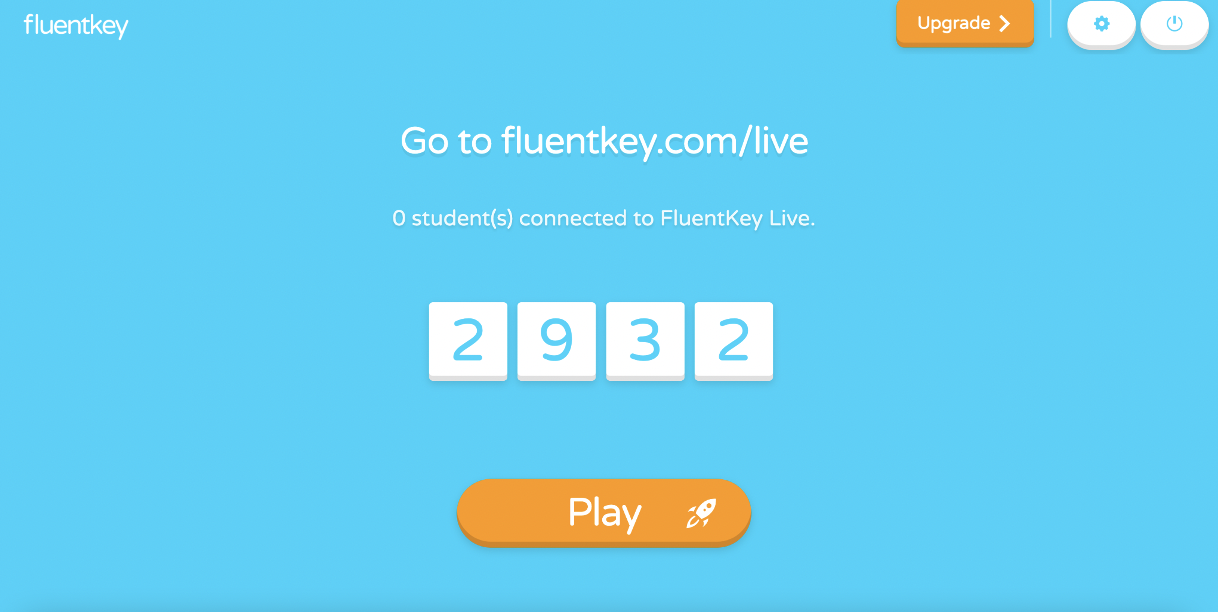
Once you’ve chosen which class you want to use for this assignment, click Ready. FluentKey will provide a code that you can share with your students. Students do not need an email to join—the code will allow them to participate on their individual devices.
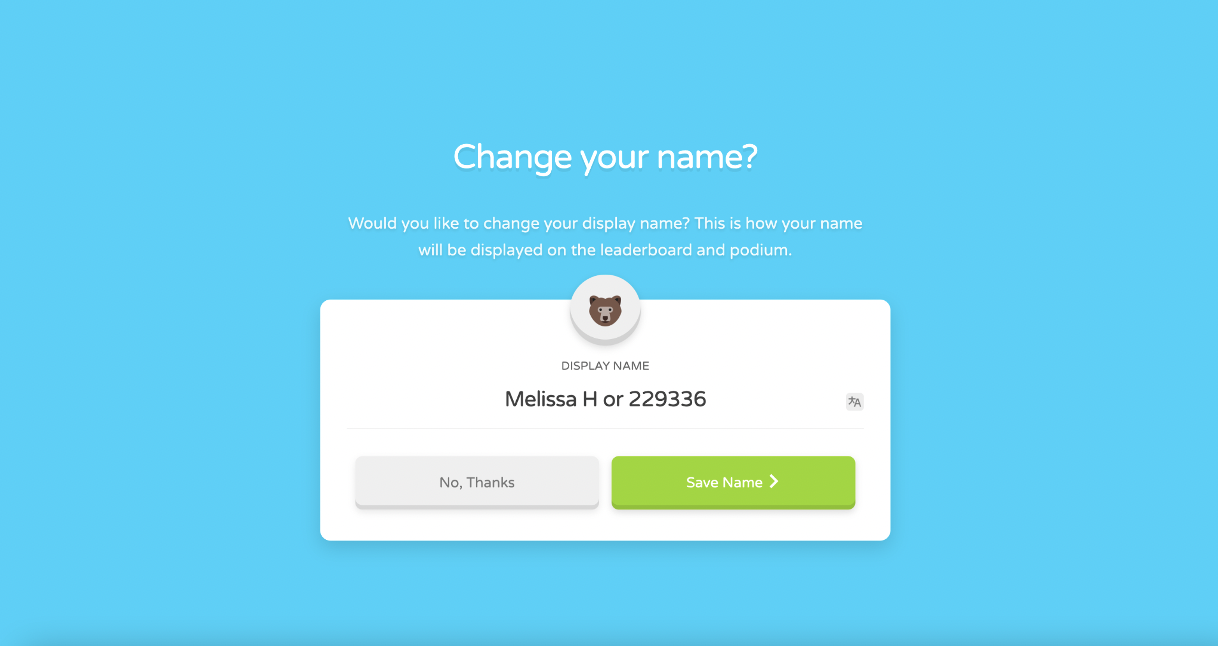
Now we are in the students’ view. When they arrive at the site, they can change their name to help you identify which students are participating. To change the name, click on the current name (in this case, Bear).
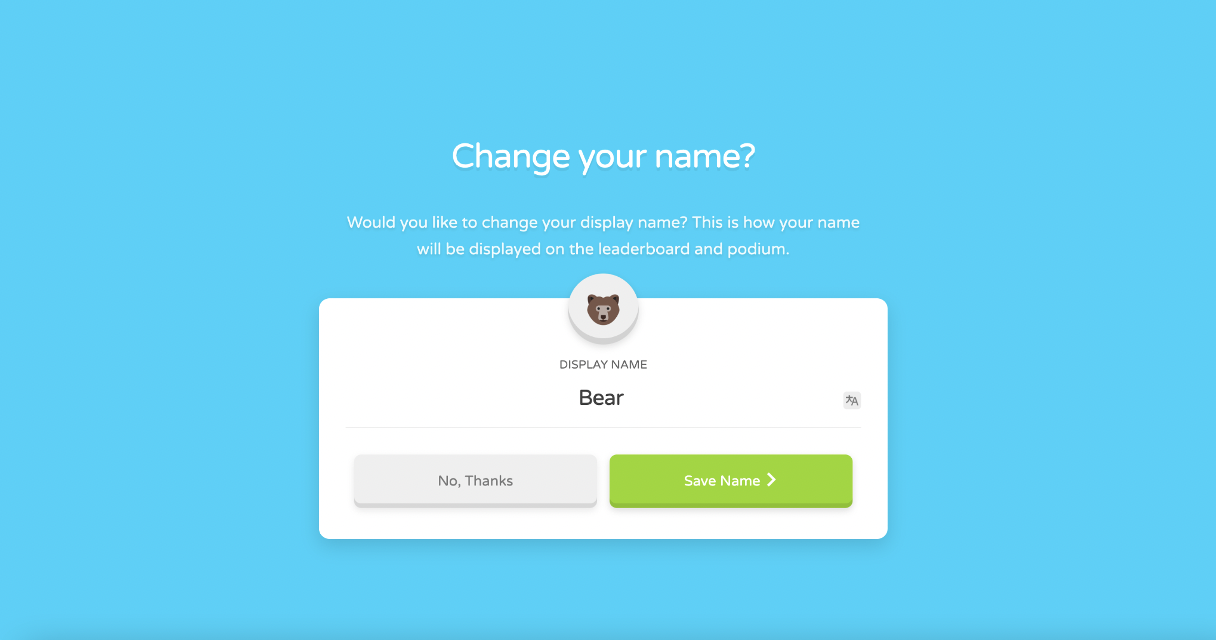
Students can then add in the name they wish to use, like first initial and last name, student number, or first name and last initial.
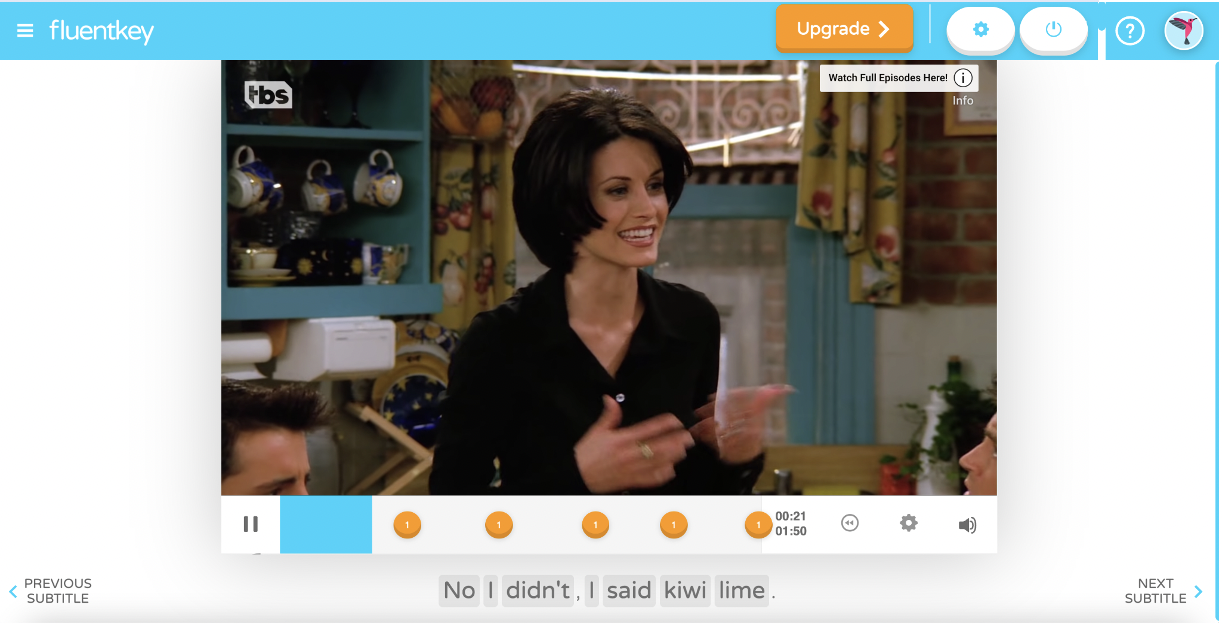
The teacher must click the play button on the video on their device so students can view the video from the projector or the teacher’s screen. Notice students can read the words in addition to listening to the story. Each orange dot represents a break for a question in the game.
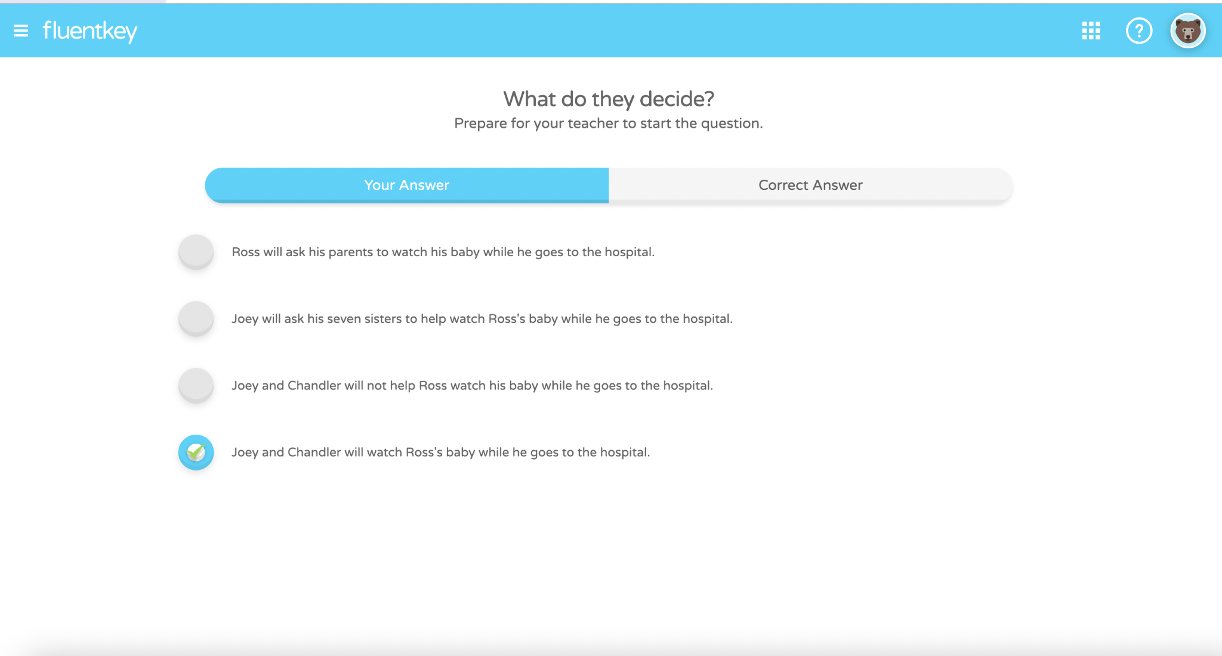
Here is an example of a multiple-choice question.
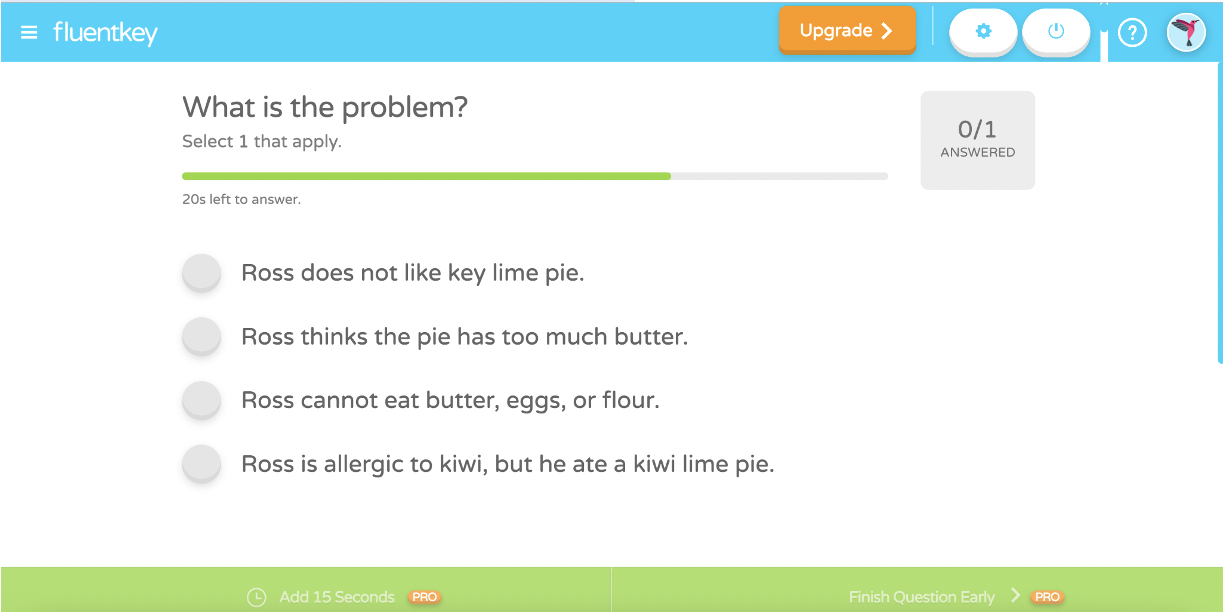
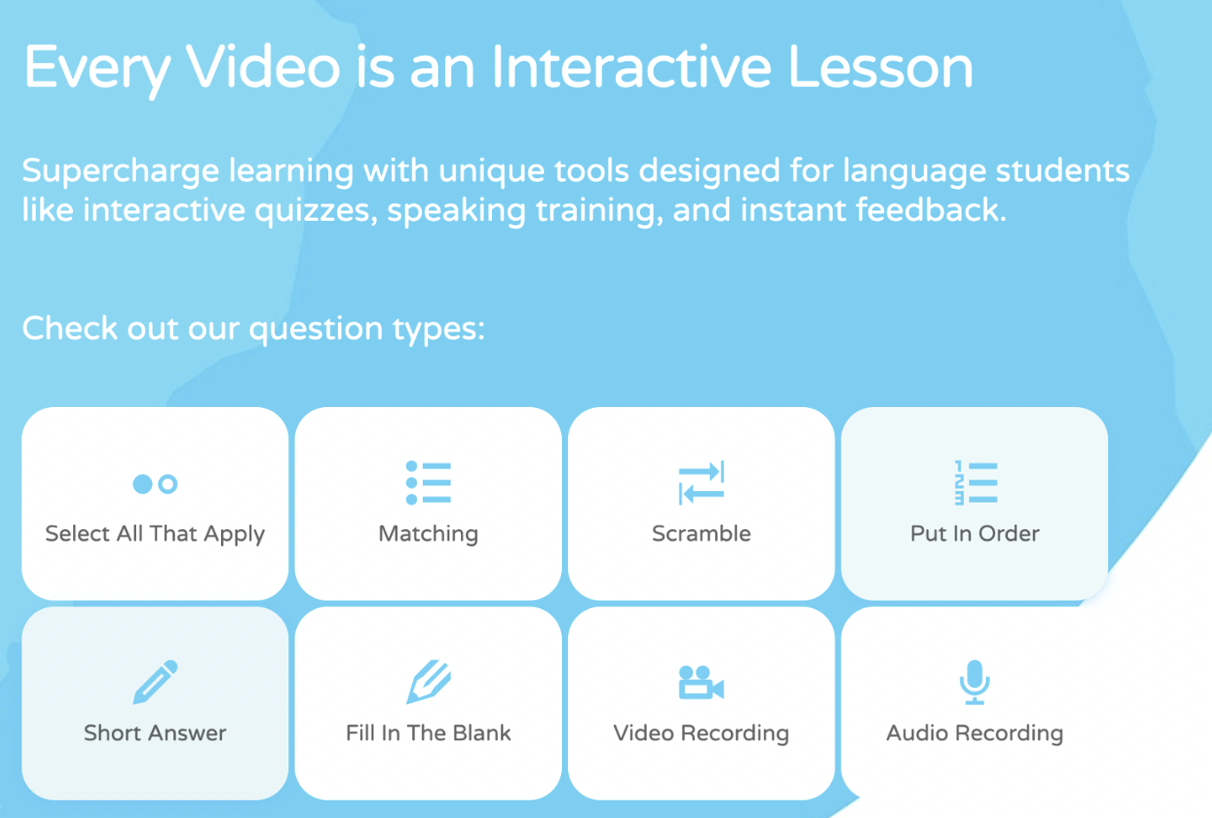
There are eight different question types that you’ll see as you complete these engaging listening games. Two question types, Video Recording, and Audio Recording, are only available in the pro version. Based on our experience using FluentyKey, a great majority of the FluentKey question are multiple-choice, but every listening game did include at least two types of questions. Please note if you are creating your own game, you can use any of the six free question formats.
Once students submit their replies, they can view the correct answer on their screen by clicking that option.
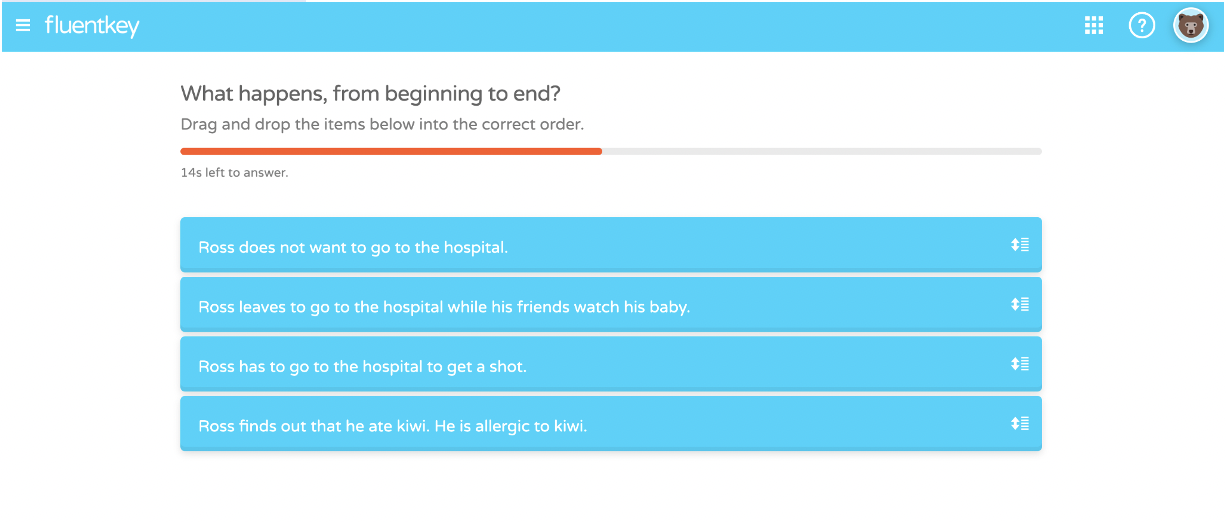
As a final example of question types, here is a sequence question asking students to put the story’s events in order.
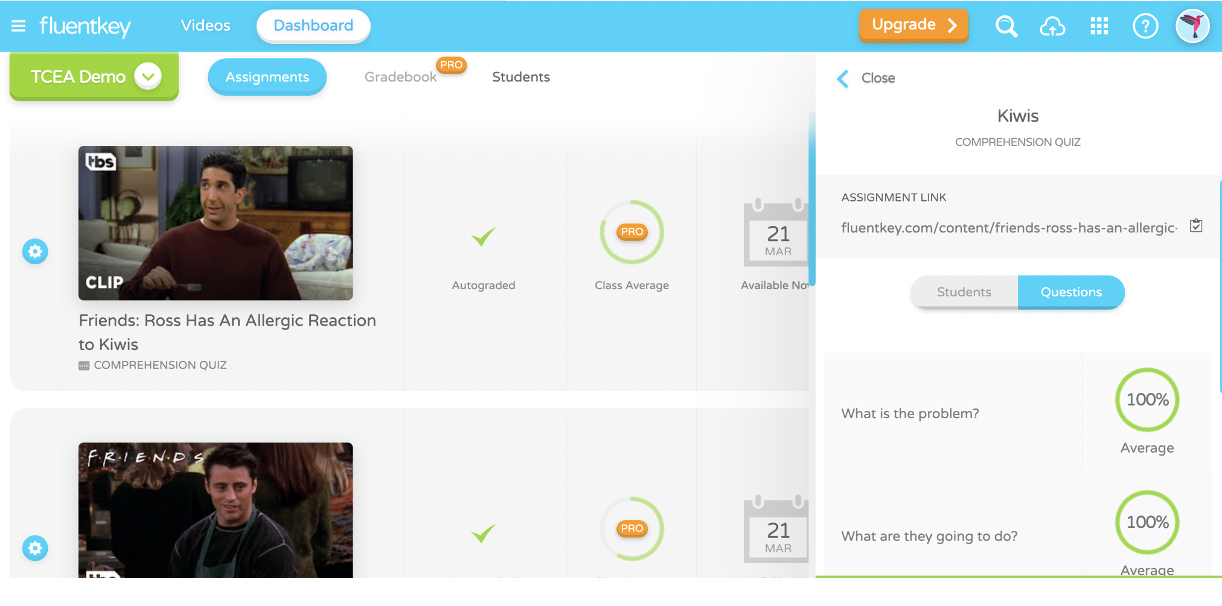
Once the game is complete, the teacher can view the leaderboard to see which questions the students knew and which they missed.
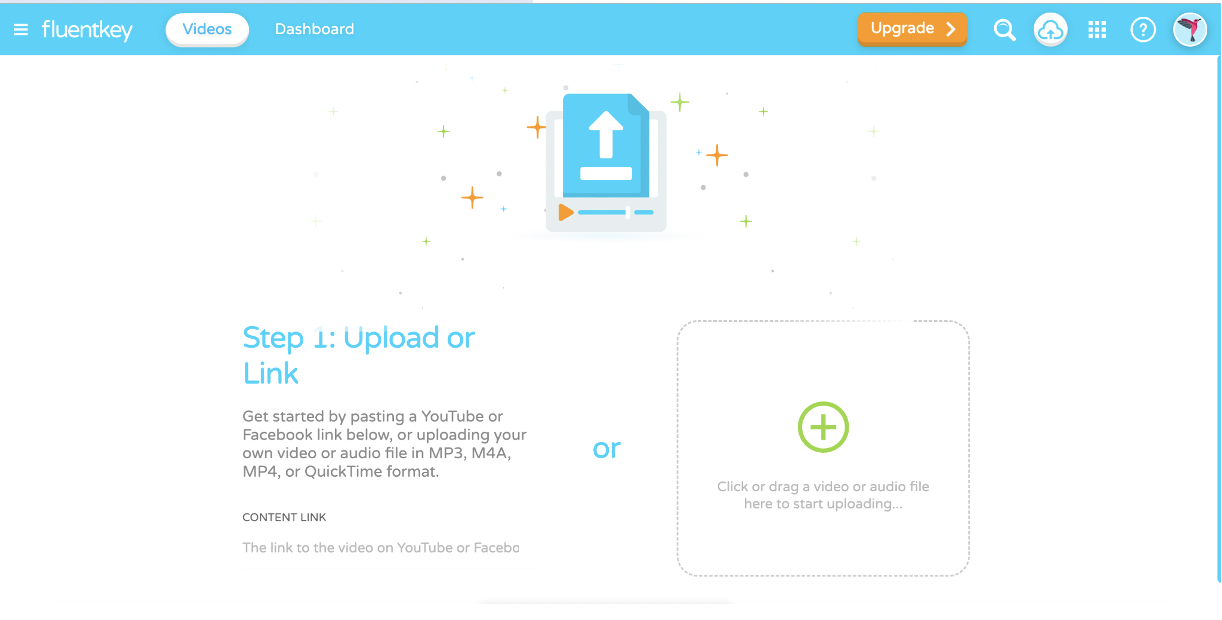
To upload your own video, you’ll need to go back to the main page, where you’ll see the green Upload button on the bottom left.
From here, uploading is a breeze—FluentKey gives you step-by-step instructions. You can input a YouTube URL or upload your own file.
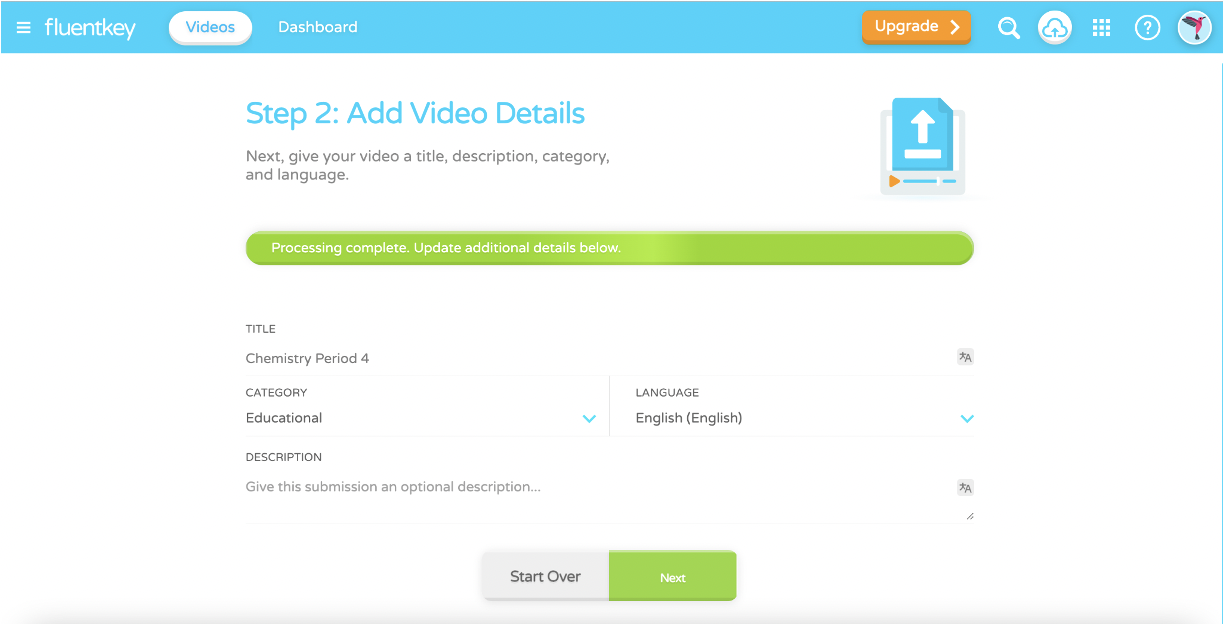
Next, add additional information like the title, category, and your language preference.
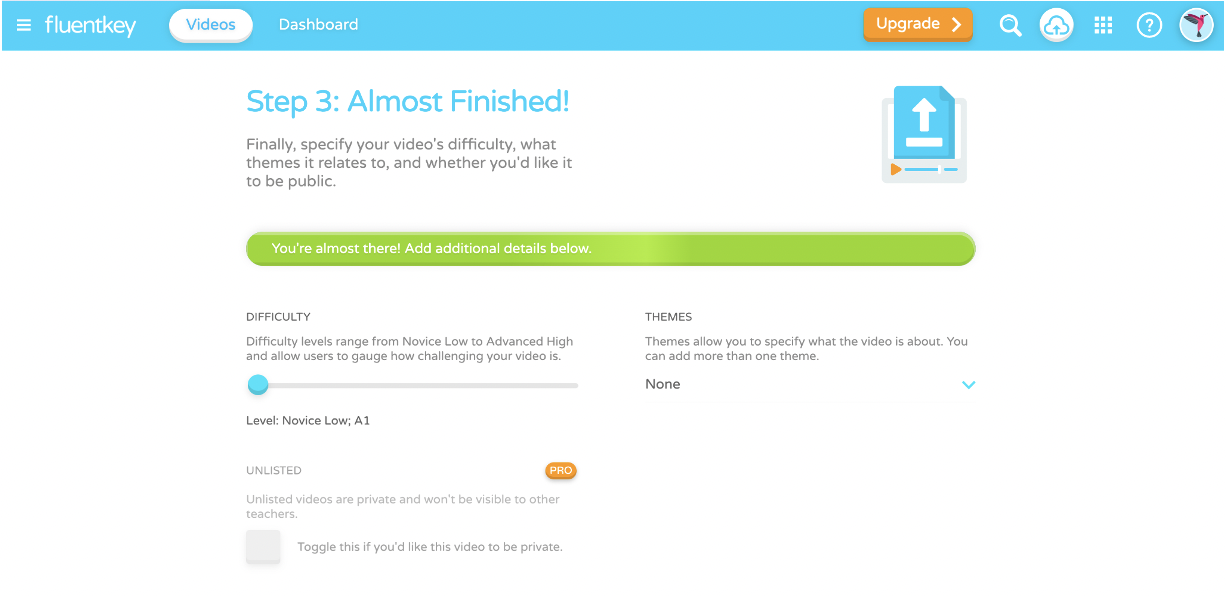
Next, determine the difficulty level and theme. Please note the free version does not allow you to keep your videos private. Be sure you don’t share any personal class or student information in your videos.
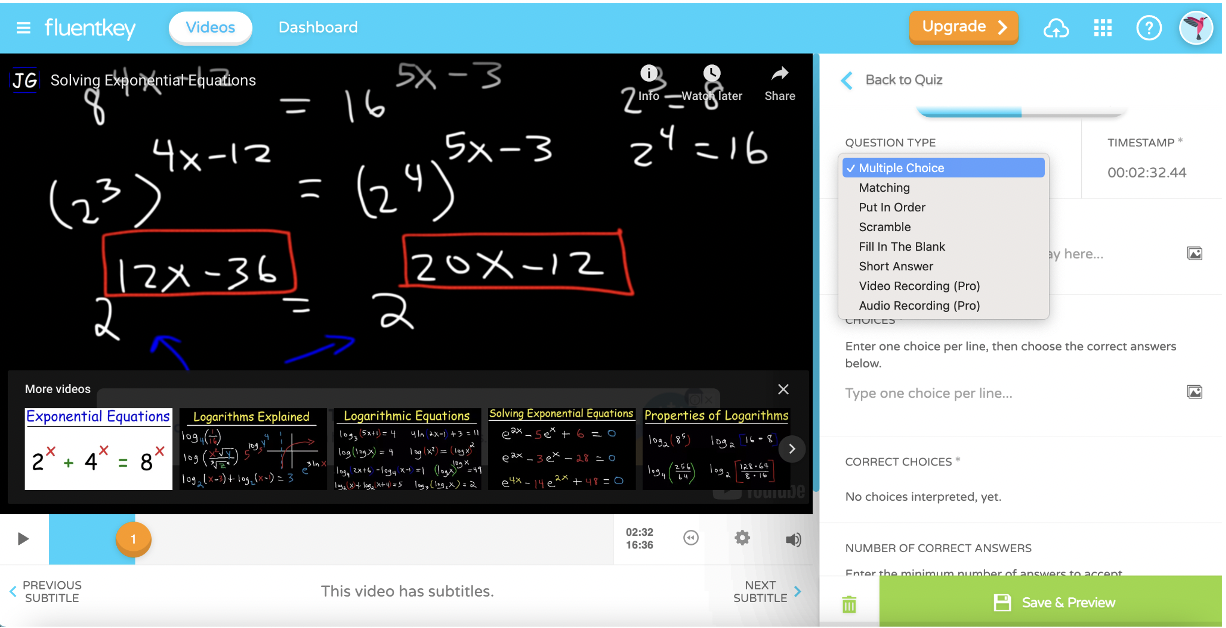
Once you finish uploading, you’ll want to create quiz questions. Click Browse or Create Quizzes to begin. Again, FluentKey offers step-by-step instructions on how to enter your questions.
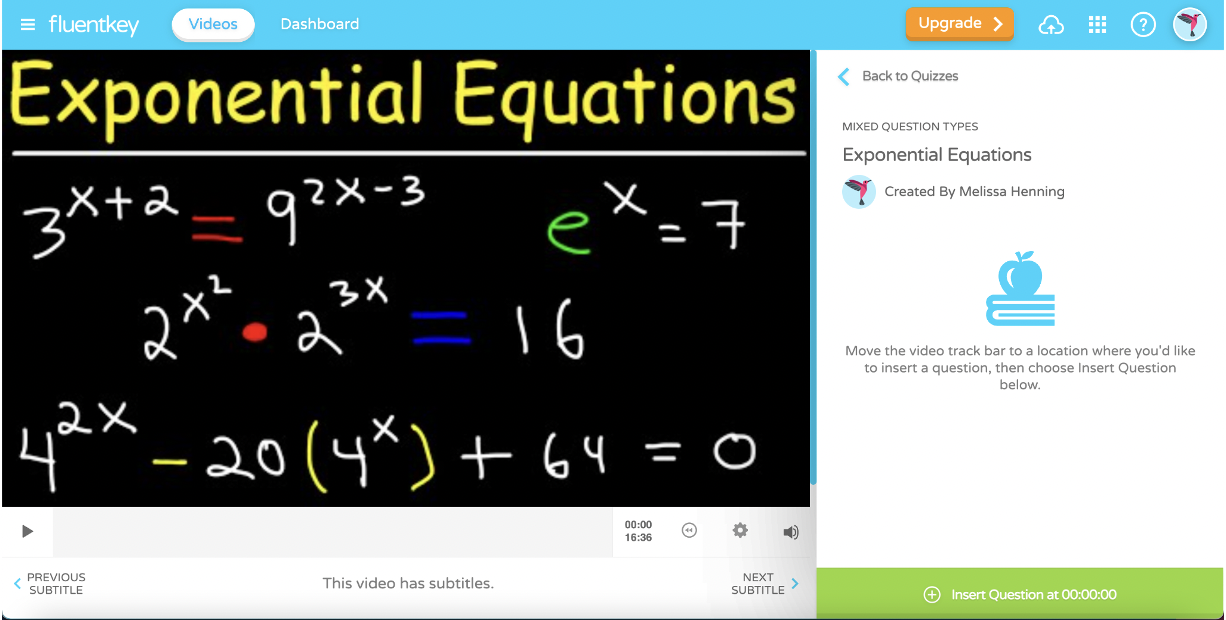
Move the video track bar to the location in the video where you want to add your question.
Next, you’ll be prompted to add the question type, question, and answer. When finished, click Save & Preview. Continue to add questions until you’re satisfied with your game, then share it with your students!
FluentKey is a game-based learning interactive that uses video clips to engage students. The videos are designed to enrich world language learners and improve students’ listening comprehension skills. Below are several suggestions for using FluentKey with your students.
Ten Ways to Integrate FluentKey into Your Lessons:
- Share a video with all of your students to help them practice listening comprehension skills. Check out the education category to view topics that may apply to your lessons.
- Play a listening comprehension game live in your world language classes.
- Assign a listening activity as homework for your ENL/ESL students.
- Share this site with students for additional practice in world language classes. Students can choose their own difficulty levels.
- Share this site with your gifted students to help them learn a new world language.
- Introduce American Sign Language to your students using the listening comprehension games.
- Start your day with a live listening game to prepare students to learn and pay attention.
- Assign the activities for homework in world language class during a virtual learning day to help students practice.
- Share this site with your ENL/ESL families to help students practice English comprehension skills.
- Upload your own video related to class content and create your own quiz questions.
Additional Video Tutorials and Review:
- TeachersFirst Review: FluentKey
- Blog: FluentKey
- Video: “Getting Started with FluentKey”
Have you used FluentKey? Share your activities in the comments below!