
In Part 1 of this blog, we introduced you to Pablo and discussed applying the SAMR Model and the Triple E Framework when using Pablo in your instruction to easily create and share images for social media. Today’s post will offer more guidance about how to use this web tool and provide many classroom use suggestions.
Pablo:
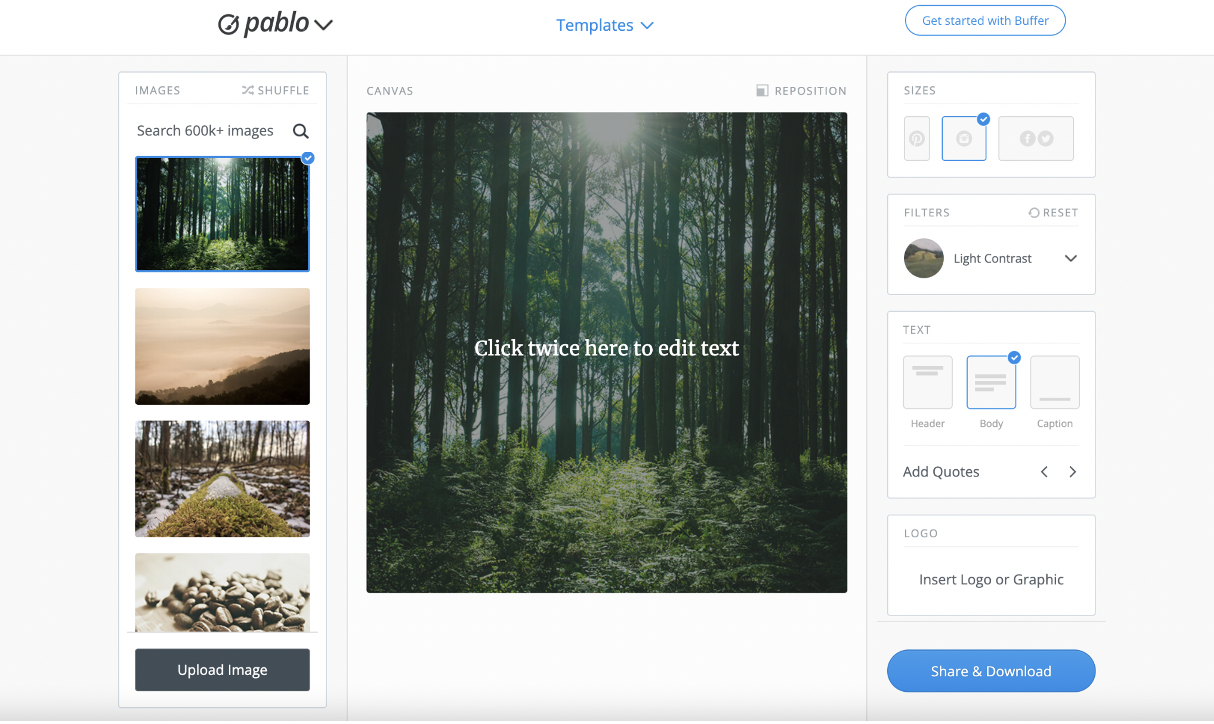
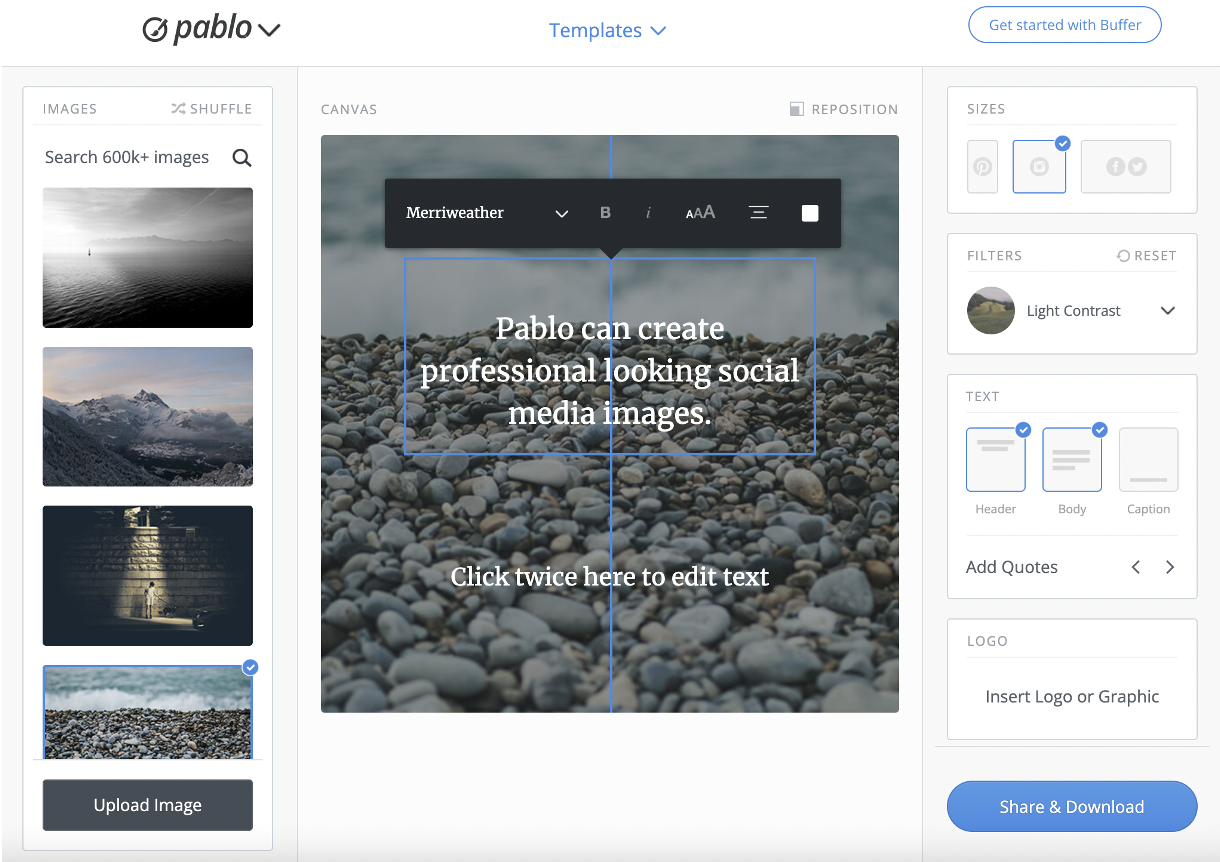
When you arrive at Pablo, you’ll see a website-generated image in the middle of the screen. You can use this image or choose from the 600,000 images available on Pablo on the left side.
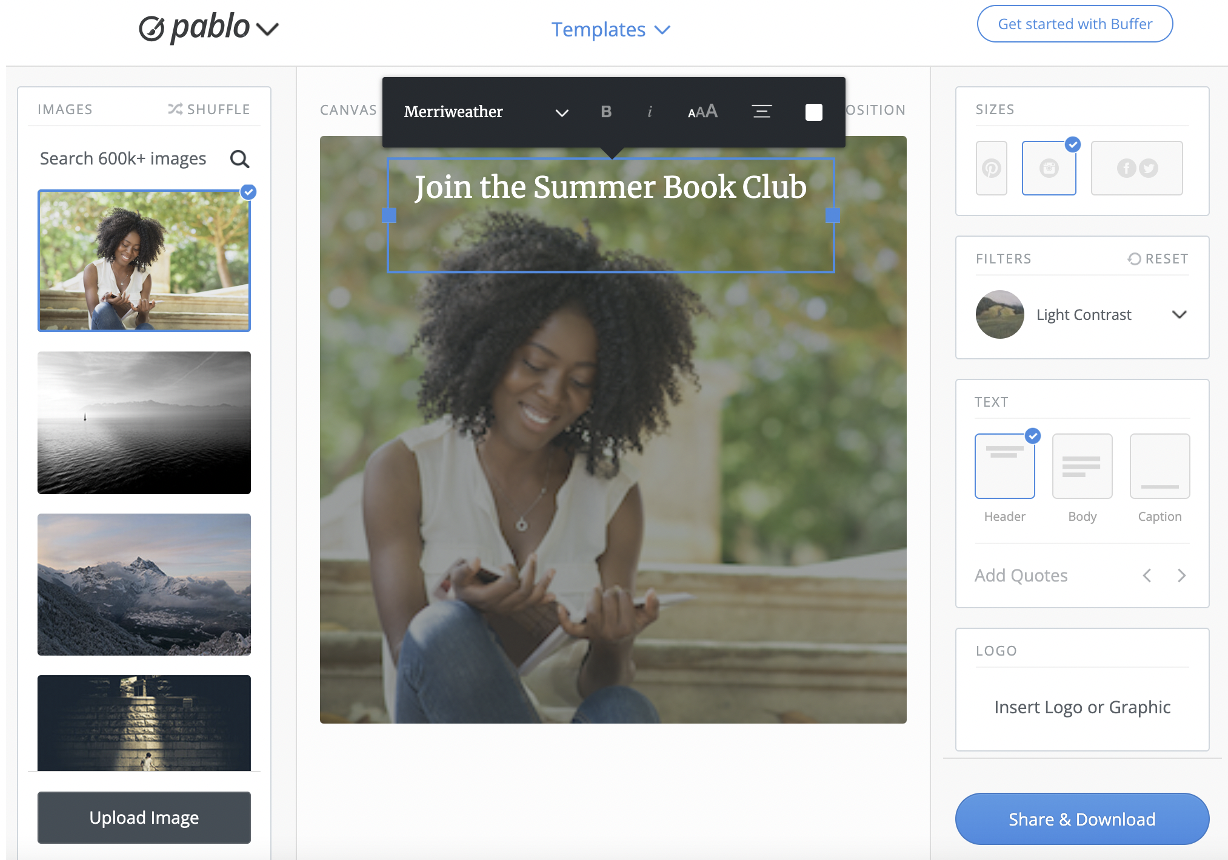
You can also click Upload Image to find an image on your device and quickly upload it. Note that you can also change the font, bold or italicize the text, enlarge the font size, center the text, or click and drag to move the text box.
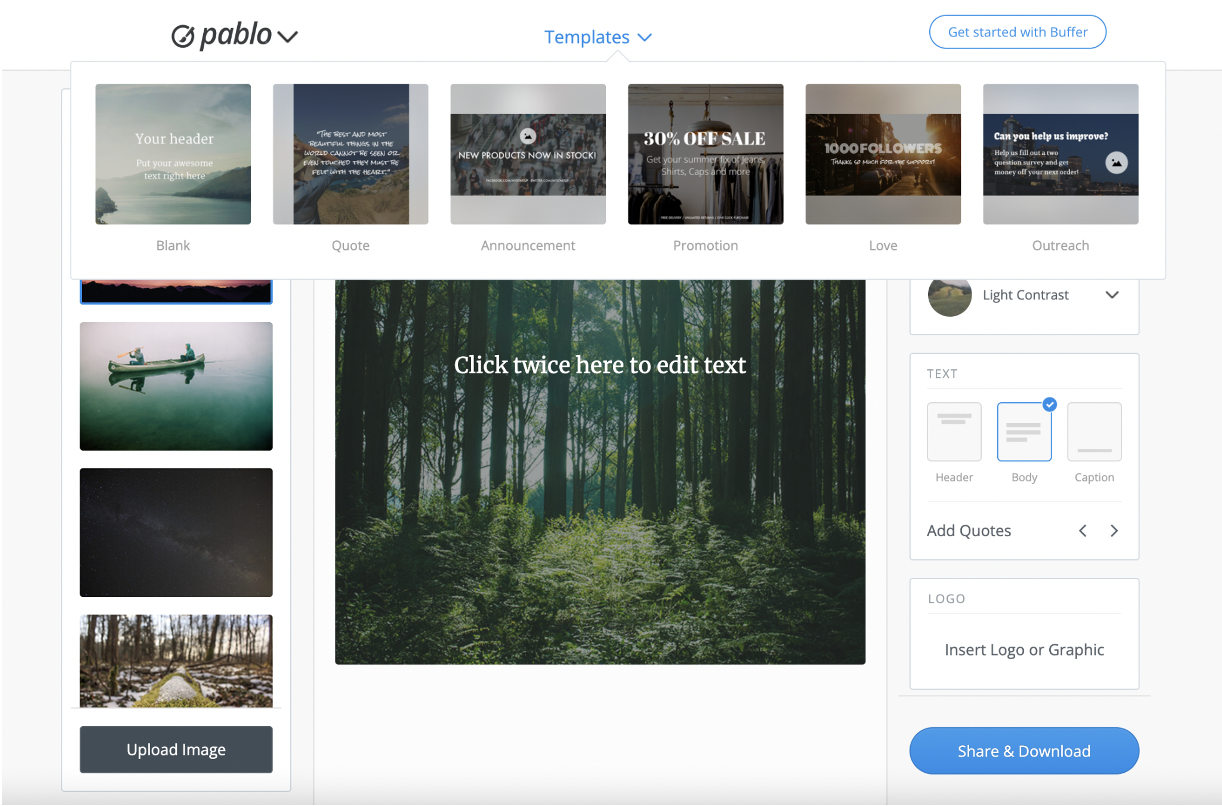
Centered at the top of the screen, there’s also an option for templates. Click Templates to view the six options: Blank, Quote, Announcement, Promotion, Love, or Outreach. Click the one that you would like to use. Blank is the site’s default template.
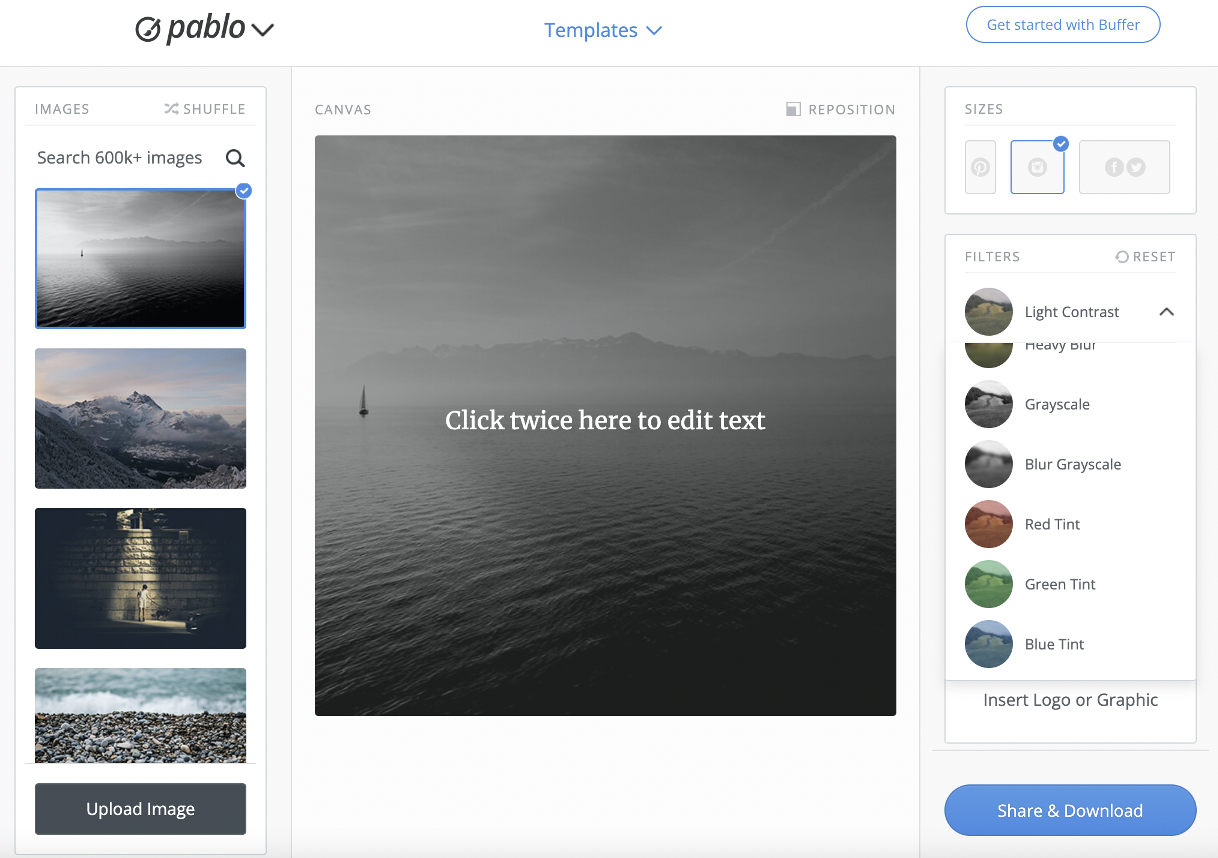
There are many additional options on the right side. The first one allows you to pick the shape of your image. For example, you can choose a tall rectangle, square, or wide rectangle, depending on the social media platform you plan to use. The next option is Filters. Click on the one that you would like to use to change the tone of your photos.
Moving down the right side, the next option is Text. You can add header, body, or caption text, or all three! Below that, you can click Insert Logo or Graphic to add your own logo to the image. This is an option, but not a requirement.
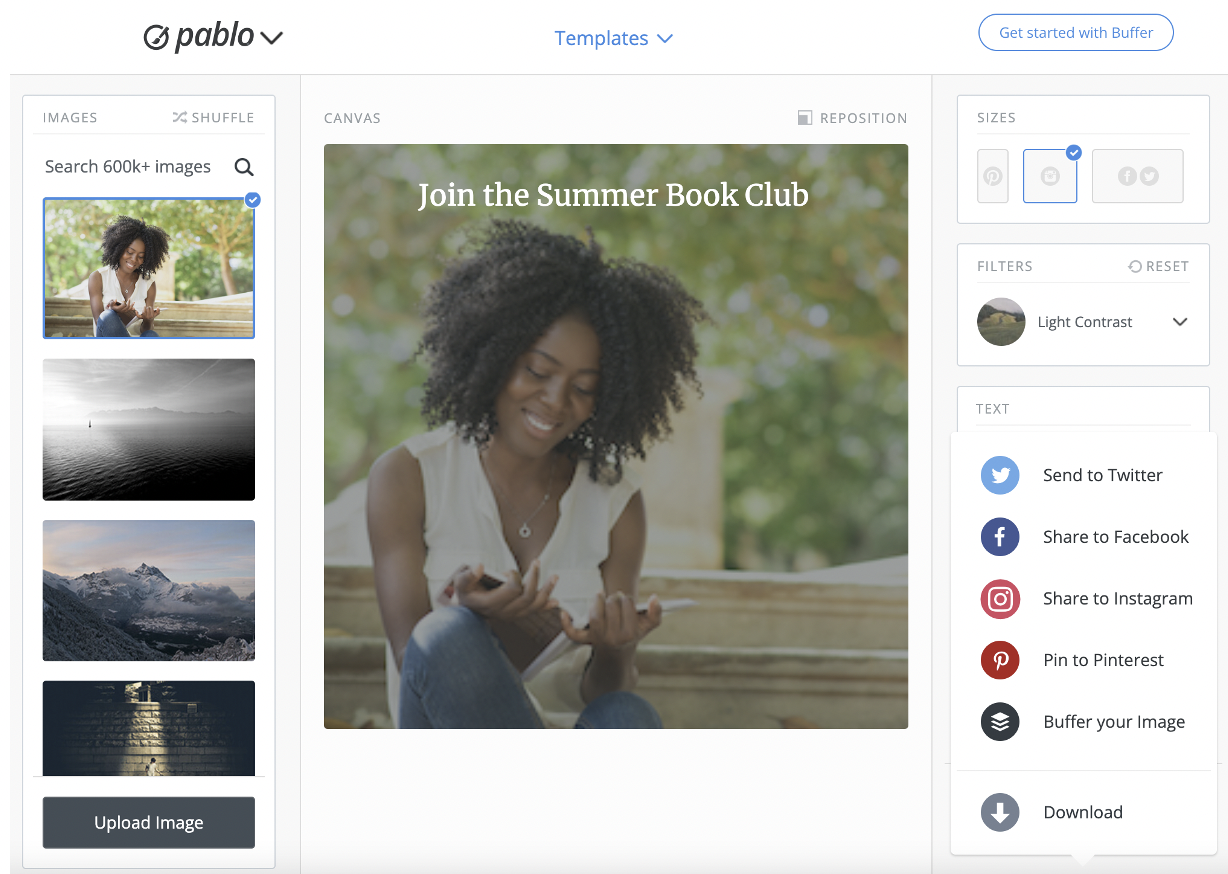
Now that you’ve taken the steps to create your image, click Share & Download to share directly on Facebook or download the image to share any way you wish. Please note that if you share on Twitter, Instagram, or Pinterest, you will be prompted to use Buffer. We suggest simply downloading the image and posting it yourself to avoid having to register for free at Buffer.
Pablo is a web-based tool that allows you to create and download images for social media, but students can also use this tool to share short poems or other bits of text. Pablo would be ideal for the BYOD or 1-1 classroom and is also suitable for blended and distance learning, as the images are easy to download and share. Below are several suggestions for using Pablo in a variety of subject areas.
Create a social media post or image about…
Social Studies:
- A tourist attraction (such as Big Ben).
- The U.S. Flag.
- Rosa Parks or another civil rights leader.
- Any historical figure or president.
- A famous building in Washington, D.C., such as the Pentagon.
- The continents, famous landmarks, capital cities, or large mountain ranges.
- The executive branch of the government.
- The Supreme Court.
Science:
- The Ring of Fire.
- The results of a science experience.
- The life cycle of a frog.
- Famous inventions or inventors.
- Equipment in the science lab.
- A science fair. Create an invitation to participate or a post announcing the winners.
- The Periodic Table.
Math:
- Shapes in geometry.
- Vocabulary words in algebra.
- Finding area and perimeter, using images and text descriptions to show the process.
- A math problem, using text to explain the correct order of PEMDAS.
- Examples of a line and a line segment.
- Metric system conversions (for example, using an image to demonstrate how many centimeters are in a meter).
- Student-created math problems. Upload an image or use text to write the problem.
- Representations of the terms range, median, mode, or mean.
Language Arts:
- Parts of speech, labeling a photo with adjectives, adverbs, and more.
- A story’s main character. Create an image with text that contains a brief description.
- The difference between your and you’re.
- Figurative language. For example, create or find an image, then have students use the text option to write a simile related to the photo.
- A short poem inspired by or that goes with an image.
- Media bias.
- Weekly vocabulary or spelling words. Students can practice spelling the words on the images.
- Verb conjugations. For example, students can find an image of someone running and write “I will run tomorrow” or “I ran yesterday.”
Arts & Humanities:
- Famous places to visit in Mexico (in Spanish class).
- New terms or cultural items in world language classes. Add text that explains the subject of the images.
- Vocabulary words in world language class. Practice by adding text in the new language to related images.
- Instruments from the band, including a short text description.
- Any famous artist with brief information about their life.
- A famous work of art. Add a description of who created it and when.
- Student-created artwork. Upload a photo and include additional information in the text.
- Practicing verb conjugations in world language classes by using an image related to the verb.
Additional Video Tutorials and Review:
- TeachersFirst Review: Pablo
- Video: Pablo by Buffer Tutorial – The Easiest Way of Creating Social Media Images
Have you used Pablo? Share your activities in the comments below!