
In Part 1 of this blog, we introduced you to Elementari—an engaging tool that allows you to create digital stories by making slides—and discussed applying the SAMR Model and the Triple E Framework to using Elementari in your instruction. You can add images, backgrounds, speech bubbles, voice narration, and other cool features to your slideshows. When finished, set the privacy as you wish and share! This tool allows teachers to create presentations for their classes or for students to develop digital stories. Today’s post offers detailed instructions for using this tool and shares classroom ideas.
Elementari:
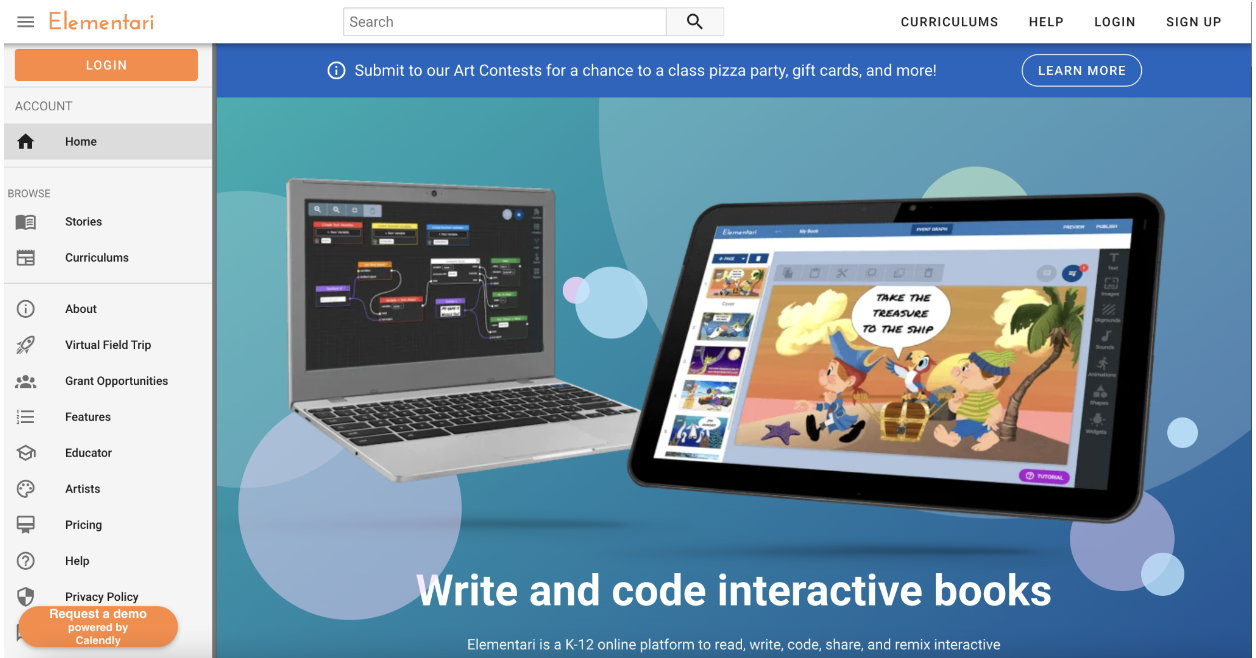
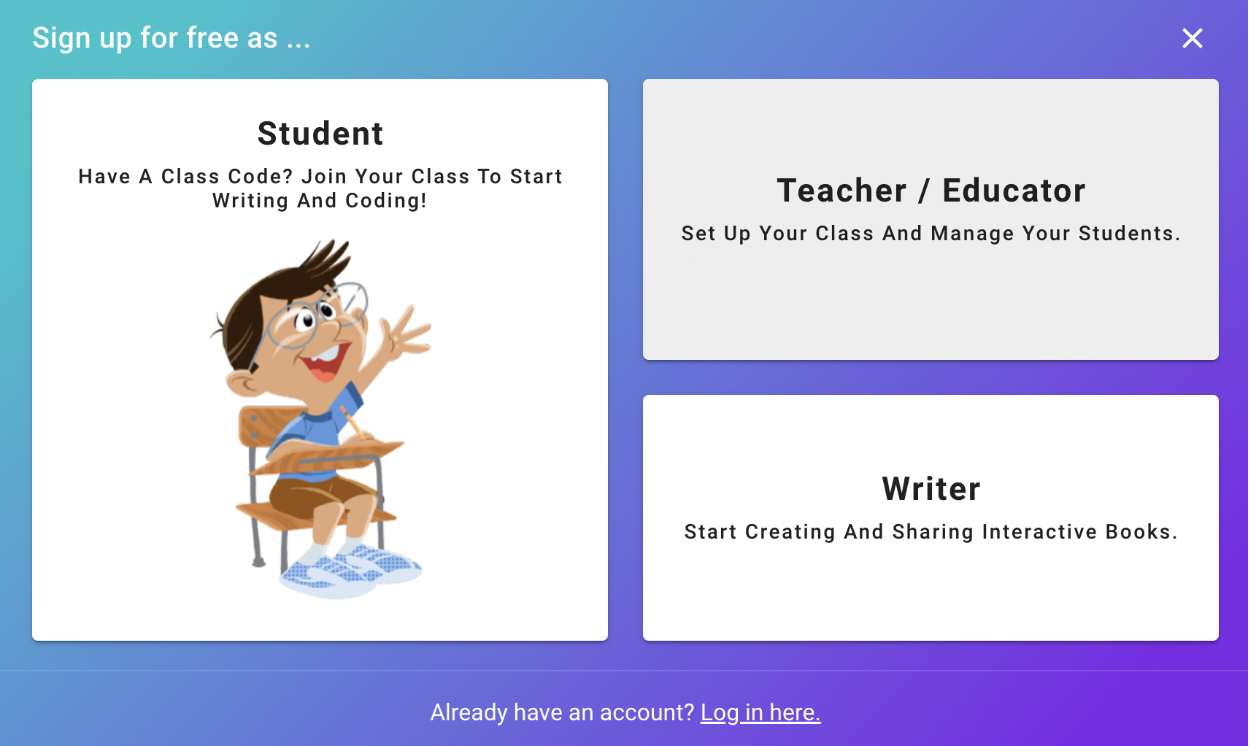
When you first arrive at the site, click to SIGN UP.
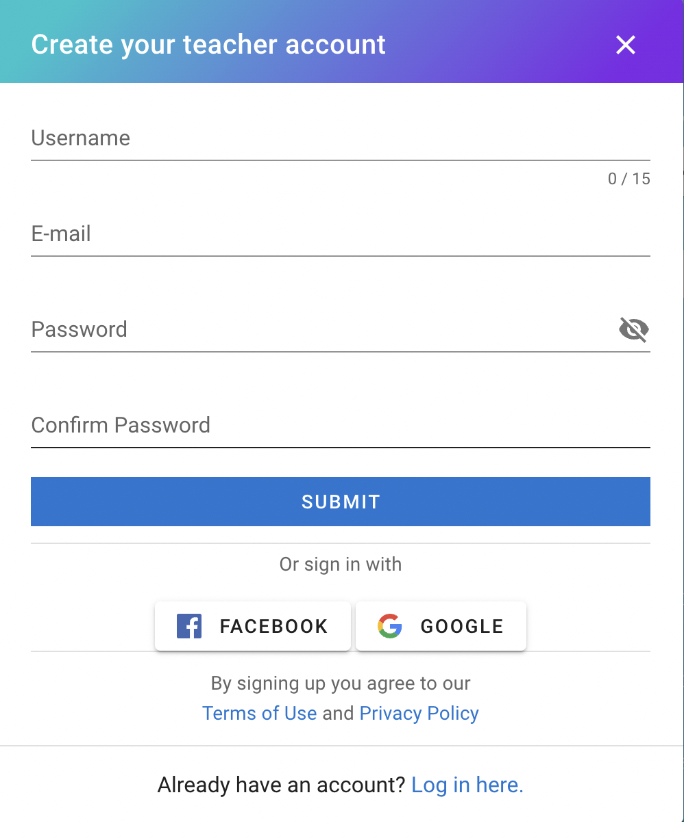
The teacher account allows you to sign up using your email, Facebook, or Google account.
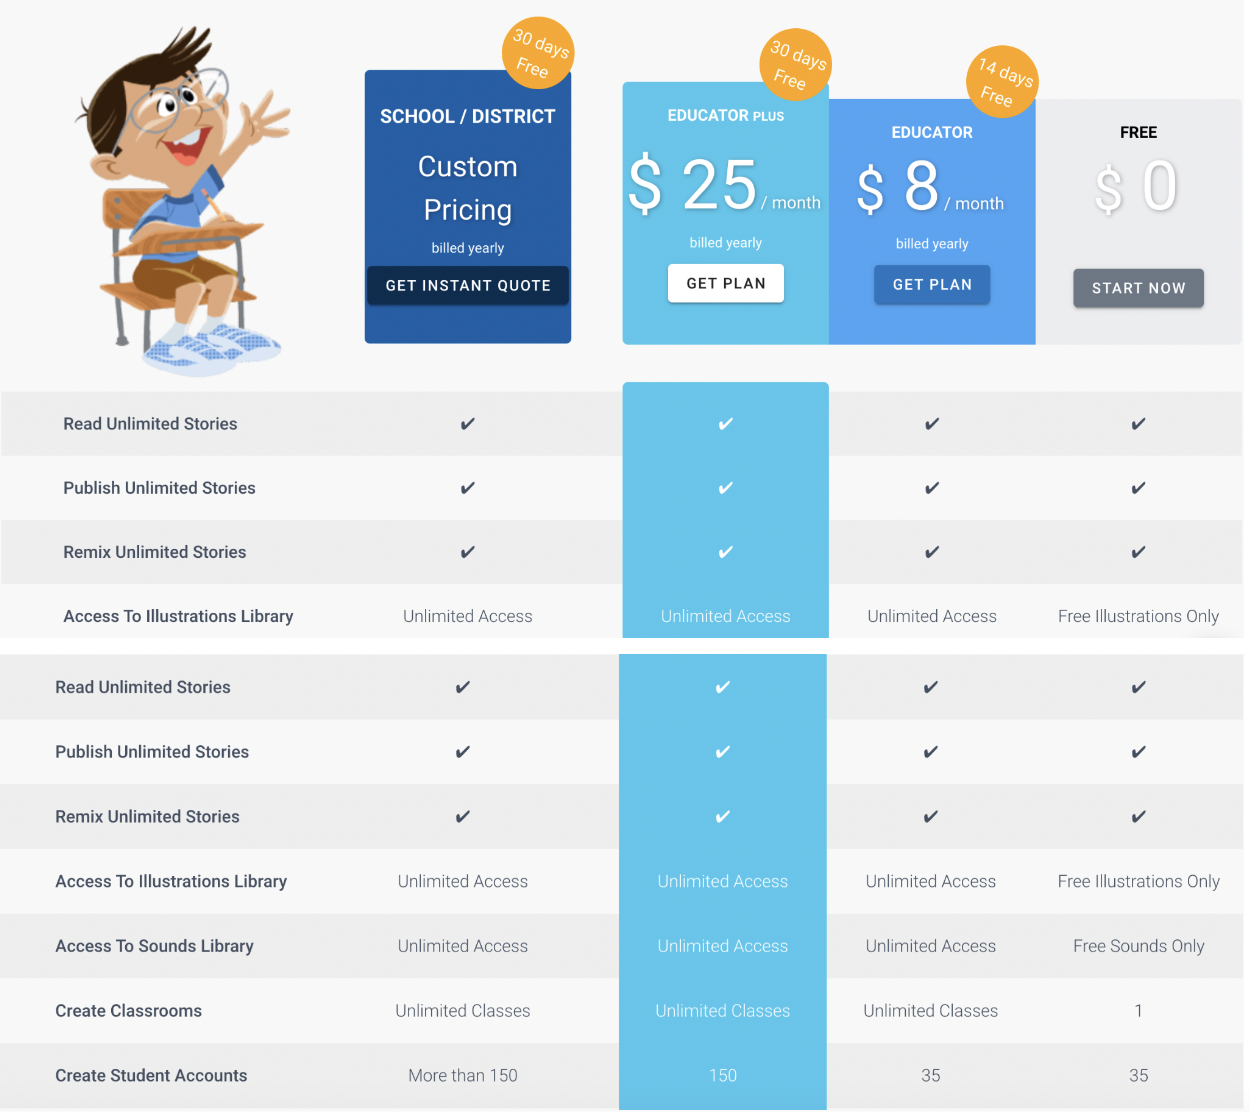
The free account allows one class with 35 students. The other features of the free version are shared below.
Students do not need an email to register. Teachers can create a class, add students, and then share a code.
To create a class, click + CREATE CLASS and enter your students’ names (or codes/student numbers). We do not suggest using full names.

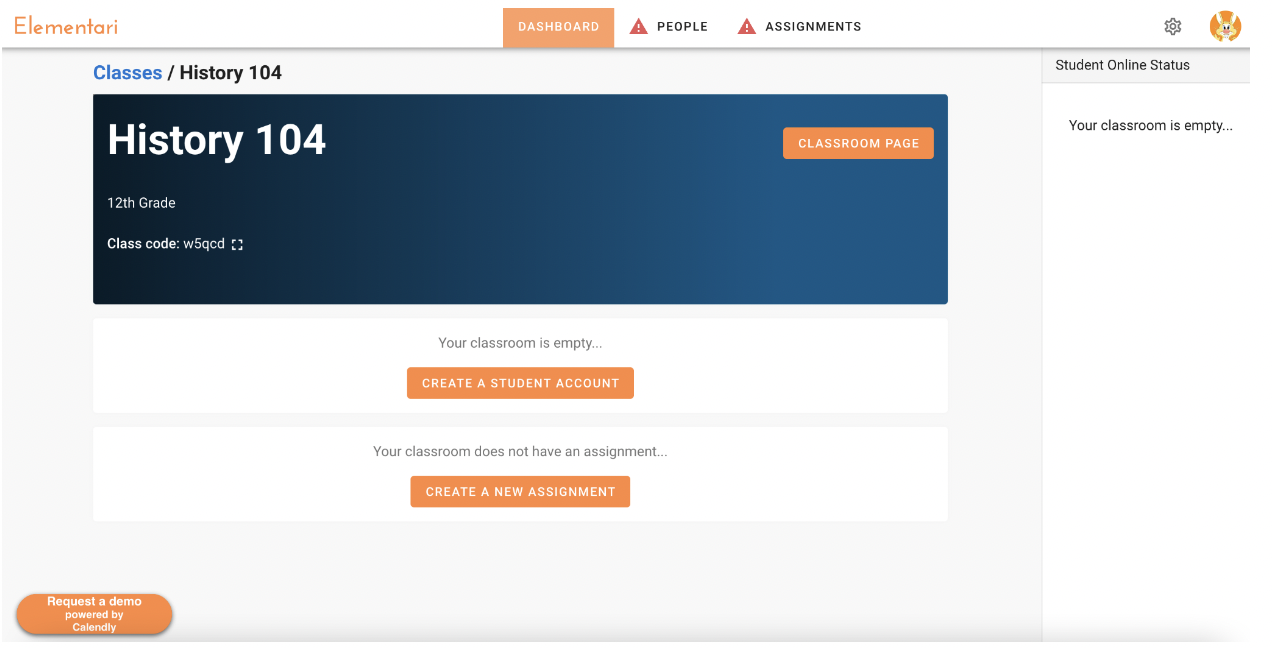
Once your class is created, you can click to create a student account or create a new assignment.
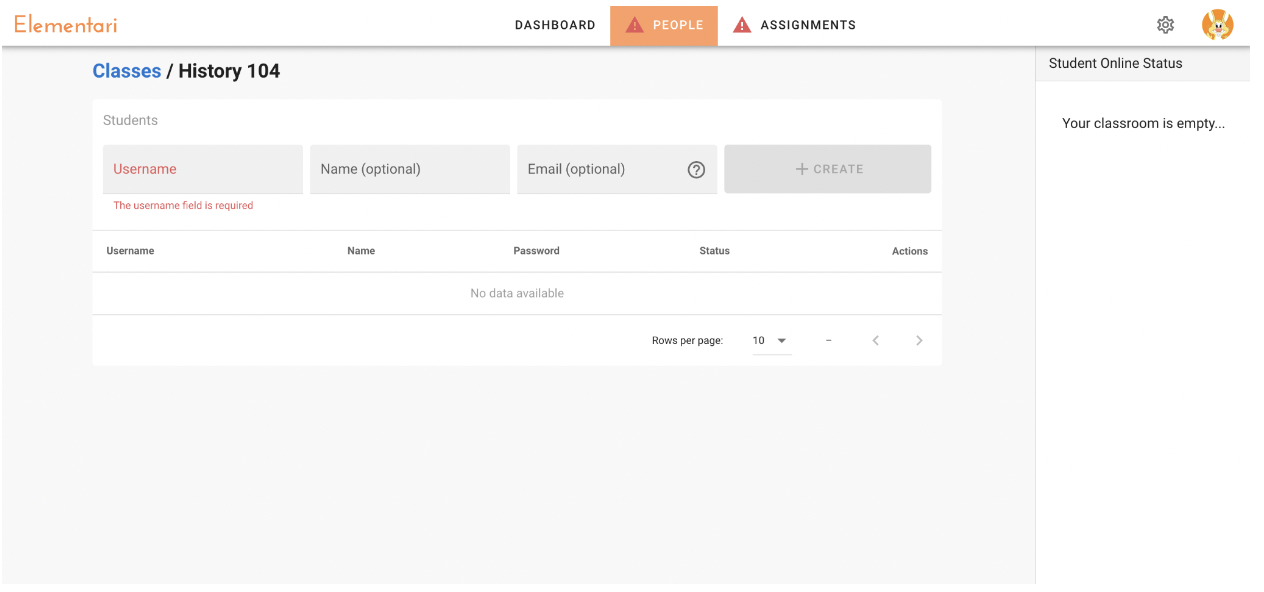
Add student information to the table to fill your class (up to 35 students).
The teacher can also share assignments. For example, you can share a YouTube video or a link to an Elementari video (you add the URL).
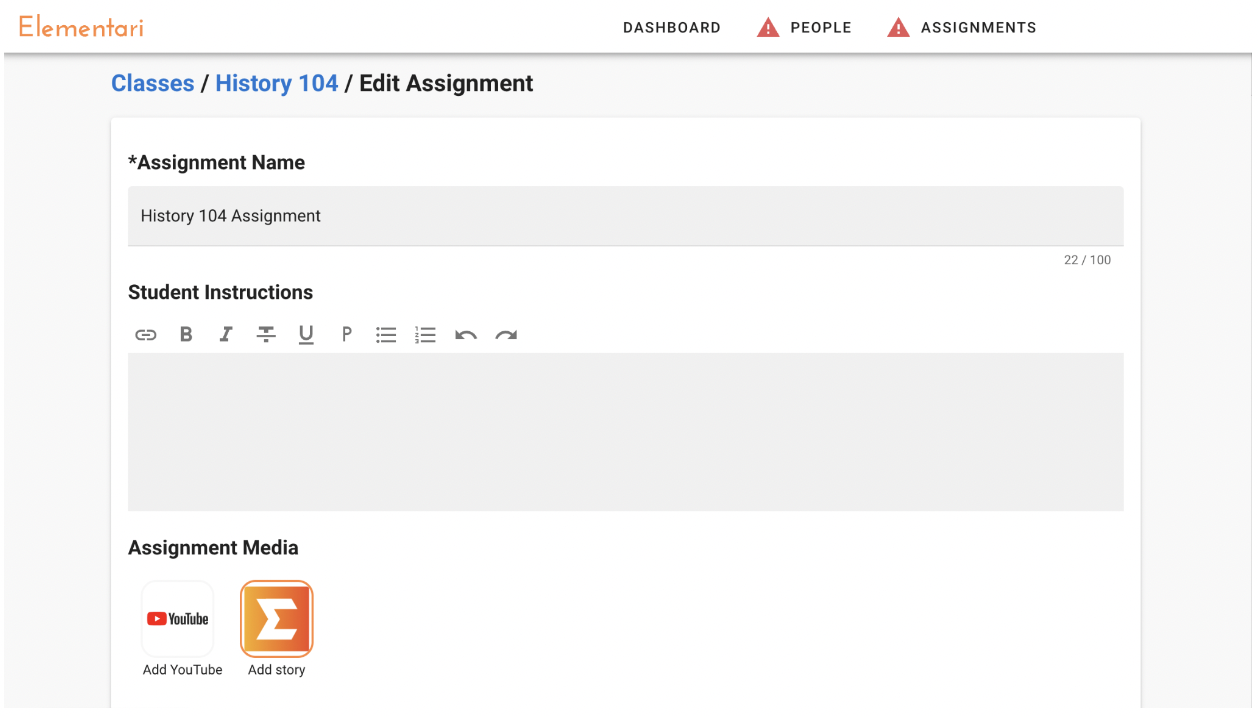
Now let’s review how you can create and share your published Elementari digital story. Starting at the beginning, add your title. Next, notice the icons on the right side; we will go through those one at a time. There are also editing tools across the top (change the font, sizing, text alignment, and more). Finally, you can add pages to your presentation on the left side.
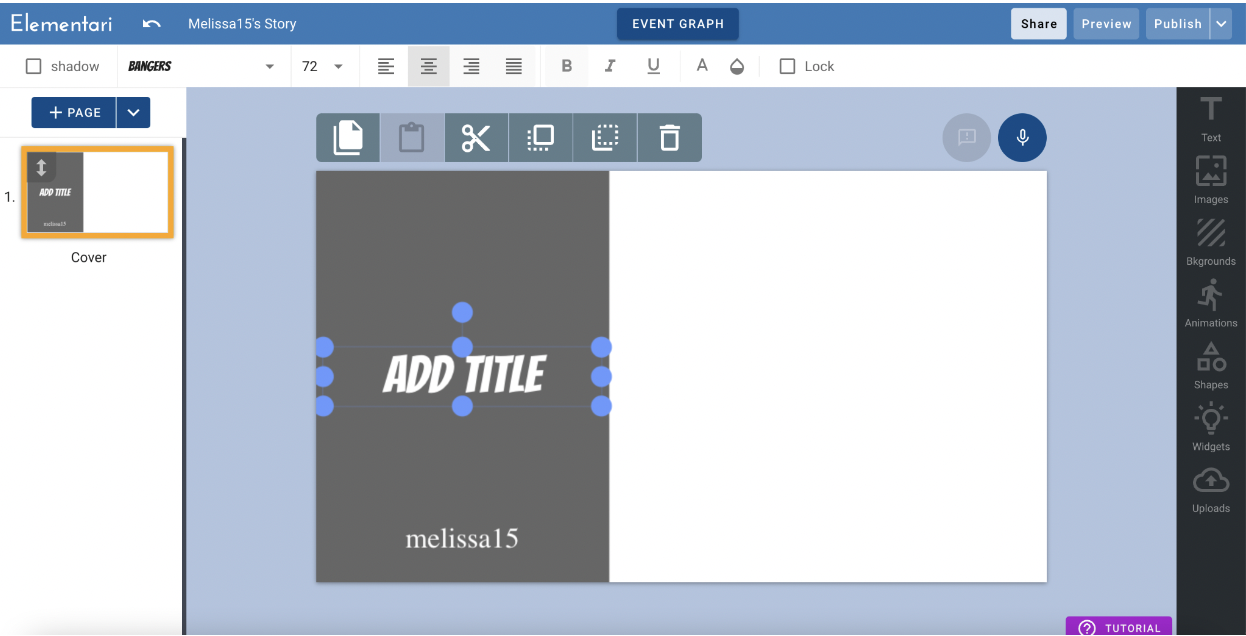
The first icon in the right side menu is Text. You can add titles, subtitles, speech bubbles, and other special effects to your text. Click in the text box to begin writing your story.
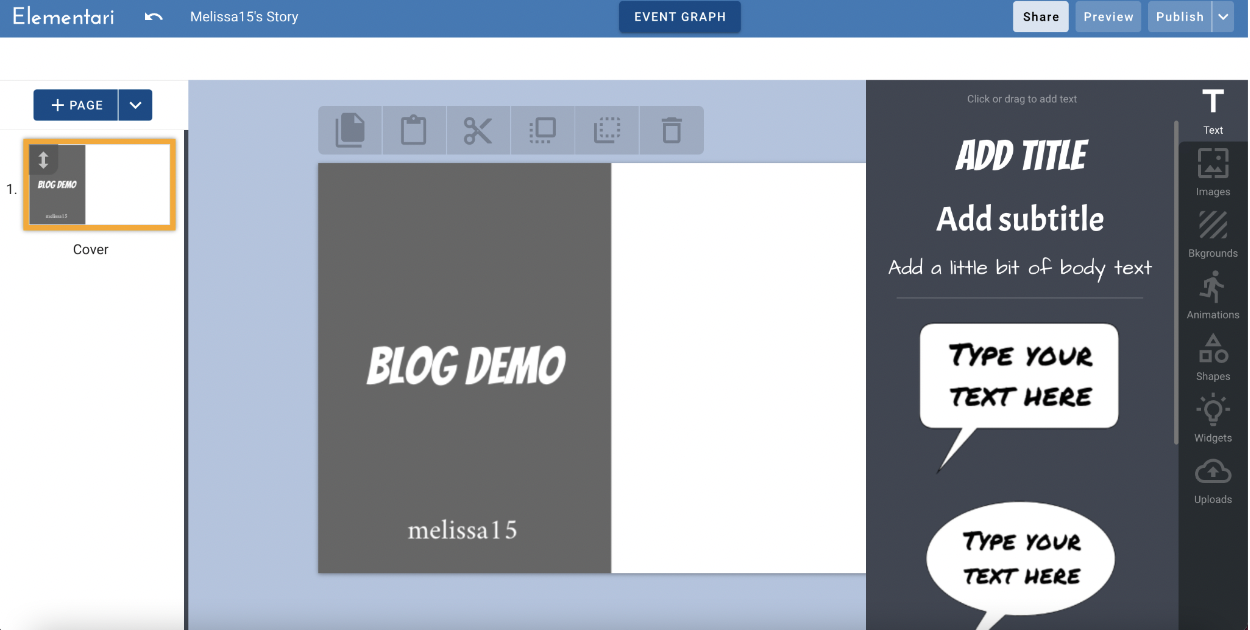
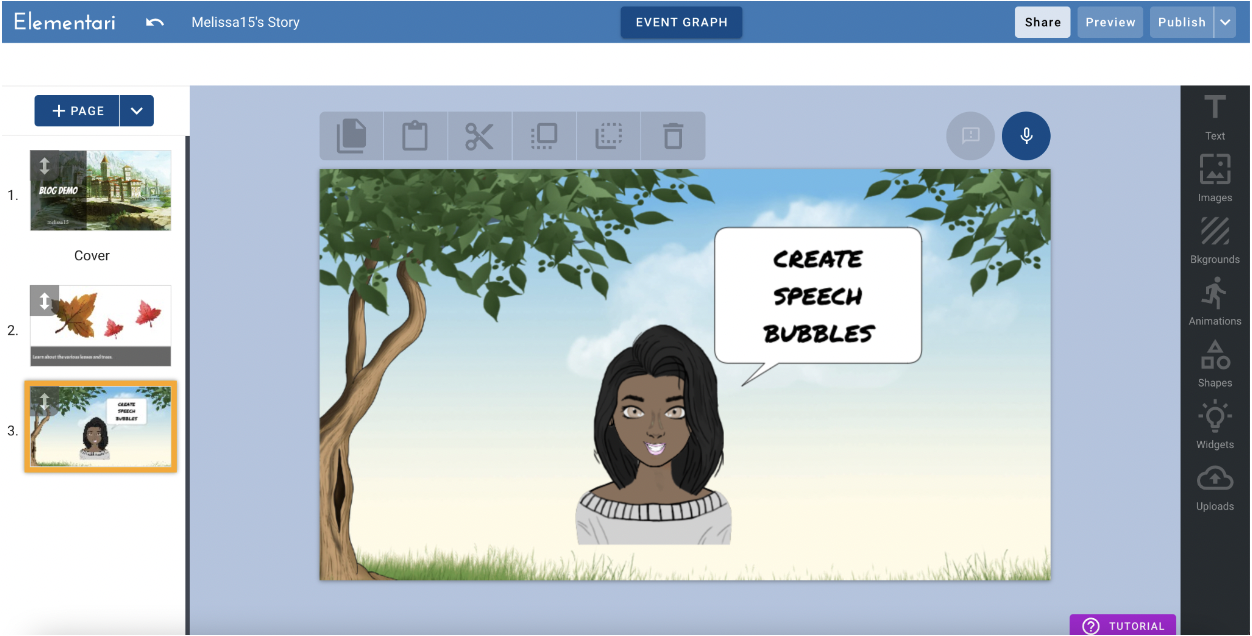
You can add speech bubbles and include text within those speech bubbles.
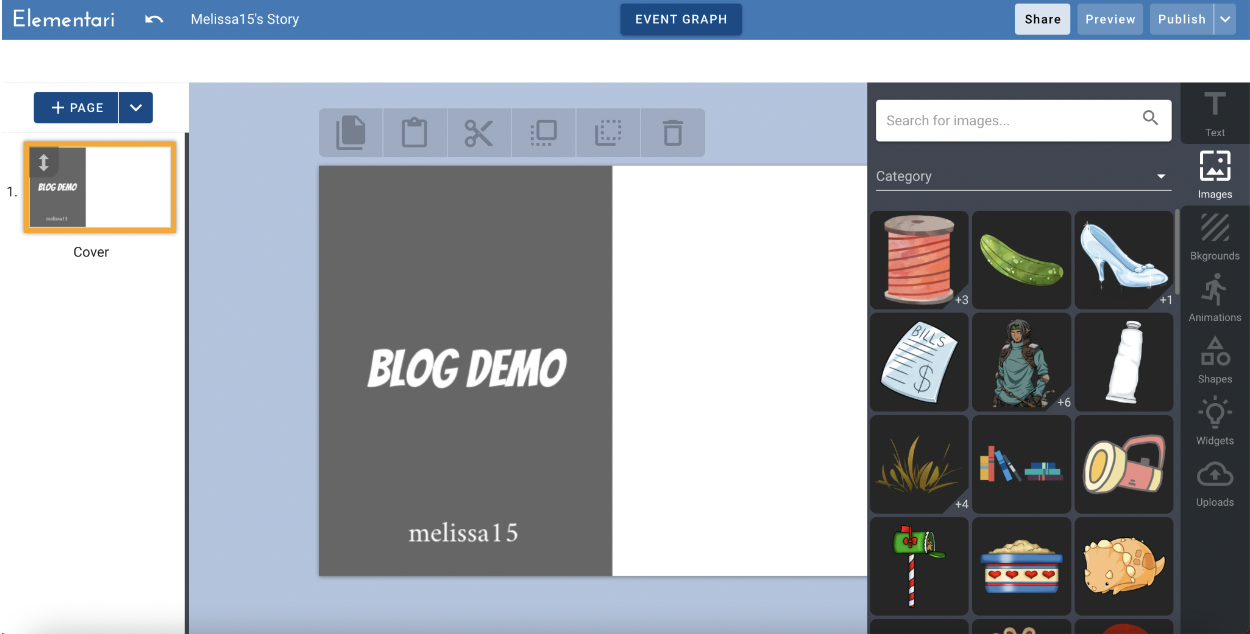
The next icon on the right side menu is Images. Again, you can use one of the free images available on the site. Unfortunately, the free account does not allow you to upload your images.
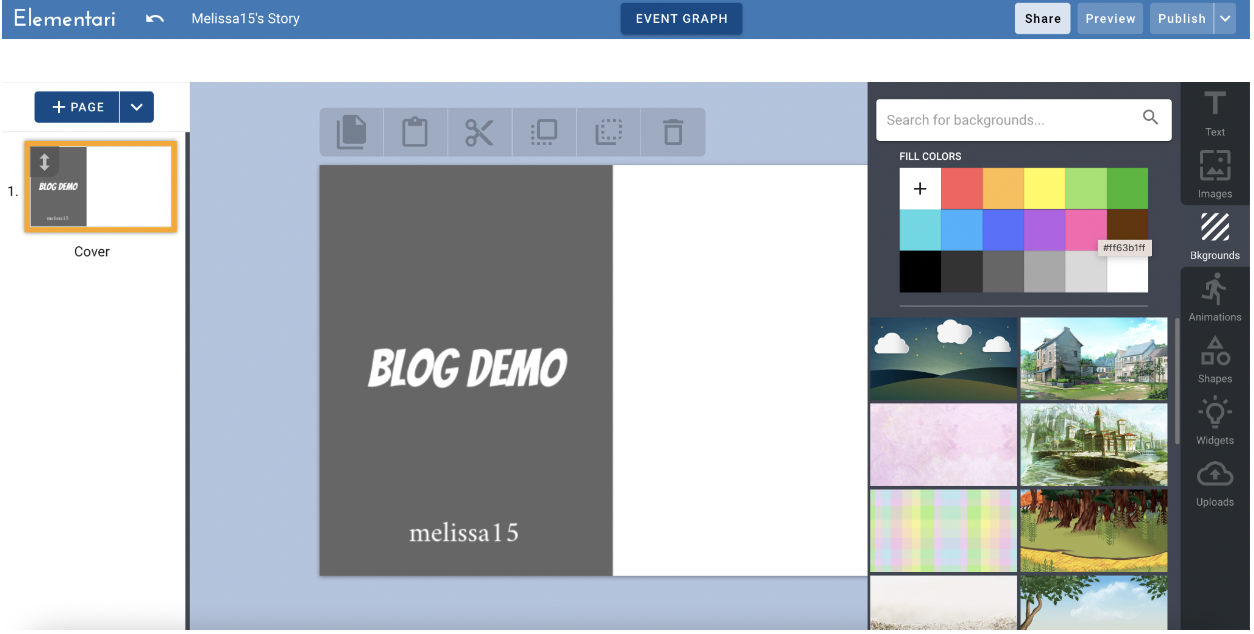
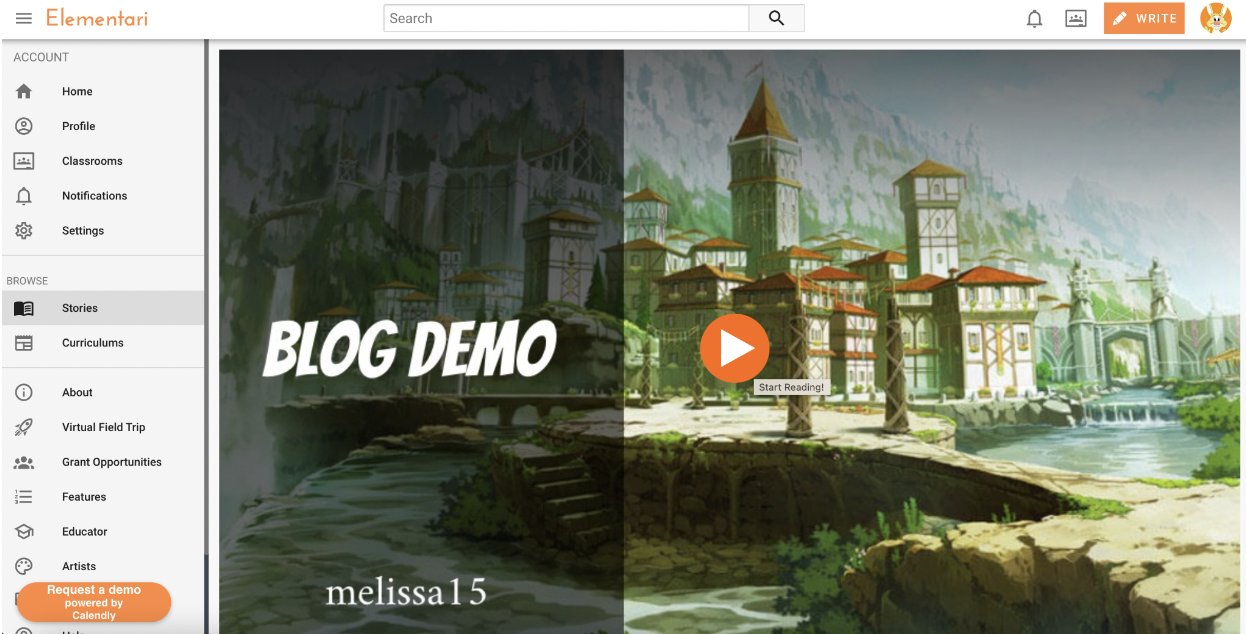
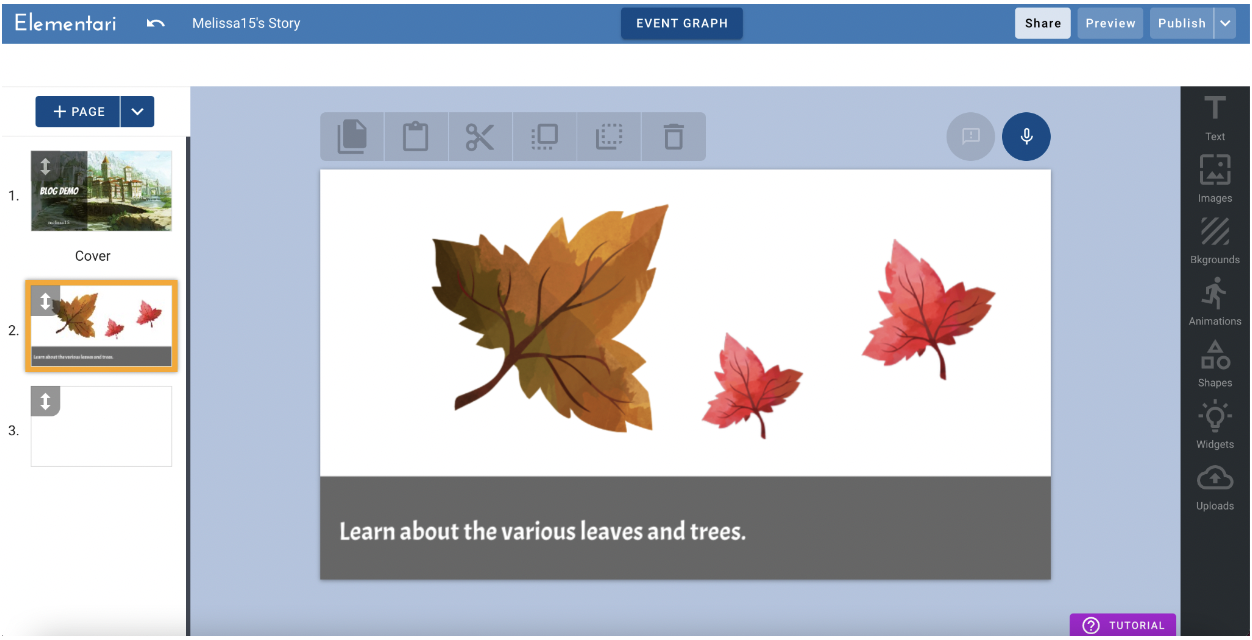
One of the best features of this site is the multitude of unique backgrounds available to create your presentation. You can use a solid color or one of the beautiful images and patterns in the library.
Here is an example of one of the backgrounds. The “play” arrow is available on this image because this presentation has already been published, and the pointer can be clicked to play the digital story.
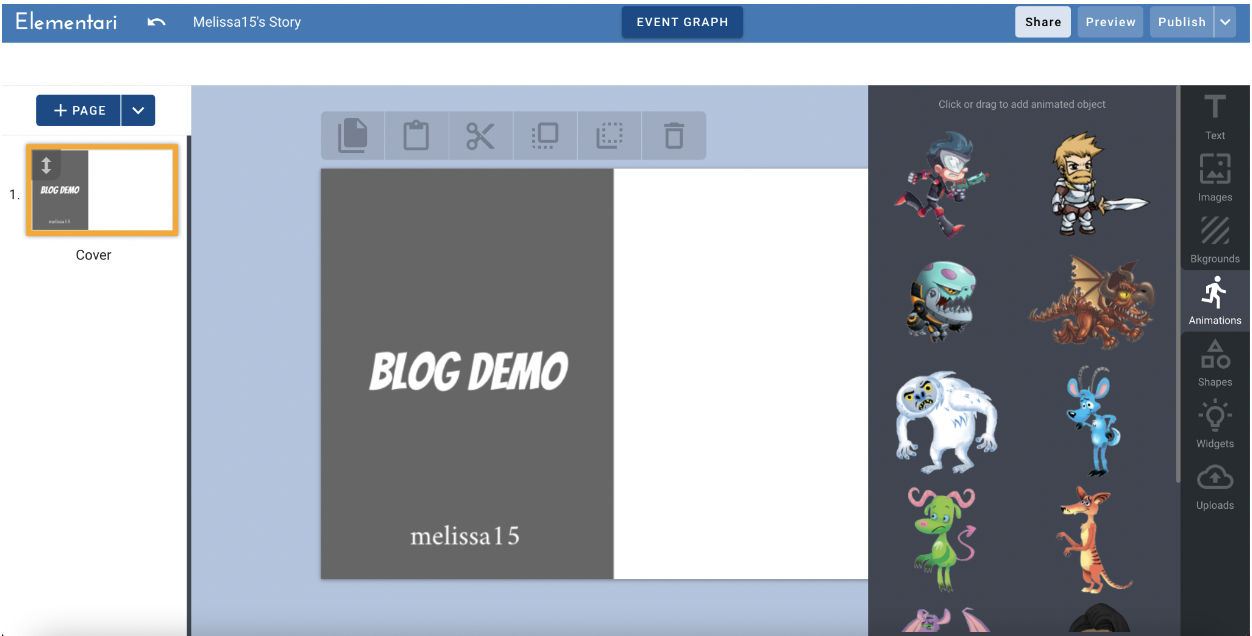
The next icon on the right side menu is Animations; click to view the many options. When you have chosen, click and drag that image to your slide.
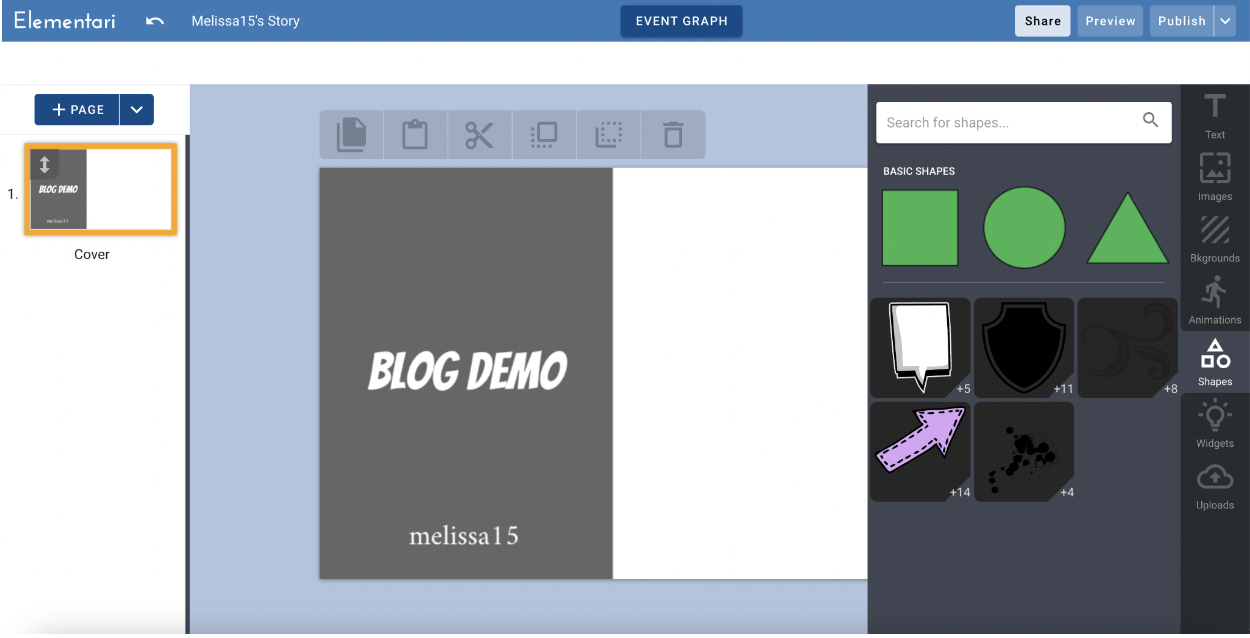
Continuing down the right side, the following icon is for adding Shapes. There are several variations here for speech bubbles, arrows, and shapes. Again, you click and drag these to your slide.
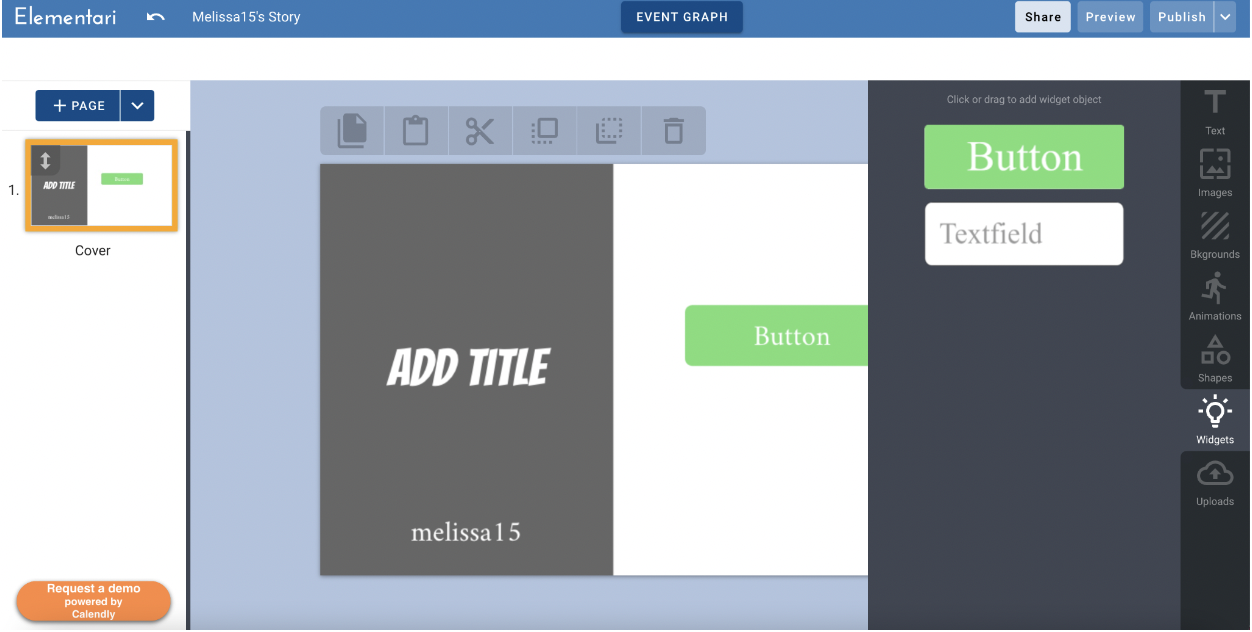
The last two icons are for Widgets and Uploads. Unfortunately, the uploading feature is not available with a free account.
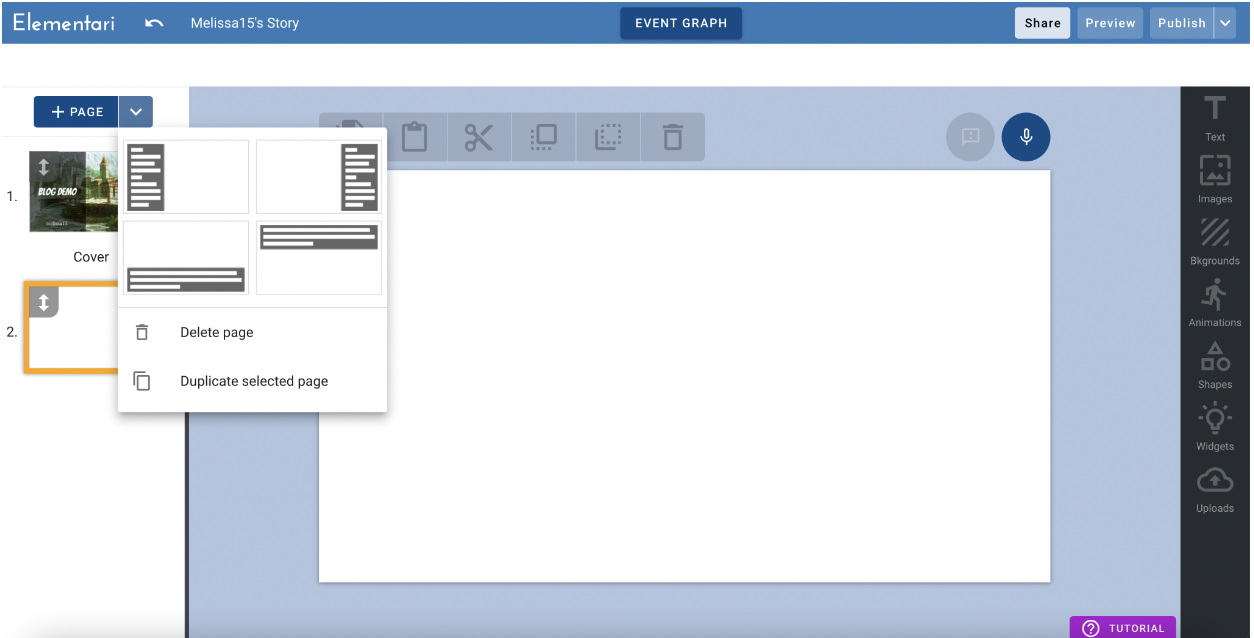
Now let’s look at the user interface’s left side. When you add a slide, you can choose between a few formats.
You may have noticed the blue microphone on the top right above the slide. This button allows you to add voice narration to the story, an excellent feature if you have young students (or emerging readers) viewing your slide presentation. It is also a helpful feature for students with dysgraphia or other writing challenges. Students can use the audio feature to narrate or explain the slide’s content. Click the microphone to start recording. When finished, you can crop the audio and change the pitch.

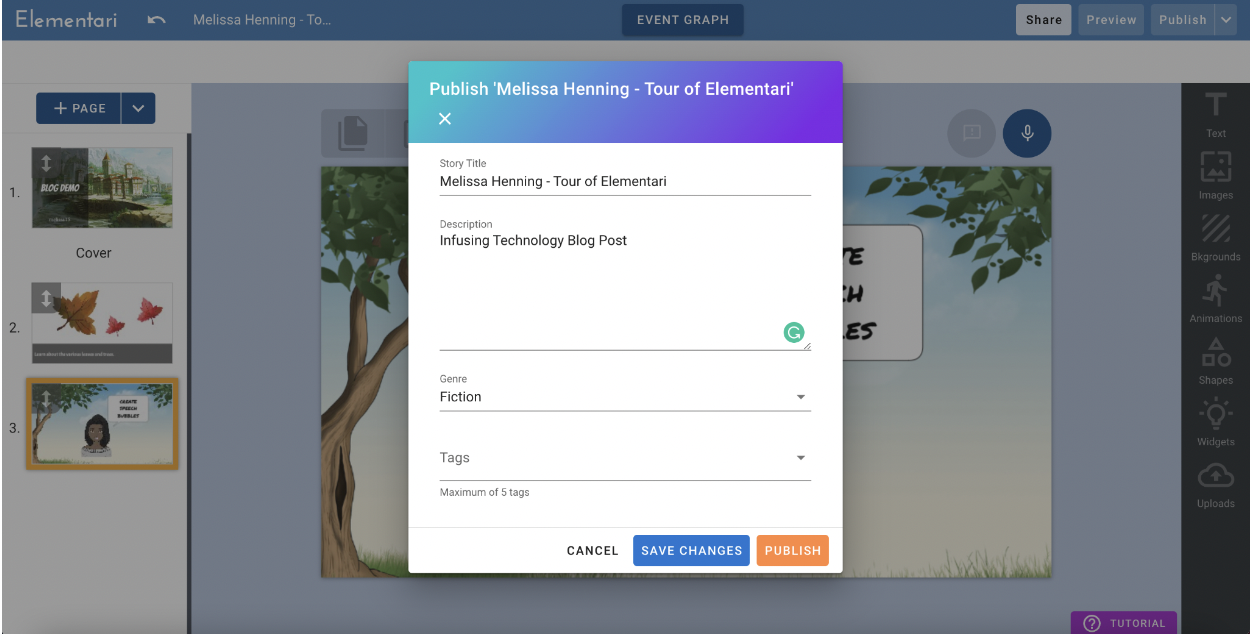
Add as many slides as you would like to have in your presentation. Then, when you feel finished, click the Publish button on the top right.
When you click Publish, you will be prompted to name your story and provide a description, genre, and tags.
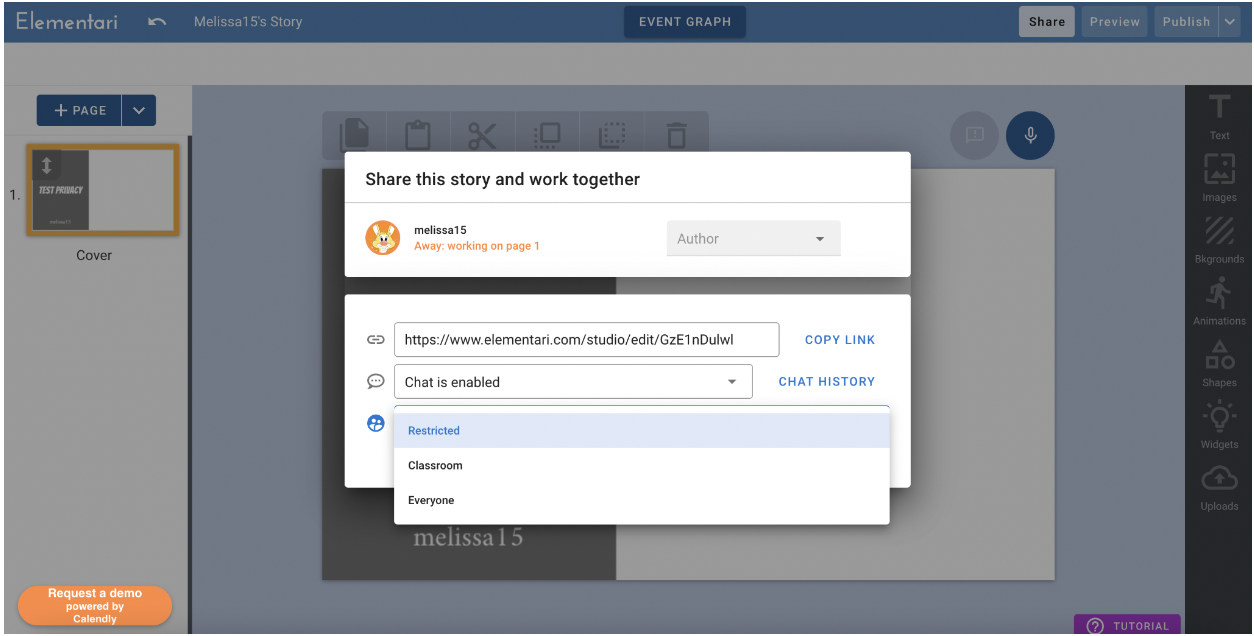
Once published, you are ready to share your story. Again, you have many options: embed the presentation, share it on social media, or copy the URL to share with students. Remember, you can also share this with the class you set up (a maximum of 35 students with the free version).

Be sure users set the privacy settings on all stories to either Classroom or Restricted (viewed only with the URL). We do not suggest sharing students’ stories with Everyone.
Elementari Classroom Ideas:
Elementari allows you to create free digital stories. You can add images, voice narration, engaging backgrounds, and more. Teachers can create one class of up to 35 students to share presentations quickly or as a space for students to safely share their presentations with you and their classmates. Since these published stories can be shared digitally, this site would be ideal for the BYOD or 1-1 classroom and blended and distance learning models. Below are several suggestions for using Elementari across different subject areas.
Create a Presentation about…
Social Studies:
- Historical events from the Civil Rights movement.
- People in your community.
- Your state’s history.
- Generals from the Civil War.
- The Silk Road.
- Famous rivers around the world.
- The Constitution vs. the Article of Confederation.
- Franklin D. Roosevelt (or any past or current president).
- Prominent leaders of the past.
- The three branches of the US government.
Science:
- Biomes of the world.
- The Ring of Fire.
- Causes and effects of hurricanes.
- Any animal with a description using the speech bubbles.
- The results of a science experiment.
- Layers of the Earth.
- Physics of football.
- Simple machines
- Why objects sink or float.
- Steps of the Scientific Method.
Math:
- Shapes in geometry (using the shapes available on the site).
- Budgeting and personal finance.
- Images (with description) to show how to find area and perimeter.
- Math problem with text explaining the correct order of PEMDAS.
- The difference between median, mean, and mode.
- Multiplying fractions.
- The Pythagorean Theorem.
- Vocabulary words in algebra.
- Explaining the steps in a word problem.
- Subtracting fractions.
Language Arts:
- Characters from a book can “talk” about a story’s ending (or climax) using speech bubbles and voice narration.
- Explaining pivotal events in a story.
- The difference between two, too, and to (using images).
- Figurative language (for example, find an example of an image representing a hyperbole).
- An image with a related simile.
- The difference between the theme and main idea of a story.
- Vocabulary related to a novel or short story.
- Practice spelling words and vocabulary.
- The setting of a story.
- A chapter analysis of a novel.
Arts & Humanities:
- Famous places to visit in Spain or Mexico (in Spanish Class)
- Instruments from the band or orchestra with a short description.
- Images with explanations in world language classes.
- Practicing vocabulary words in world language class by using random stock images and creating captions in the new language.
- Any famous singer with information about their life.
- A famous artwork and a description of who created it and when.
- How to conjugate verbs in world language class.
- Any famous musician or artist.
- Various techniques in art.
- Tools used in art class.
Additional Video Tutorials and Review:
- TeachersFirst Review: Elementari
- Video: Elementari Walkthrough
- Video: Elementari Walkthrough – Create and Code Interactive Stories
Have you used Elementari? Share your ideas and activities in the comments below!